
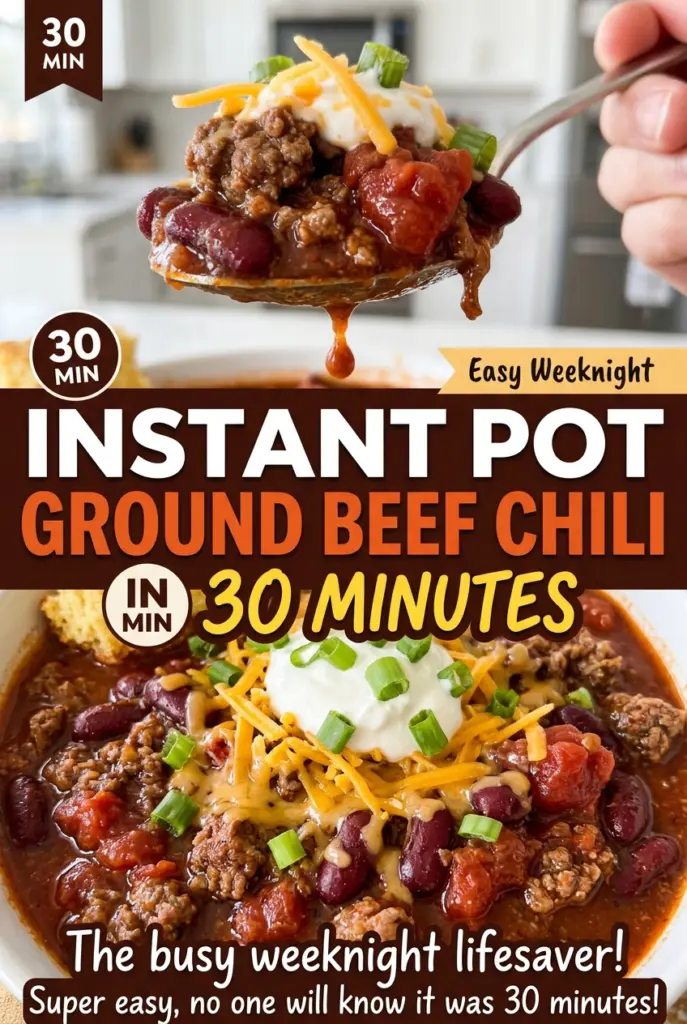
Instant Pot Ground Beef Chili in 30 Minutes
As the beef breaks into little crumbles in the hot olive oil, the kitchen starts smelling like chili before the pressure cooker lid is even on. The onion and green…
Tip: save now, cook later.As the beef breaks into little crumbles in the hot olive oil, the kitchen starts smelling like chili before the pressure cooker lid is even on. The onion and green pepper soften right in the same pot, and the spices have a short moment to warm before the broth goes in. That quick start is what makes Instant Pot Ground Beef Chili in 30 Minutes a practical dinner without a long stovetop simmer.
I like this version because the ingredient list stays familiar, but the finished pot still tastes layered rather than rushed. The beans and tomatoes go in after the beef mixture, and the order matters: the beef and aromatics get their time on Sauté, while the tomato ingredients sit on top during pressure cooking. Once everything is stirred together, you get a hearty chili with tender beans and a savory tomato base.
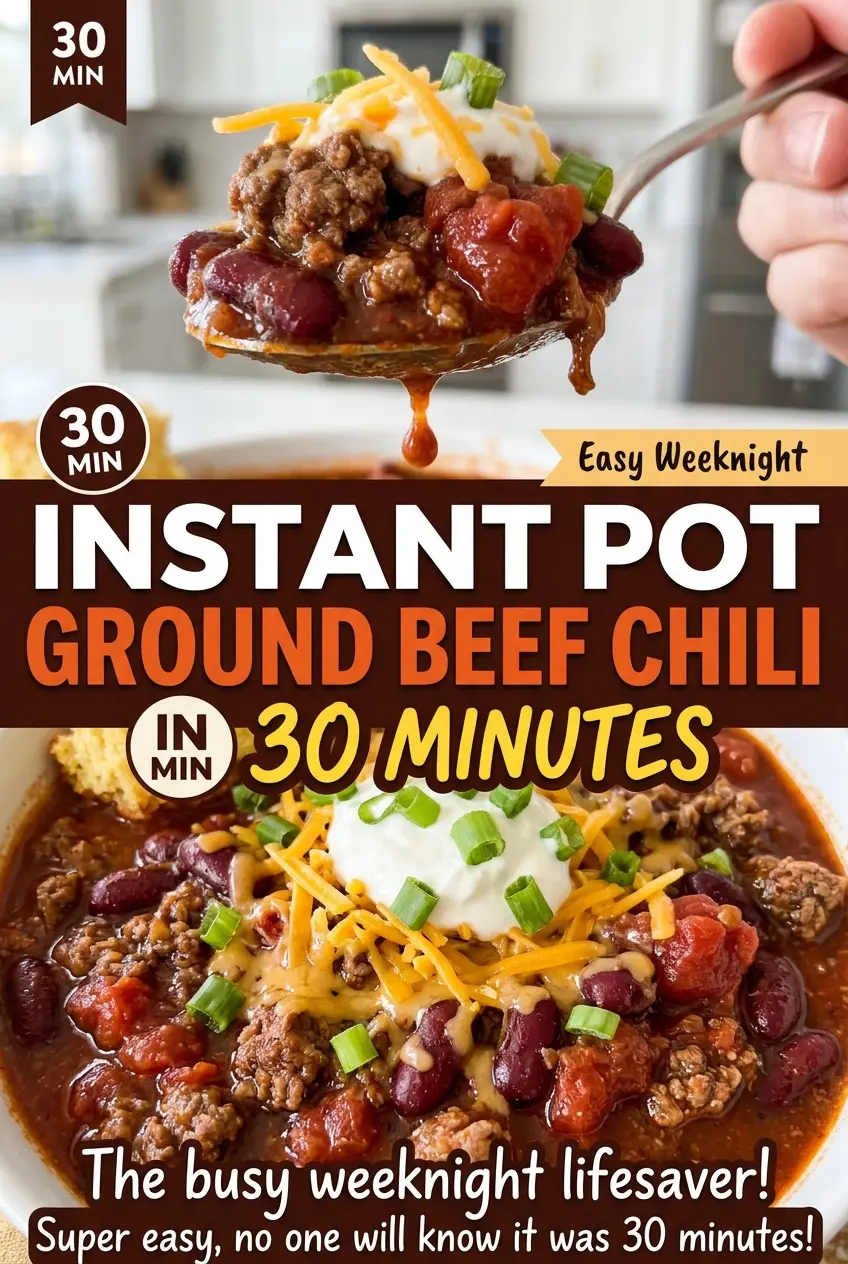
Kitchen Note
After the broth goes in, scrape the pot bottom until the browned bits lift. Anything stuck there can trigger a burn warning under pressure, so take a moment to clear the surface before adding the beans and tomatoes.
Save this Instant Pot ground beef chili for a quick, hearty dinner with tender kidney beans and a deeply seasoned tomato base.
Why the Five-Minute Pressure Setting Isn’t the 30-Minute Clock
The five minutes on High Pressure are only the time the chili cooks once the Instant Pot has reached pressure. Before that, the beef and vegetables spend time on Sauté, and the cooker needs time to come up to pressure. After cooking, the five-minute natural release adds another pause before you quick-release what remains. Those parts all count toward the time you spend making dinner.
That distinction helps set expectations: the pressure setting is short, but the cooker is doing more than one job. It browns the beef and softens the vegetables before sealing, then cooks the layered ingredients together. I keep the sauté stages moving while the pot is open, and use the natural release as part of the finish instead of venting the moment the pressure timer ends. The result is a quick pressure-cooker chili, not five minutes from raw ingredients to the table.
What the Beef, Beans, and Two Tomato Cans Each Bring
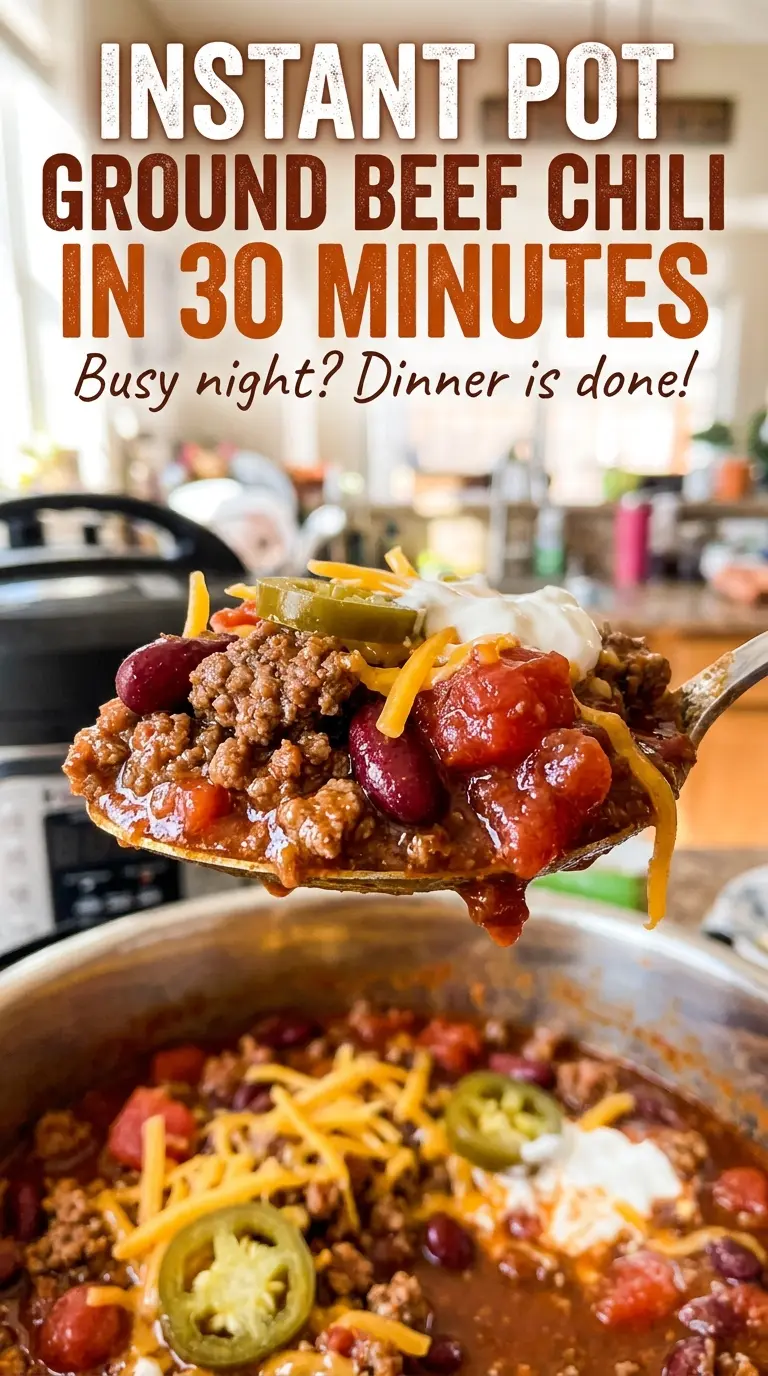
- Ground beef — The 85% lean beef has enough fat to brown well and keep the chili full-bodied without making the pot overly greasy. Breaking it into small pieces as it cooks helps it distribute through the chili rather than leaving large clumps. I stick with this lean-to-fat balance here; a much leaner or fattier grind changes the result.
- Yellow onion and green bell pepper — These vegetables soften during the sauté and give the chili a savory, slightly sweet base. Chop them into pieces of similar size so they soften at about the same pace. Yellow onion is the right fit for this flavor; another onion type would shift the sweetness.
- Garlic and the dried spices — Fresh minced garlic, chili powder, cumin, smoked paprika, and oregano build the seasoning without a long simmer. Use spices that still smell fragrant when you open the jar; stale ones can leave the chili tasting flat. Keep the smoked paprika in the mix for its distinct smoky note.
- Beef broth — The broth adds a savory layer and loosens the browned bits from the pot before pressure cooking. Beef broth matters more here than a neutral liquid because it carries the browned-beef flavor into the sauce. Choose a familiar, reasonably priced broth; there’s no need for a specialty brand.
- Kidney beans — Draining and rinsing them removes the canning liquid, so it doesn’t dilute or cloud the chili. Canned beans are convenient and work well in this short pressure cook. Their firm, hearty texture is part of what makes this a filling bowl.
- Diced tomatoes and tomato sauce — The diced tomatoes bring distinct tomato pieces, while the sauce gives the chili a smoother base. Both have a job, so I don’t replace one with extra of the other. Standard canned versions are a dependable choice; the layering order matters more than buying a premium can.
From Sauté to Sealed Pressure: The Order That Builds This Chili
Brown the Beef, Then Soften the Vegetables
Set a 6-quart Instant Pot to Sauté and heat the olive oil. Add the ground beef and cook for 3 minutes, breaking it into small pieces as it browns. Add the chopped onion and green bell pepper, then cook for 3 minutes, stirring often. The beef should be mostly browned and the vegetables just beginning to soften; they’ll continue cooking under pressure.
Wake Up the Spices and Deglaze
Stir in the minced garlic, chili powder, cumin, smoked paprika, oregano, kosher salt, and black pepper. Cook for 30 seconds, stirring so the garlic and spices meet the hot beef and vegetables without sitting in one spot. Pour in the beef broth and scrape the bottom to loosen the browned bits. A clean pot bottom is especially important before the lid goes on.
Keep the Tomato Ingredients on Top
Add the drained and rinsed kidney beans first, then the diced tomatoes, followed by the tomato sauce. Leave these ingredients on top without stirring them into the beef mixture. This keeps the thicker tomato ingredients from settling against the bottom of the cooker while it comes to pressure. Lock the lid and set the valve to Sealing.
Pressure Cook, Release, and Check
Cook at High Pressure for 5 minutes. When the cook time ends, let the pressure release naturally for 5 minutes, then carefully quick-release any pressure left in the pot. Once the lid is open, stir the chili until the beans and tomato layers are evenly distributed. Check that the ground beef has reached 160°F before serving.
Two Straightforward Ways to Change the Pot
Make It Bean-Free
Leave out the kidney beans for a bean-free, lower-carb direction. The chili will have less bulk and a looser, more meat-and-tomato-forward texture, but the beef, vegetables, and tomato base still cook together as described.
Leave Out the Green Bell Pepper
If green pepper isn’t your favorite, omit it and keep the rest of the ingredients and method the same. The chili loses some of the pepper’s mild sweetness and vegetable texture, but the onion, beef, and tomato base still give it plenty of substance.
Storage and Reheating
- Refrigerator: Cool and refrigerate the chili within 2 hours. Store it in a covered container for 3 to 4 days; it may thicken as it chills.
- Freezer: It freezes well for 2 to 3 months. Cool it first, then transfer it to airtight freezer-safe containers, leaving a little room for expansion.
- Reheating: Warm it in a saucepan over medium-low heat, stirring occasionally, until it reaches 165°F. Avoid high heat, which can scorch the tomato-rich chili before the center is hot.
Questions That Come Up Before the Lid Goes On
Instant Pot Ground Beef Chili in 30 Minutes
Ingredients
Equipment
Method
- Set a 6-quart Instant Pot to Sauté and heat the olive oil; add the ground beef and cook for 3 minutes, breaking it into small pieces as it browns.
- Add the yellow onion and green bell pepper and cook for 3 minutes, stirring often, until the beef is mostly browned and the vegetables begin to soften.
- Stir in the garlic, chili powder, ground cumin, smoked paprika, dried oregano, kosher salt, and black pepper; cook for 30 seconds. Pour in the beef broth and scrape the bottom of the pot to loosen any browned bits.
- Add the kidney beans, diced tomatoes, and tomato sauce in that order, leaving them on top without stirring; lock the lid, set the valve to Sealing, and cook at High Pressure for 5 minutes.
- Let the pressure release naturally for 5 minutes, then carefully quick-release any remaining pressure; stir the chili and confirm the ground beef has reached 160°F before serving.
