
Halloween Oreo Dirt Cake
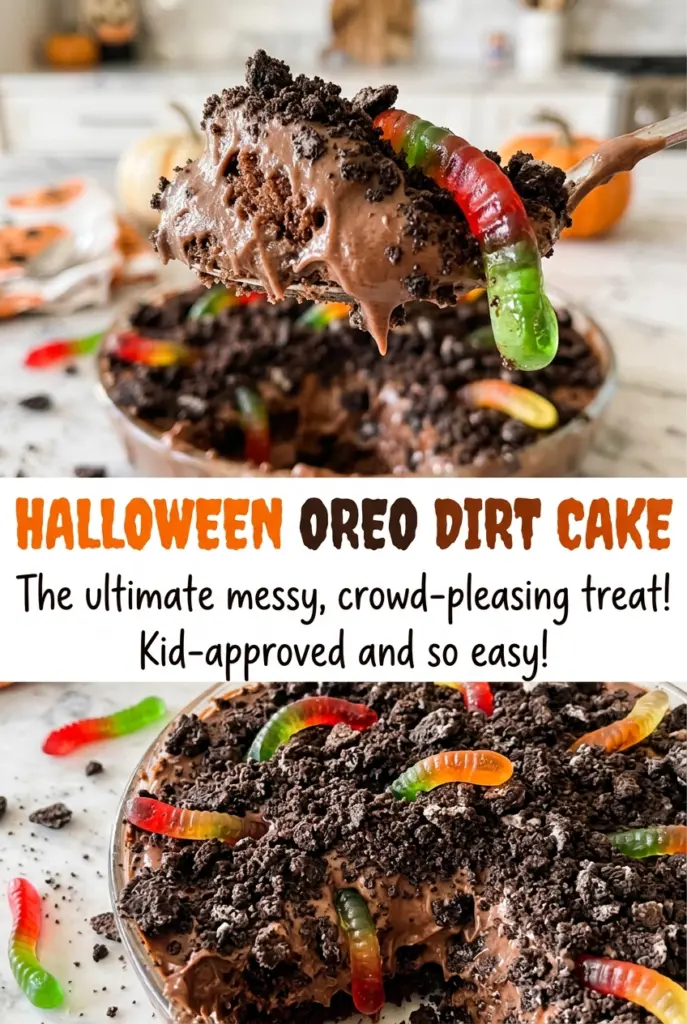
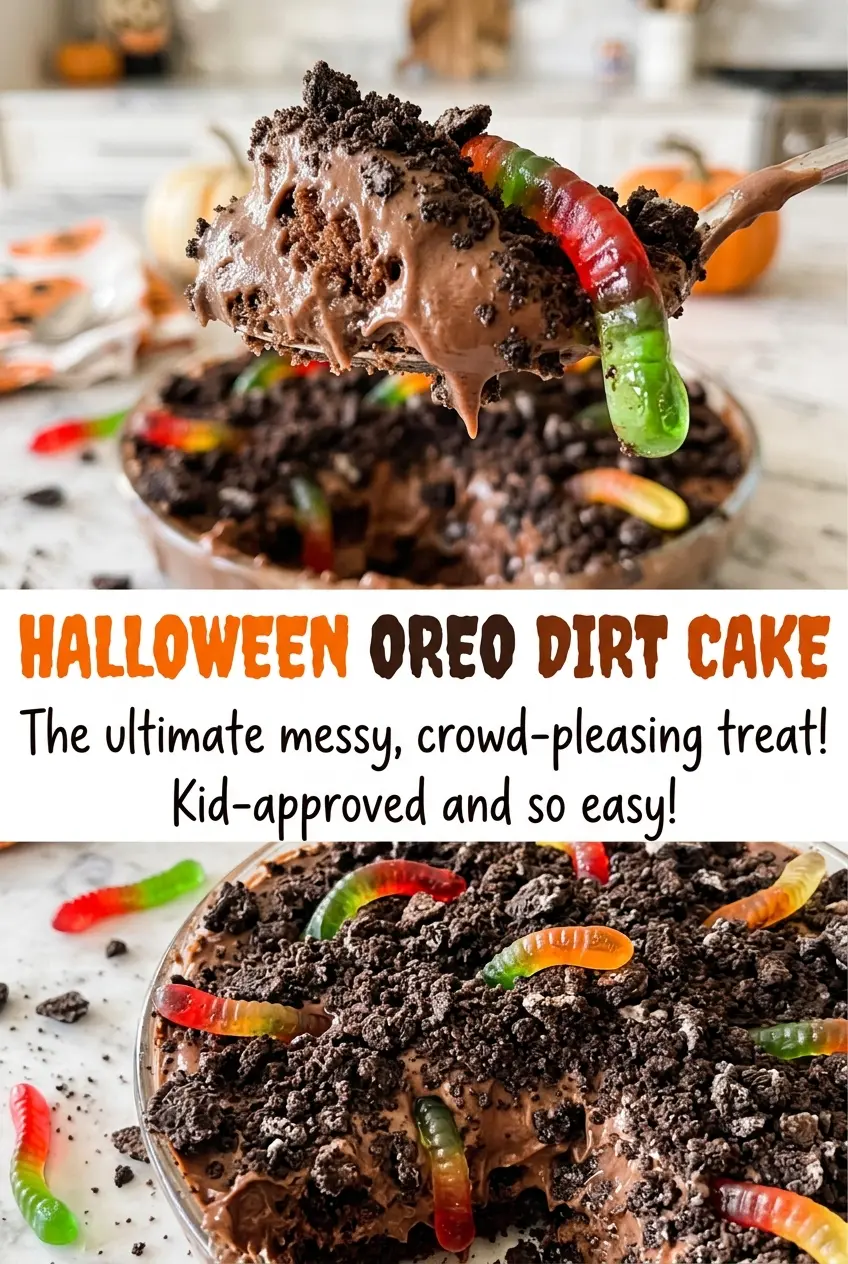
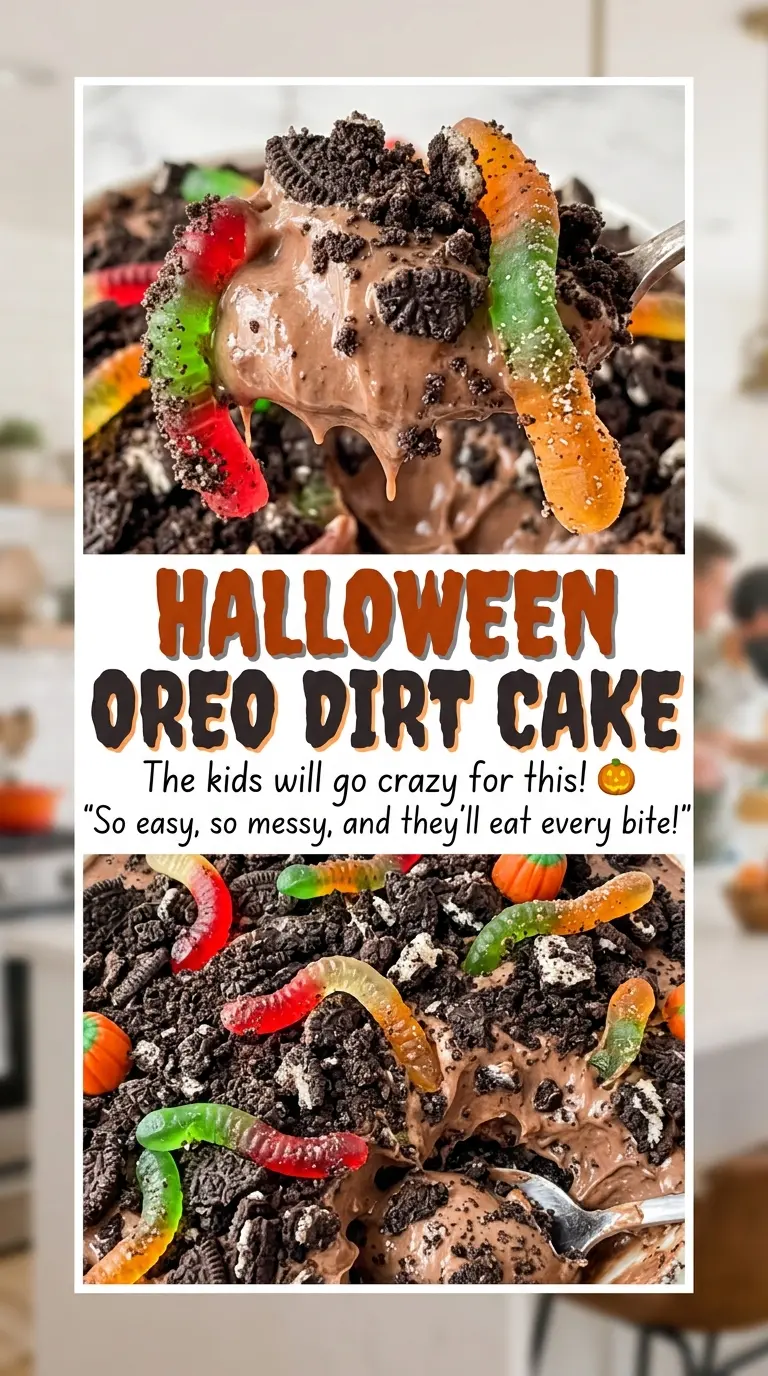
The first spoonful should drag a little dark cookie crumb across the pale filling, with a gummy worm or candy pumpkin waiting on top. That contrast is what makes this…
Tip: save now, cook later.The first spoonful should drag a little dark cookie crumb across the pale filling, with a gummy worm or candy pumpkin waiting on top. That contrast is what makes this Halloween Oreo dirt cake feel like more than a bowl of pudding with cookies on it. The layers are simple, but they need to stay distinct enough to look like a patch of dirt when you serve it.
I keep the cookie layer loose and the filling smooth. The cream cheese and butter are beaten first, so the pudding can blend in without leaving little lumps behind. Cold milk helps the instant pudding thicken, and the whipped topping goes in last to keep the filling light.
After a long chill, the crumbs soften just enough to scoop easily while the creamy middle stays cool and plush. Set out the candy pumpkins and gummy worms, and you’ve got a spooky dessert that’s ready to share straight from the pan.
Kitchen Note
Fold the whipped topping in instead of beating it hard into the filling. Stop when the mixture looks even, and you’ll keep the center soft and airy rather than dense.
Save this Halloween Oreo dirt cake for a party table with creamy vanilla filling, chocolate cookie layers, and candy pumpkins on top.
Why This Dirt Cake Works Better as a Soft, Scooped Dessert
It’s easy to expect a cookie base to behave like a firm crust, but this one is meant to be scooped from the baking dish. There’s no separate binder mixed into the crushed Oreos, so the bottom layer stays crumbly instead of setting into a solid shell. That’s a good fit for a dirt cake: each scoop can pick up cookie crumbs, creamy filling, and a little of the topping together.
Press the first layer evenly across the bottom, but don’t pack it down as if you were building a sliceable cheesecake crust. A fairly level layer gives the filling a good bed without making the base hard to break through with a spoon. The top layer has a different job. Sprinkled loosely over the filling, it gives the dessert its dirt-like finish and keeps the candy decorations visible. If you’re serving this at a gathering, use a spoon and embrace the soft layers rather than trying to cut tidy squares.
Why Instant Pudding and Cold Whole Milk Set the Filling
- Oreo cookies — Finely crushed cookies make a more even layer than large pieces, which can leave gaps under the filling. The familiar chocolate sandwich cookies are the flavor anchor here; if you need a gluten-free version, see the adaptation below.
- Cream cheese — The block style gives the filling body and a gentle tang. Let it soften before beating so it blends smoothly; spreadable cream cheese from a tub has a softer texture and isn’t a like-for-like swap.
- Unsalted butter — Softened butter helps the cream cheese mixture turn smooth and rich. Unsalted butter keeps the sweetness from being harder to balance, and there’s no need to melt it.
- Powdered sugar and vanilla — Powdered sugar blends into the cream cheese without the graininess granulated sugar can leave behind. Vanilla rounds out the pudding flavor, so use an extract you enjoy, but there’s no need for an expensive specialty bottle.
- Instant vanilla pudding mix — Instant mix thickens in cold milk, which is what gives this no-bake filling its structure. Cook-and-serve pudding needs a different preparation and won’t work in the same sequence.
- Cold whole milk — Cold milk helps the instant pudding thicken as it stands. Whole milk gives the filling a fuller texture; thinner milk may leave it softer, so stick with whole milk for the intended result.
- Whipped topping and candy decorations — Thawed whipped topping folds into the pudding mixture without needing to be whipped from scratch. Candy pumpkins and gummy worms make the Halloween finish; keep them ready for the top rather than mixing them through the filling.
Build the Oreo Layers Before the Long Chill
Press an Even Cookie Base
Crush the Oreos finely, then press about half of the crumbs across the bottom of a 9×13-inch baking dish. Aim for an even blanket rather than a thick mound in the middle, since the filling spreads more easily over a level surface. You don’t need to turn the crumbs into a packed crust. Keep the rest nearby for the top layer.
Beat the Cream Cheese Mixture Until Smooth
In a large bowl, beat the softened cream cheese, butter, powdered sugar, and vanilla extract until the mixture looks smooth. If you see small cream cheese lumps at this stage, keep beating before moving on; they’re harder to work out once the pudding is added. Scrape the sides of the bowl as needed so the mixture is even throughout.
Thicken the Pudding, Then Fold
In a medium bowl, whisk the instant pudding mixes with the cold whole milk for 2 minutes. Let the mixture stand for 5 minutes so it thickens before you add it to the cream cheese base. Beat the pudding into the cream cheese mixture until smooth, then fold in the thawed whipped topping. The finished filling should look cohesive and fluffy, not streaked with separate white topping.
Finish the Top and Give It Time
Spread the filling evenly over the cookie base, then sprinkle the remaining crumbs over it. Add the candy pumpkins and gummy worms across the top while the filling is easy to decorate. Cover the dish and refrigerate it for at least 4 hours before serving. Cutting that chill short leaves the filling softer and the layers less settled.
Three Ways to Adapt Halloween Oreo Dirt Cake
Make a gluten-free cookie layer
Replace the Oreo cookies with gluten-free chocolate sandwich cookies and crush them finely for the same layered look. The cookie flavor may vary by brand, so choose a chocolate cookie you like; check that the pudding mix and decorations also meet your gluten-free needs.
Serve it in individual dirt cups
Layer the same cookie crumbs and filling in individual serving cups instead of the 9×13-inch dish, saving crumbs for the tops. The smaller portions look playful on a Halloween table, though you’ll need to divide the candy pumpkins and gummy worms among the cups. Keep the chill time at least 4 hours.
Make a pumpkin-only topping
Leave off the gummy worms and decorate with the candy pumpkins alone. You’ll keep the orange Halloween accent while making the top simpler and less gummy-sweet. The cookie and filling layers stay the same.
Make-Ahead and Chilled Storage
- Refrigerator: Cover leftovers and keep them refrigerated for up to 3 days. The cookie layers soften as they sit, but the dessert remains easy to scoop.
- Freezer: I don’t recommend freezing the assembled cake; the filling may lose its smooth texture as it thaws, and the cookies soften.
- Serving: You can make it a day ahead and serve it cold from the refrigerator. Don’t reheat it; warming will loosen the creamy filling.
Questions That Come Up Before Serving Halloween Oreo Dirt Cake
Halloween Oreo Dirt Cake
Ingredients
Equipment
Method
- Press about half of the finely crushed Oreo cookies evenly into the bottom of a 9x13-inch baking dish.
- In a large bowl, beat the cream cheese, butter, powdered sugar, and vanilla extract until smooth.
- In a medium bowl, whisk the pudding mixes and cold milk for 2 minutes.
- Let the pudding mixture stand for 5 minutes to thicken.
- Beat the thickened pudding into the cream cheese mixture until smooth.
- Fold in the whipped topping.
- Spread the filling evenly over the cookie layer.
- Sprinkle the remaining crushed Oreo cookies over the filling.
- Decorate with the candy pumpkins and gummy worms.
- Cover and refrigerate for at least 4 hours before serving.
