
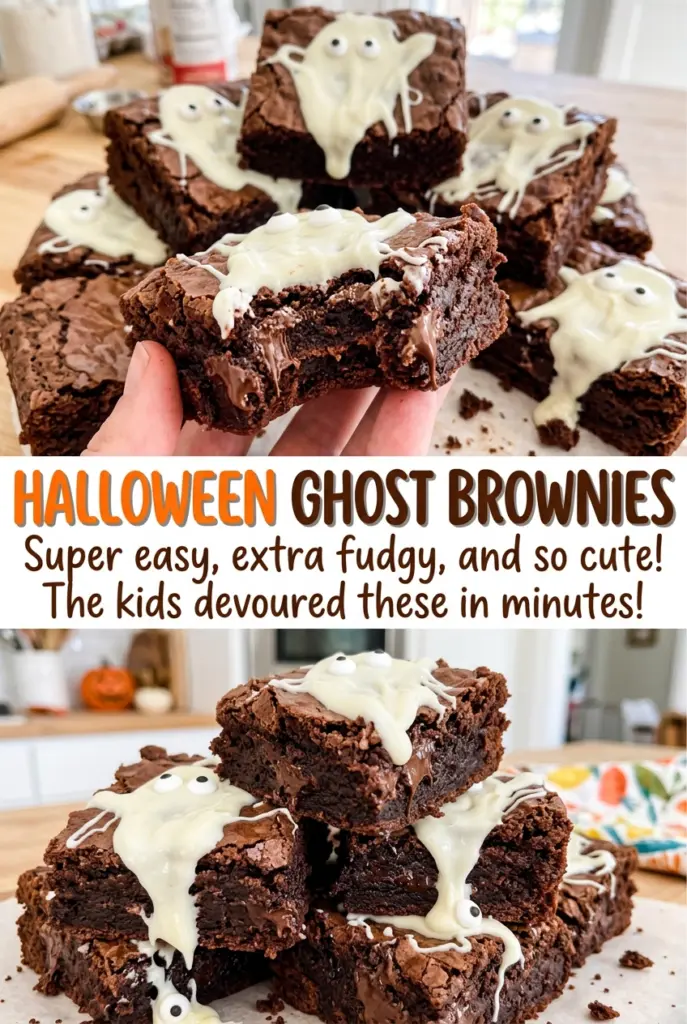
Halloween Ghost Brownies
A toothpick pulled from the center of a brownie pan shouldn’t come out spotless here. A few moist crumbs mean the middle will stay tender instead of drying out while…
Tip: save now, cook later.A toothpick pulled from the center of a brownie pan shouldn’t come out spotless here. A few moist crumbs mean the middle will stay tender instead of drying out while the edges finish setting. That small cue matters even more when you’re turning the brownies into Halloween Ghost Brownies, because the rich squares need to be soft enough to enjoy but sturdy enough to hold a piped frosting ghost.
I like how the decorations stay simple: a tall squeeze of buttercream and two chocolate-chip eyes give each piece its own little face. The brownie batter comes together in one bowl, and the frosting uses the same butter that gives the base its richness. Let the baked slab cool completely before decorating, and you’ll have neat squares topped with ghosts that keep their shape.
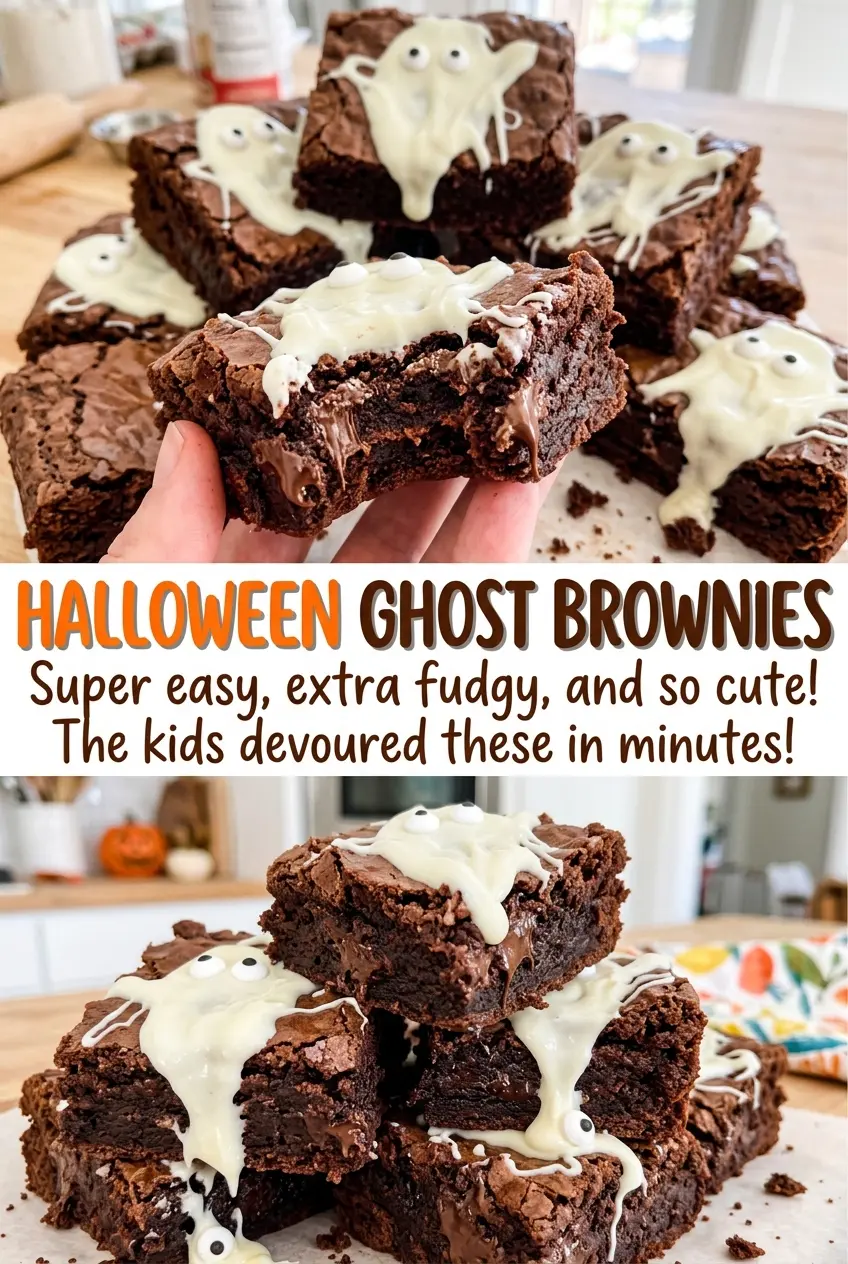
Kitchen Note
Give the melted butter five minutes to cool before whisking in the sugar and eggs. It should still be liquid, just not piping hot, so the eggs blend smoothly into the batter.
Save these Halloween Ghost Brownies for a party tray: tender cocoa brownies topped with little piped ghosts and chocolate-chip eyes.
Why Warm Brownies Make the Ghosts Slump
The brownies and the frosting need different temperatures to do their jobs. The brownie base is soft and tender when warm, while the frosting is made with softened butter and needs a cool surface to hold its piped shape. If you decorate before the brownies have cooled, the frosting can soften against the warm top and lose those tall, tapered edges.
That’s why I let the slab cool completely in the pan before cutting or decorating. It gives the center time to settle, and the squares are easier to handle without breaking apart under the piping bag. You don’t need to chill the brownies to make them firm; just let them cool on the counter until no warmth remains in the center. A patient cool-down is what gives each ghost a steady place to stand.
What Gives These Brownies Their Tender Bite and Pipeable Ghosts
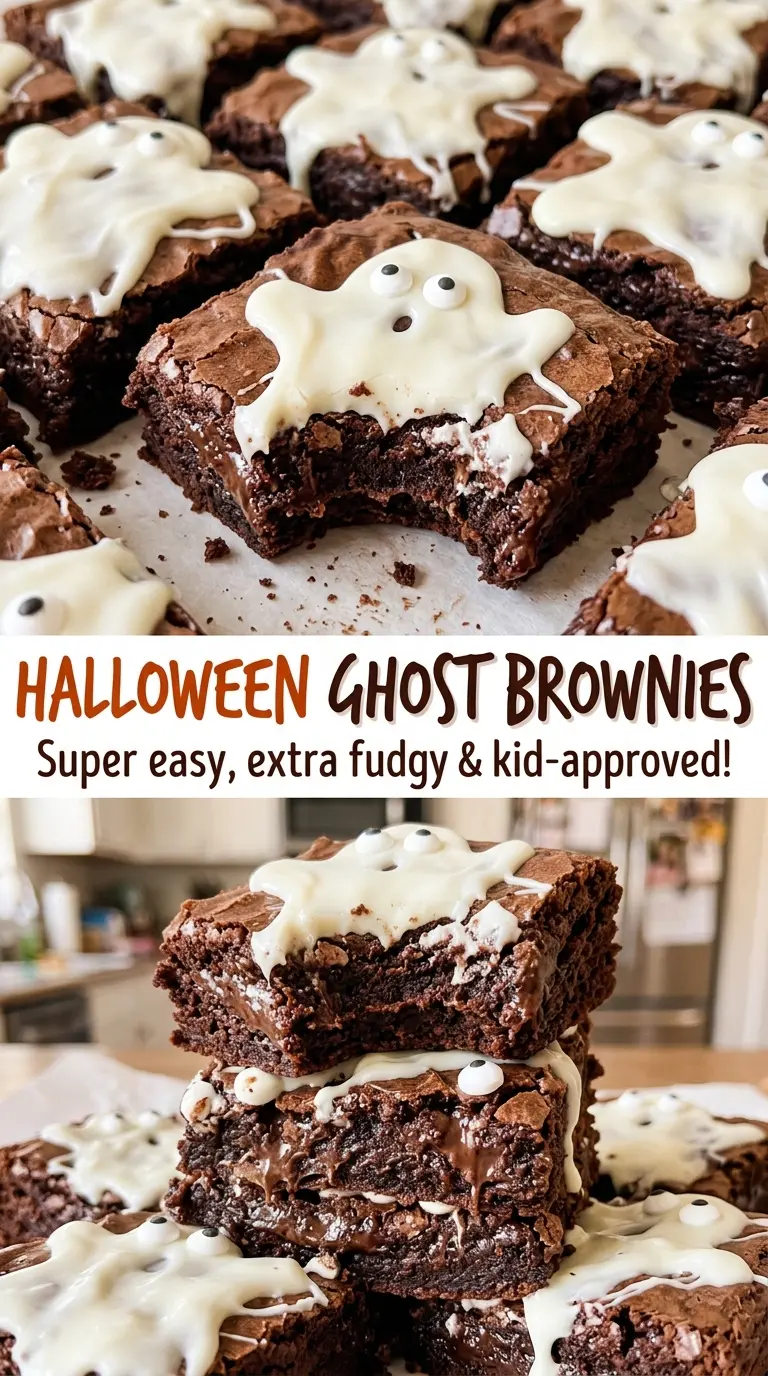
- Unsalted butter — It gives the brownie base its richness and makes the frosting smooth when beaten. Use ordinary fresh butter; a specialty brand isn’t needed. I stick with unsalted butter so the salt in the brownie batter stays controlled. A plant-based spread won’t behave exactly the same in both the melted batter and whipped frosting.
- Unsweetened cocoa powder — This brings the chocolate flavor without adding extra sugar. Use unsweetened cocoa rather than a sweetened drink mix, which changes the sweetness and dry-ingredient balance. A standard grocery-store cocoa works well.
- Large eggs — The eggs bind the melted-butter mixture and help the brownies set. Use large eggs for the intended structure; smaller eggs can leave the batter with less binding and moisture.
- All-purpose flour — It gives the brownies enough structure to cut into pieces that hold their frosting. For a gluten-free batch, replace it with a cup-for-cup gluten-free baking blend made for direct flour replacement; the texture may be a little more delicate.
- Powdered sugar and heavy cream — Powdered sugar makes a smooth, thick frosting, and the cream loosens it enough to beat until fluffy. Granulated sugar won’t give you the same fine texture, and adding too much liquid can leave the frosting too soft to pipe.
- Mini semisweet chocolate chips — Their small size makes a neat pair of eyes without weighing down the frosting. Choose chips that are intact and dark enough to stand out against the white ghosts.
Mix, Bake, Cool, Then Pipe the Ghosts
Whisk the Butter Base Without Rushing It
Heat the oven to 350°F and grease the bottom and sides of a 9×13-inch metal baking pan with the softened butter. Melt the brownie butter in a large bowl, then let it cool for five minutes. Whisk in the sugar, then add the eggs one at a time before whisking in the vanilla. Stir in the flour, cocoa powder, and salt just until no dry streaks remain.
Bake Until the Center Gives the Right Toothpick Cue
Spread the batter evenly in the prepared pan so the center and edges bake at a similar pace. Bake for 25–30 minutes. Insert a toothpick into the center; it should come out with a few moist crumbs, not wet batter and not completely clean. Pulling the pan at that point keeps the brownies from drying out as they cool.
Let the Slab Cool Before Cutting
Leave the brownies in the pan until they’re completely cool, about two hours. Don’t start cutting while the center still feels warm, since warm pieces are softer and harder to move cleanly. Once cool, cut the slab into 12 pieces.
Beat the Frosting Until It Holds Its Shape
Beat the softened butter in a large bowl with an electric mixer until smooth, about one minute. Add the powdered sugar one cup at a time on low speed, then pour in the heavy cream. Beat on medium-high for about two minutes, until the frosting looks fluffy and firm enough to hold a piped shape.
Pipe Tall Ghosts and Add Their Eyes
Transfer the frosting to a zip-top bag and snip a half-inch opening from one corner. Pipe a tall, tapered ghost onto each brownie, easing pressure as you reach the top so the shape narrows. Press two mini semisweet chocolate chips into each ghost for eyes. If the frosting spreads instead of standing tall, pause and let the brownies cool further before continuing.
Two Ways to Change the Look Without Changing the Brownie Base
Make the Ghost Brownies Gluten-Free
Replace the all-purpose flour with the same volume of a cup-for-cup gluten-free baking blend designed for direct flour replacement. The brownies may be a little more fragile when cut, so let the slab cool fully before portioning and decorating.
Make a Frosted Slab with Ghost Faces
For a faster decorating style, cut the cooled brownies into 12 pieces, spread the frosting over each square instead of piping a tall ghost, and place two mini chocolate chips on each as eyes. You’ll get the same brownie-and-buttercream combination with a flatter, more casual finish.
Serve Them as Plain Cocoa Brownies
Leave off the ghost frosting and chocolate-chip eyes for a less-sweet, simpler square. The brownie base still cuts into 12 portions and keeps its cocoa-forward flavor, making this a useful option when you want the brownies without the decorating step.
Storage and Reheating
- Refrigerator: Keep the decorated brownies covered in the refrigerator for up to 4 days. The brownie base will firm up when cold, so let pieces sit out briefly before serving.
- Freezer: They freeze well for up to 2 months. Freeze the pieces until firm, then wrap them individually and store in an airtight container; thaw in the refrigerator so the frosting stays neat.
- Reheating: These are best served without reheating. Don’t microwave frosted pieces, since the buttercream can melt; allow refrigerated brownies to lose their chill before serving.
Questions That Come Up When Making Halloween Ghost Brownies
Halloween Ghost Brownies
Ingredients
Equipment
Method
- Preheat the oven to 350°F.
- Grease the bottom and sides of a 9x13-inch metal baking pan with 1 tablespoon softened butter.
- Melt the remaining 15 tablespoons butter in a large bowl.
- Let the melted butter cool for 5 minutes.
- Whisk the sugar into the melted butter.
- Whisk in the eggs one at a time, then whisk in the vanilla.
- Add the flour, cocoa powder, and salt; stir until no dry streaks remain.
- Spread the batter evenly in the pan.
- Bake for 25–30 minutes, until a toothpick inserted in the center comes out with a few moist crumbs.
- Cool the brownies completely in the pan, about 2 hours.
- Beat the softened butter in a large bowl with an electric mixer until smooth, about 1 minute.
- Beat in the powdered sugar 1 cup at a time on low speed.
- Add the heavy cream and beat on medium-high until fluffy and firm enough to hold a piped shape, about 2 minutes.
- Cut the cooled brownies into 12 pieces.
- Transfer the frosting to a zip-top bag.
- Snip a 1/2-inch opening from one corner.
- Pipe a tall, tapered ghost shape onto each brownie.
- Press 2 mini chocolate chips into each frosting ghost for eyes.
