
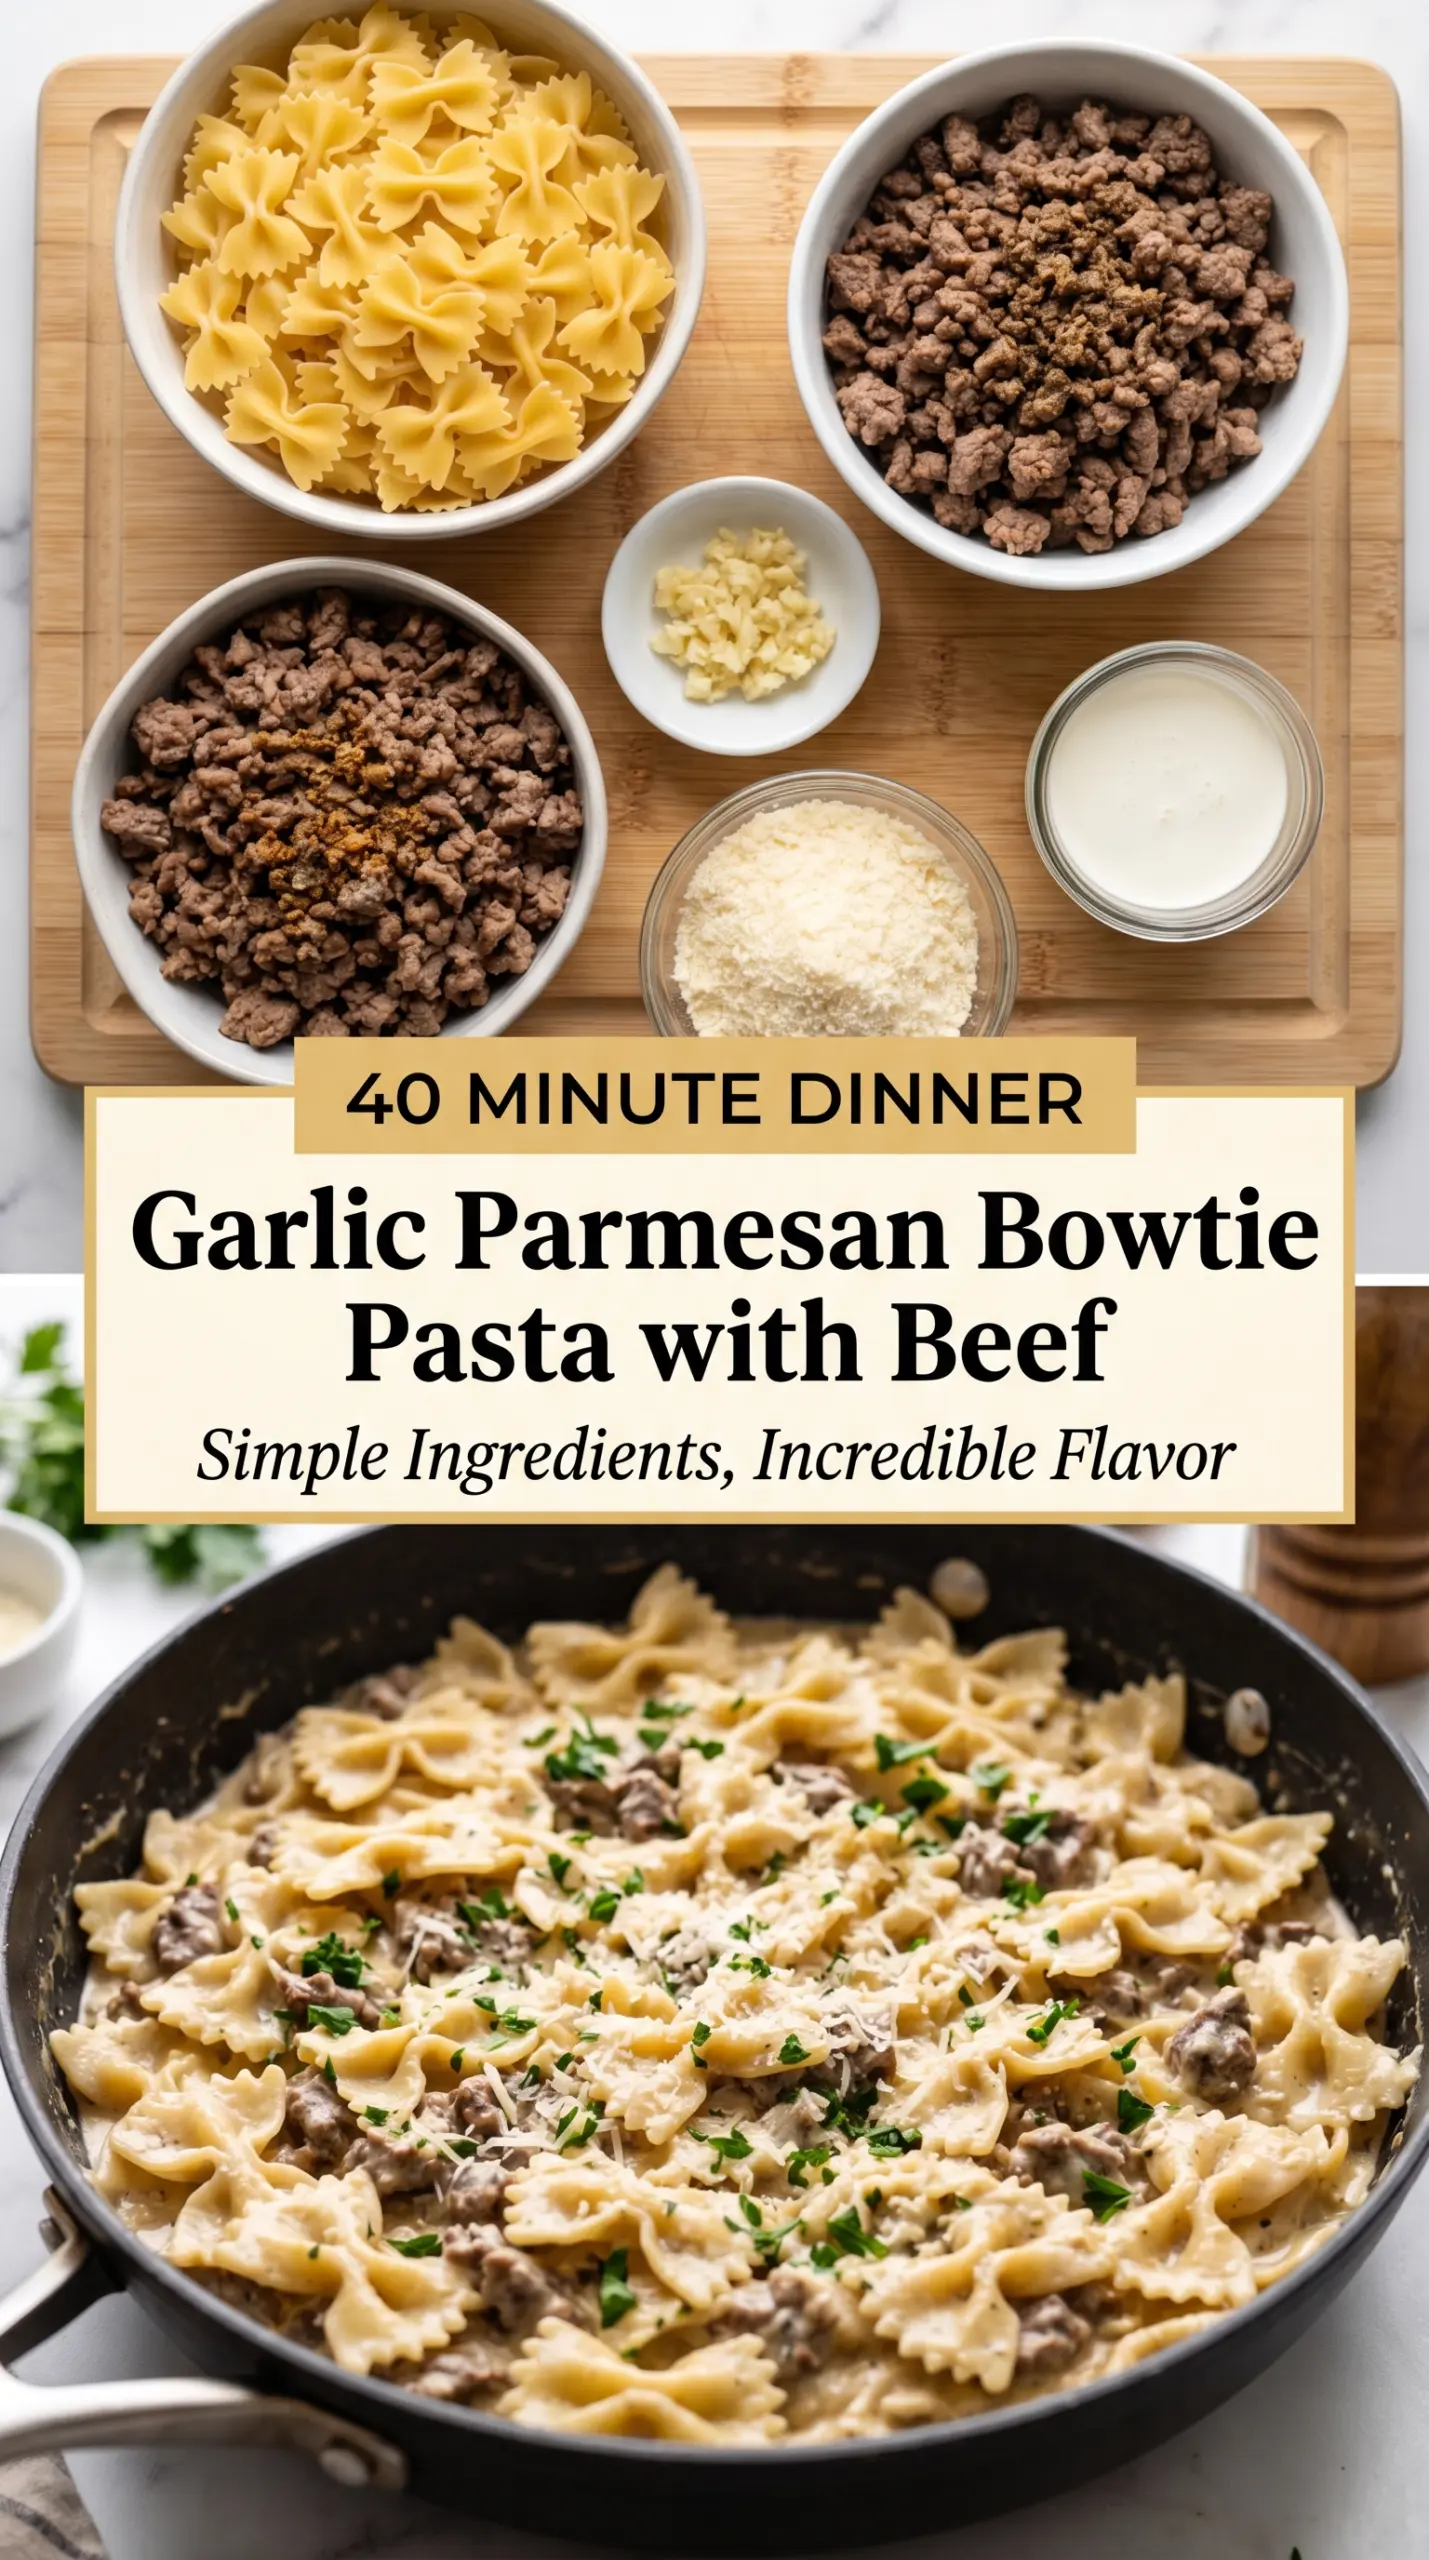
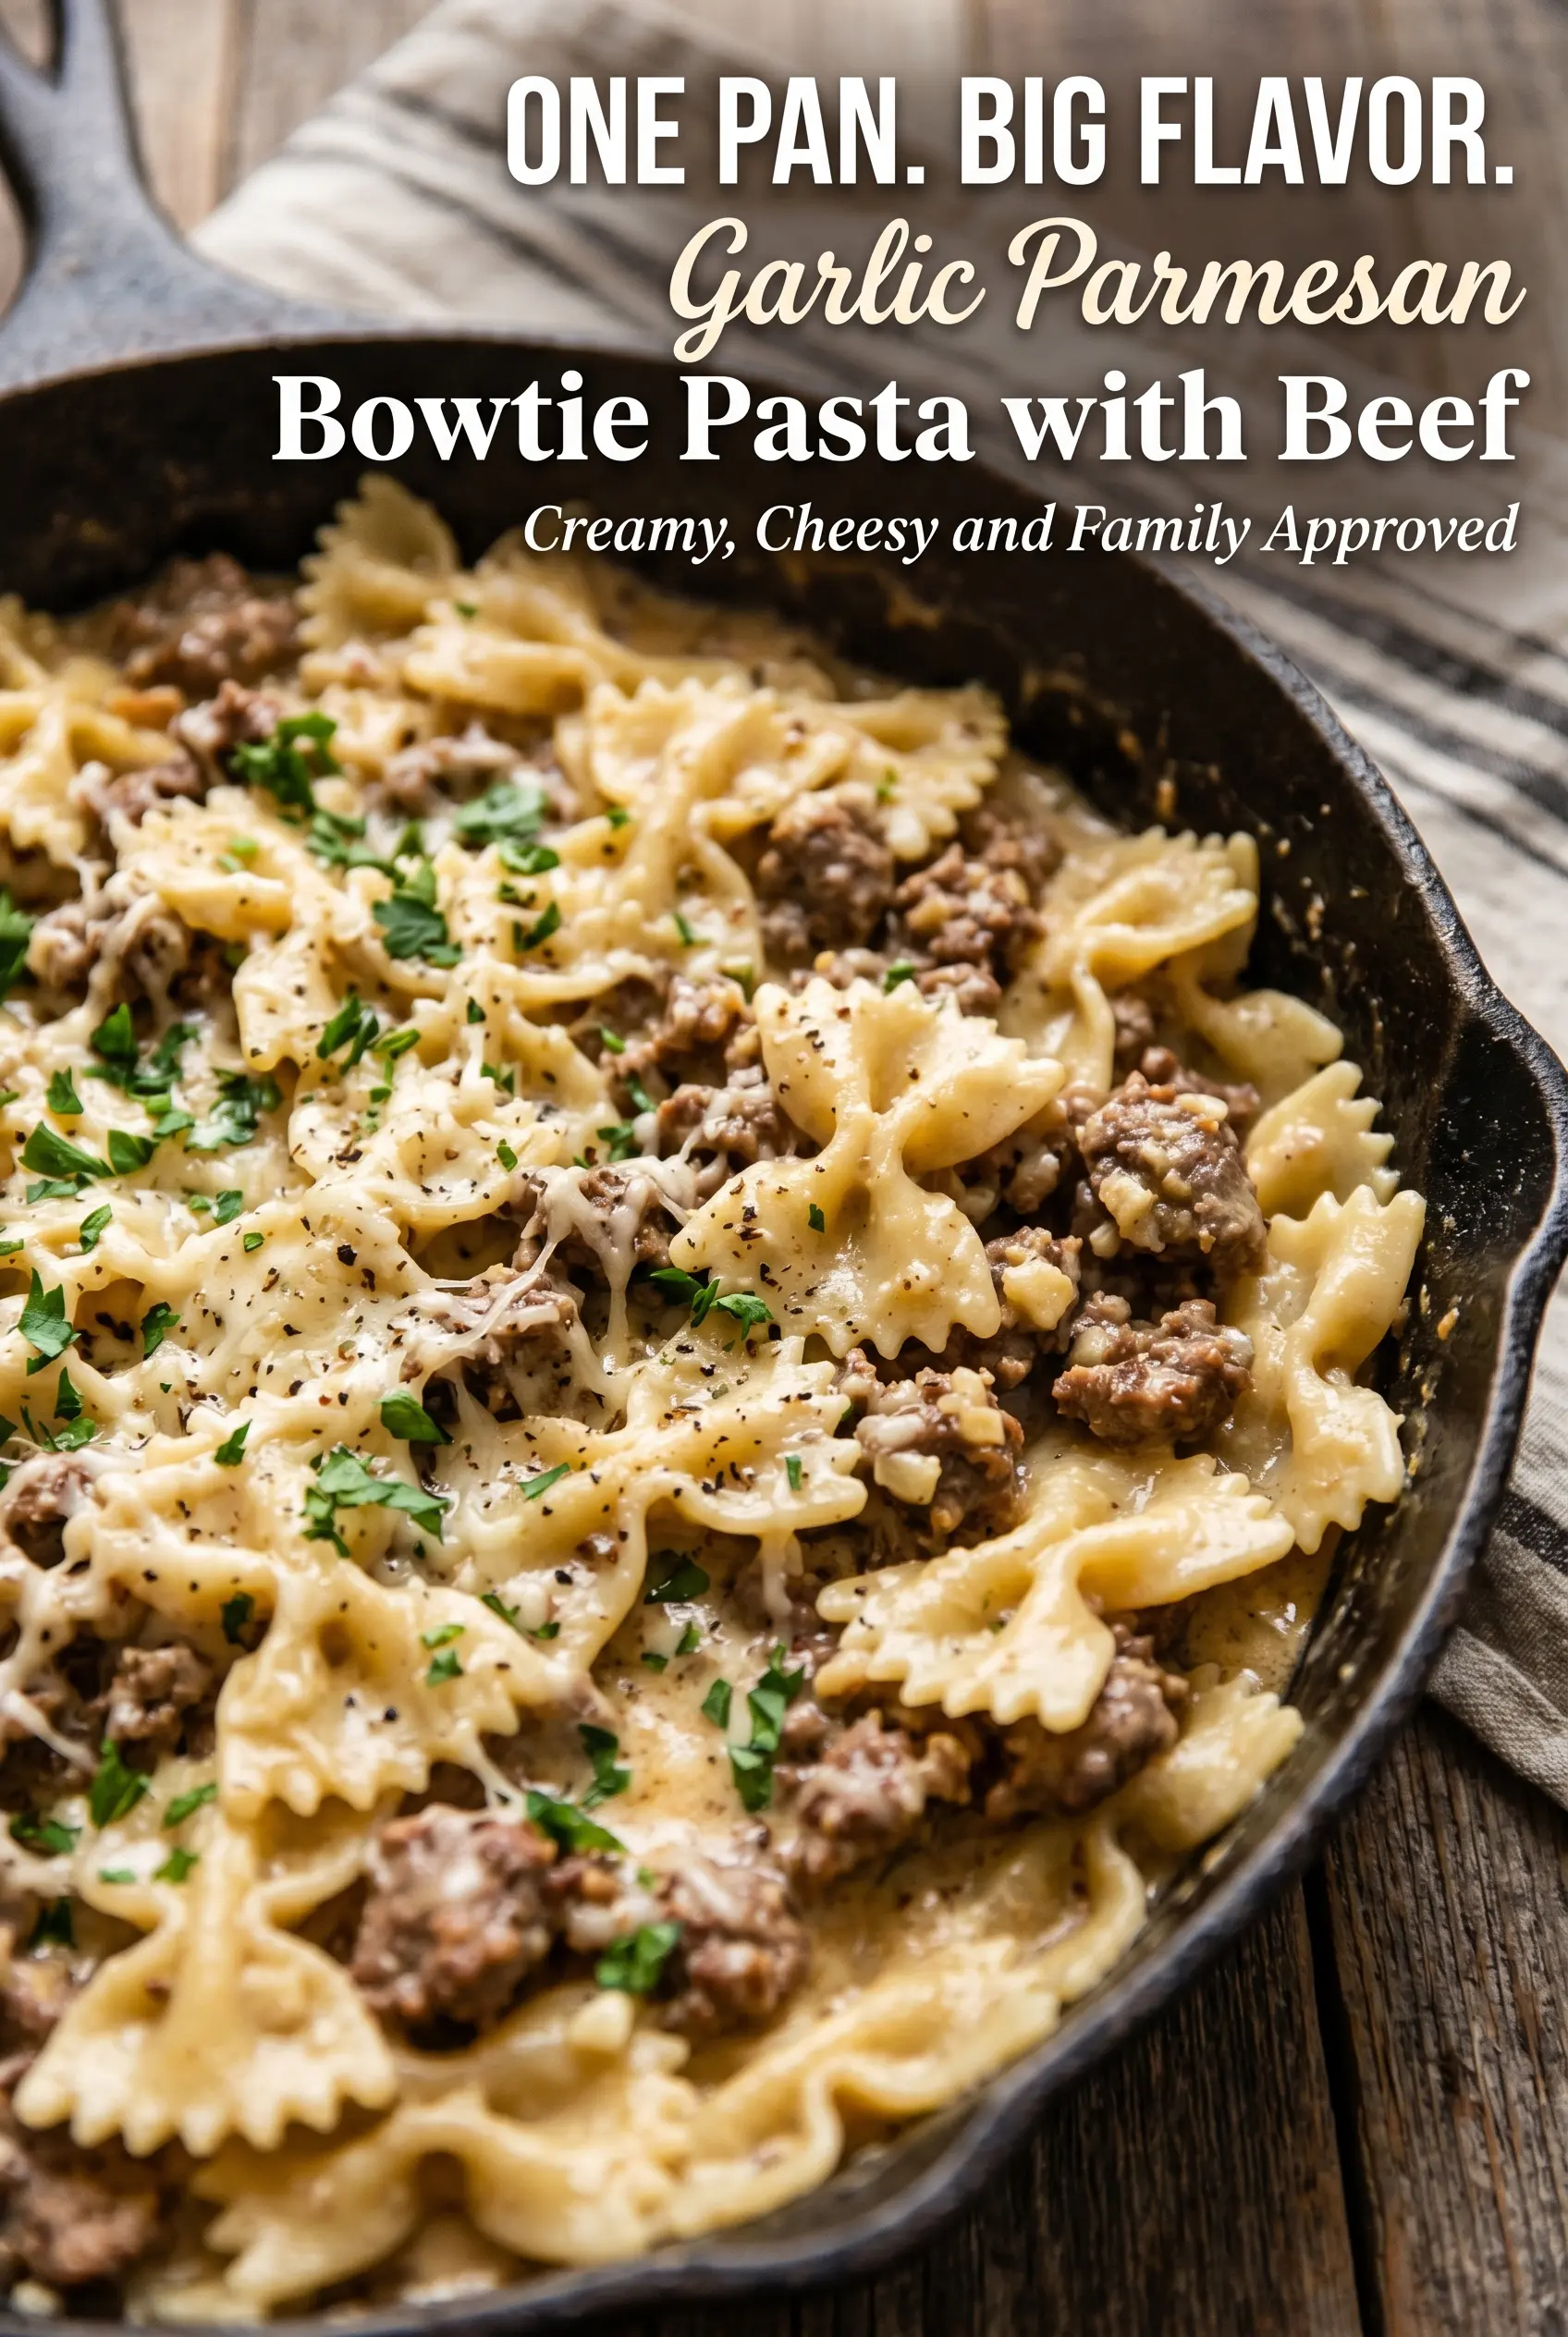
Garlic Parmesan Bowtie Pasta with Beef
Garlic Parmesan bowtie pasta with beef lands on the plate with the kind of creamy, clingy sauce that keeps coating every ridge of the pasta until the bowl is scraped…
Tip: save now, cook later.Garlic Parmesan bowtie pasta with beef lands on the plate with the kind of creamy, clingy sauce that keeps coating every ridge of the pasta until the bowl is scraped clean. The beef gives it real dinner heft, the garlic keeps the sauce from tasting flat, and the Parmesan pulls everything into a savory, glossy finish that feels more polished than the ingredient list suggests.
What makes this version work is the way the sauce is built. The garlic only needs a short sizzle in butter, just long enough to perfume the pan without turning bitter. Then the cream and milk simmer before the cheese goes in, which gives the sauce a chance to thicken gently instead of tightening up grainy or greasy. Using freshly grated Parmesan matters here because pre-shredded cheese often carries anti-caking starches that can leave the sauce dull and sandy.
Below, I’m breaking down the small details that keep the sauce smooth, plus the best way to use the reserved pasta water if the skillet needs a little help coming together at the end.
The sauce came together silky smooth, and the bowties held onto it beautifully. I used the pasta water at the end like you said, and it made the whole pan feel restaurant-quality without being heavy.
Pin this creamy Garlic Parmesan Bowtie Pasta with Beef for the nights when you want a rich, one-skillet sauce that coats every piece of pasta.
The Reason the Sauce Stays Creamy Instead of Turning Grainy
Most grainy Parmesan sauces happen when the heat is too high the moment the cheese goes in. Parmesan wants gentle heat and a little patience. If the skillet is boiling, the fat can separate and the cheese can clump before it melts into the cream.
This recipe avoids that by simmering the dairy first, then adding the cheese gradually off aggressive heat. The sauce should look smooth and slightly loose when the Parmesan goes in, because it thickens as it sits and again once the pasta is tossed through it. If it looks too thick before the pasta joins the pan, the final dish will tighten up and feel heavy instead of silky.
- Ground beef — Use an 80/20 blend if you can. It gives enough fat for flavor without making the sauce greasy. If your beef throws off a lot of fat, drain the excess after browning so the cheese sauce stays clean.
- Heavy cream and whole milk — This combination gives body without becoming gluey. All cream works, but the sauce can feel too rich and heavy. The milk keeps it flowing, and the cream gives it that plush finish.
- Freshly grated Parmesan — This is the ingredient that changes the whole dish. Pre-grated cheese often melts poorly, so grate it yourself if you want a smooth sauce. Add it in small handfuls and stir until each addition disappears before adding the next.
- Reserved pasta water — Starchy pasta water helps the sauce loosen without watering it down. Add it a splash at a time at the end if the skillet feels tight. It also helps the sauce cling to the bowtie ridges and folds.
Building the Sauce in the Right Order
Browning the Beef
Cook the ground beef over medium heat until it loses its pink color and picks up a little browning at the edges. That browning gives the sauce a deeper, savory base, so don’t rush it on high heat where it steams instead of sears. If the pan fills with grease, spoon most of it out before you move on. Too much fat at this stage can make the finished sauce feel slick.
Waking Up the Garlic
Melt the butter in the same skillet, then add the garlic and stir it for about 30 seconds. It should smell fragrant, not sharp or browned. Garlic goes bitter fast once it crosses from pale gold into brown, so this is a short stage. The butter should foam around it, not hiss aggressively.
Creating the Cream Base
Pour in the heavy cream and milk, then add the seasoning and let the mixture simmer for a few minutes. You’re looking for small bubbles around the edge of the pan and a slightly thicker texture. This is where the sauce gets its shape before the cheese arrives. If it boils hard, the dairy can separate and the texture turns loose instead of smooth.
Finishing With Cheese and Pasta
Lower the heat and whisk in the Parmesan a little at a time until the sauce looks glossy and uniform. Return the beef and pasta to the skillet, then toss until everything is coated. If the sauce seems too tight, add the reserved pasta water by the spoonful. The finished sauce should cling to the bowties without pooling at the bottom of the pan.
Three Good Ways to Adapt This Pasta
Make It Gluten-Free Without Losing the Creamy Finish
Use your favorite gluten-free bowtie pasta and cook it just to the edge of done. Gluten-free pasta can get soft fast, so pull it early and finish it in the sauce for the best texture. The sauce itself is naturally gluten-free as long as your Parmesan and seasonings are clean.
Swap the Beef for Italian Sausage
Mild or hot Italian sausage works in place of the beef and brings more seasoning straight to the pan. It adds a little more fat, so drain the skillet well before adding the butter and garlic. The result is richer and more assertive, with less need for extra seasoning at the end.
Lighten It Up a Bit
Use half-and-half instead of the cream-and-milk combination if you want something a little less rich. The sauce won’t be quite as lush, and it may need a touch more pasta water to stay silky, but it still works. I wouldn’t drop all the dairy all the way down to low-fat milk, because the sauce loses body and turns thin.
Storage and Reheating
- Refrigerator: Store in an airtight container for up to 4 days. The sauce will thicken as it chills.
- Freezer: It freezes, but the cream sauce can separate a bit after thawing. For best texture, freeze only if you don’t mind a softer sauce and reheat it gently.
- Reheating: Warm it slowly on the stove over low heat with a splash of milk or water. The common mistake is blasting it in the microwave until the sauce breaks and the pasta dries out.
Answers to the Questions Worth Asking
Garlic Parmesan Bowtie Pasta with Beef
Ingredients
Equipment
Method
- Cook bowtie pasta according to package directions until al dente. Drain and reserve 1/2 cup pasta water for later.
- In a large skillet over medium heat, cook ground beef until browned. Drain excess grease if necessary, then remove beef and set aside.
- In the same skillet, melt butter. Add garlic and sauté for 30 seconds until fragrant.
- Stir in heavy cream and whole milk. Add Italian seasoning, onion powder, paprika, salt, and black pepper.
- Simmer the sauce for 3 minutes. Gradually whisk in Parmesan cheese until smooth.
- Return beef to the skillet and stir to combine. Add cooked bowtie pasta and toss until coated.
- Add reserved pasta water if needed for a creamier sauce. Garnish with parsley and additional Parmesan before serving.
