
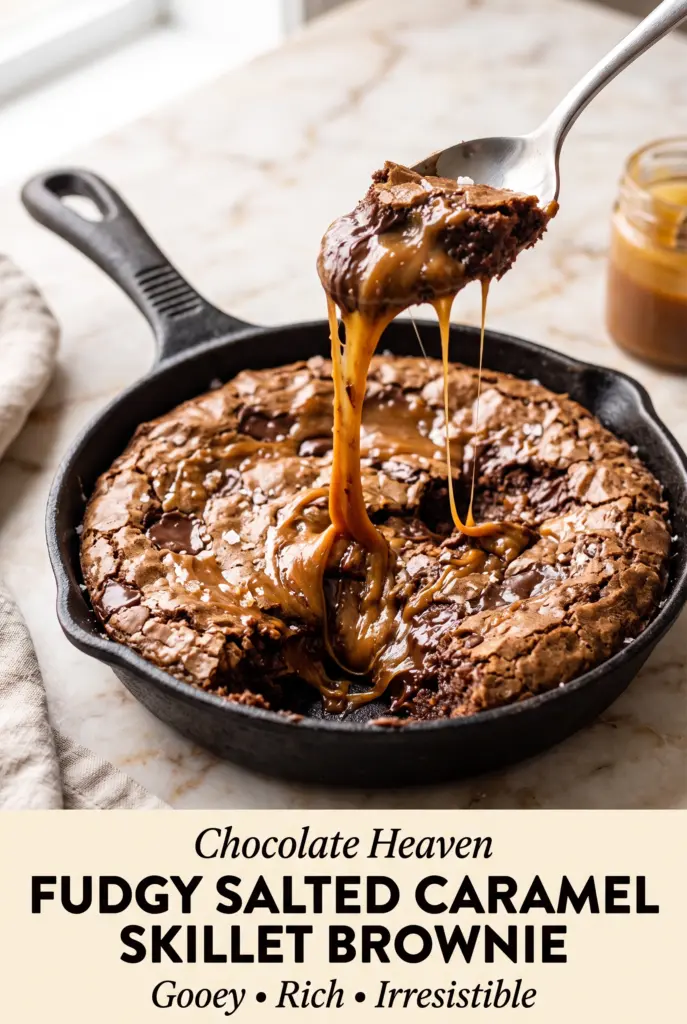
Fudgy Salted Caramel Skillet Brownie
Deeply fudgy brownie edges, a soft center, and ribbons of salted caramel baked right into the middle make this skillet dessert hard to walk past once it comes out of…
Tip: save now, cook later.Deeply fudgy brownie edges, a soft center, and ribbons of salted caramel baked right into the middle make this skillet dessert hard to walk past once it comes out of the oven. The cast-iron pan gives the edges that thin, crackly chew people chase in a brownie, while the middle stays dense and almost truffle-like. A handful of chocolate chips keeps the crumb from baking up dry, and the caramel swirls melt into pockets that taste a little different in every bite.
The trick here is treating the brownie batter gently and not overbaking it. Once the flour goes in, the batter only needs a few turns, just until the dry streaks disappear. The caramel should stay thick enough to ribbon through the batter instead of sinking straight to the bottom, and the flaky salt goes on while the top is still warm so it sticks in little sparkling patches.
Below, you’ll find the one timing detail that keeps the center fudgy instead of cakey, plus a few smart swaps for making this in a different pan or adapting it when you don’t have salted caramel on hand.
The caramel stayed in ribbons instead of disappearing, and the center baked up fudgy while the edges got that crackly brownie top. I served it warm with ice cream and everyone went back for a second slice.
Save this fudgy salted caramel skillet brownie for the nights when you want crackly edges, a gooey caramel swirl, and a scoop of ice cream melting over the top.
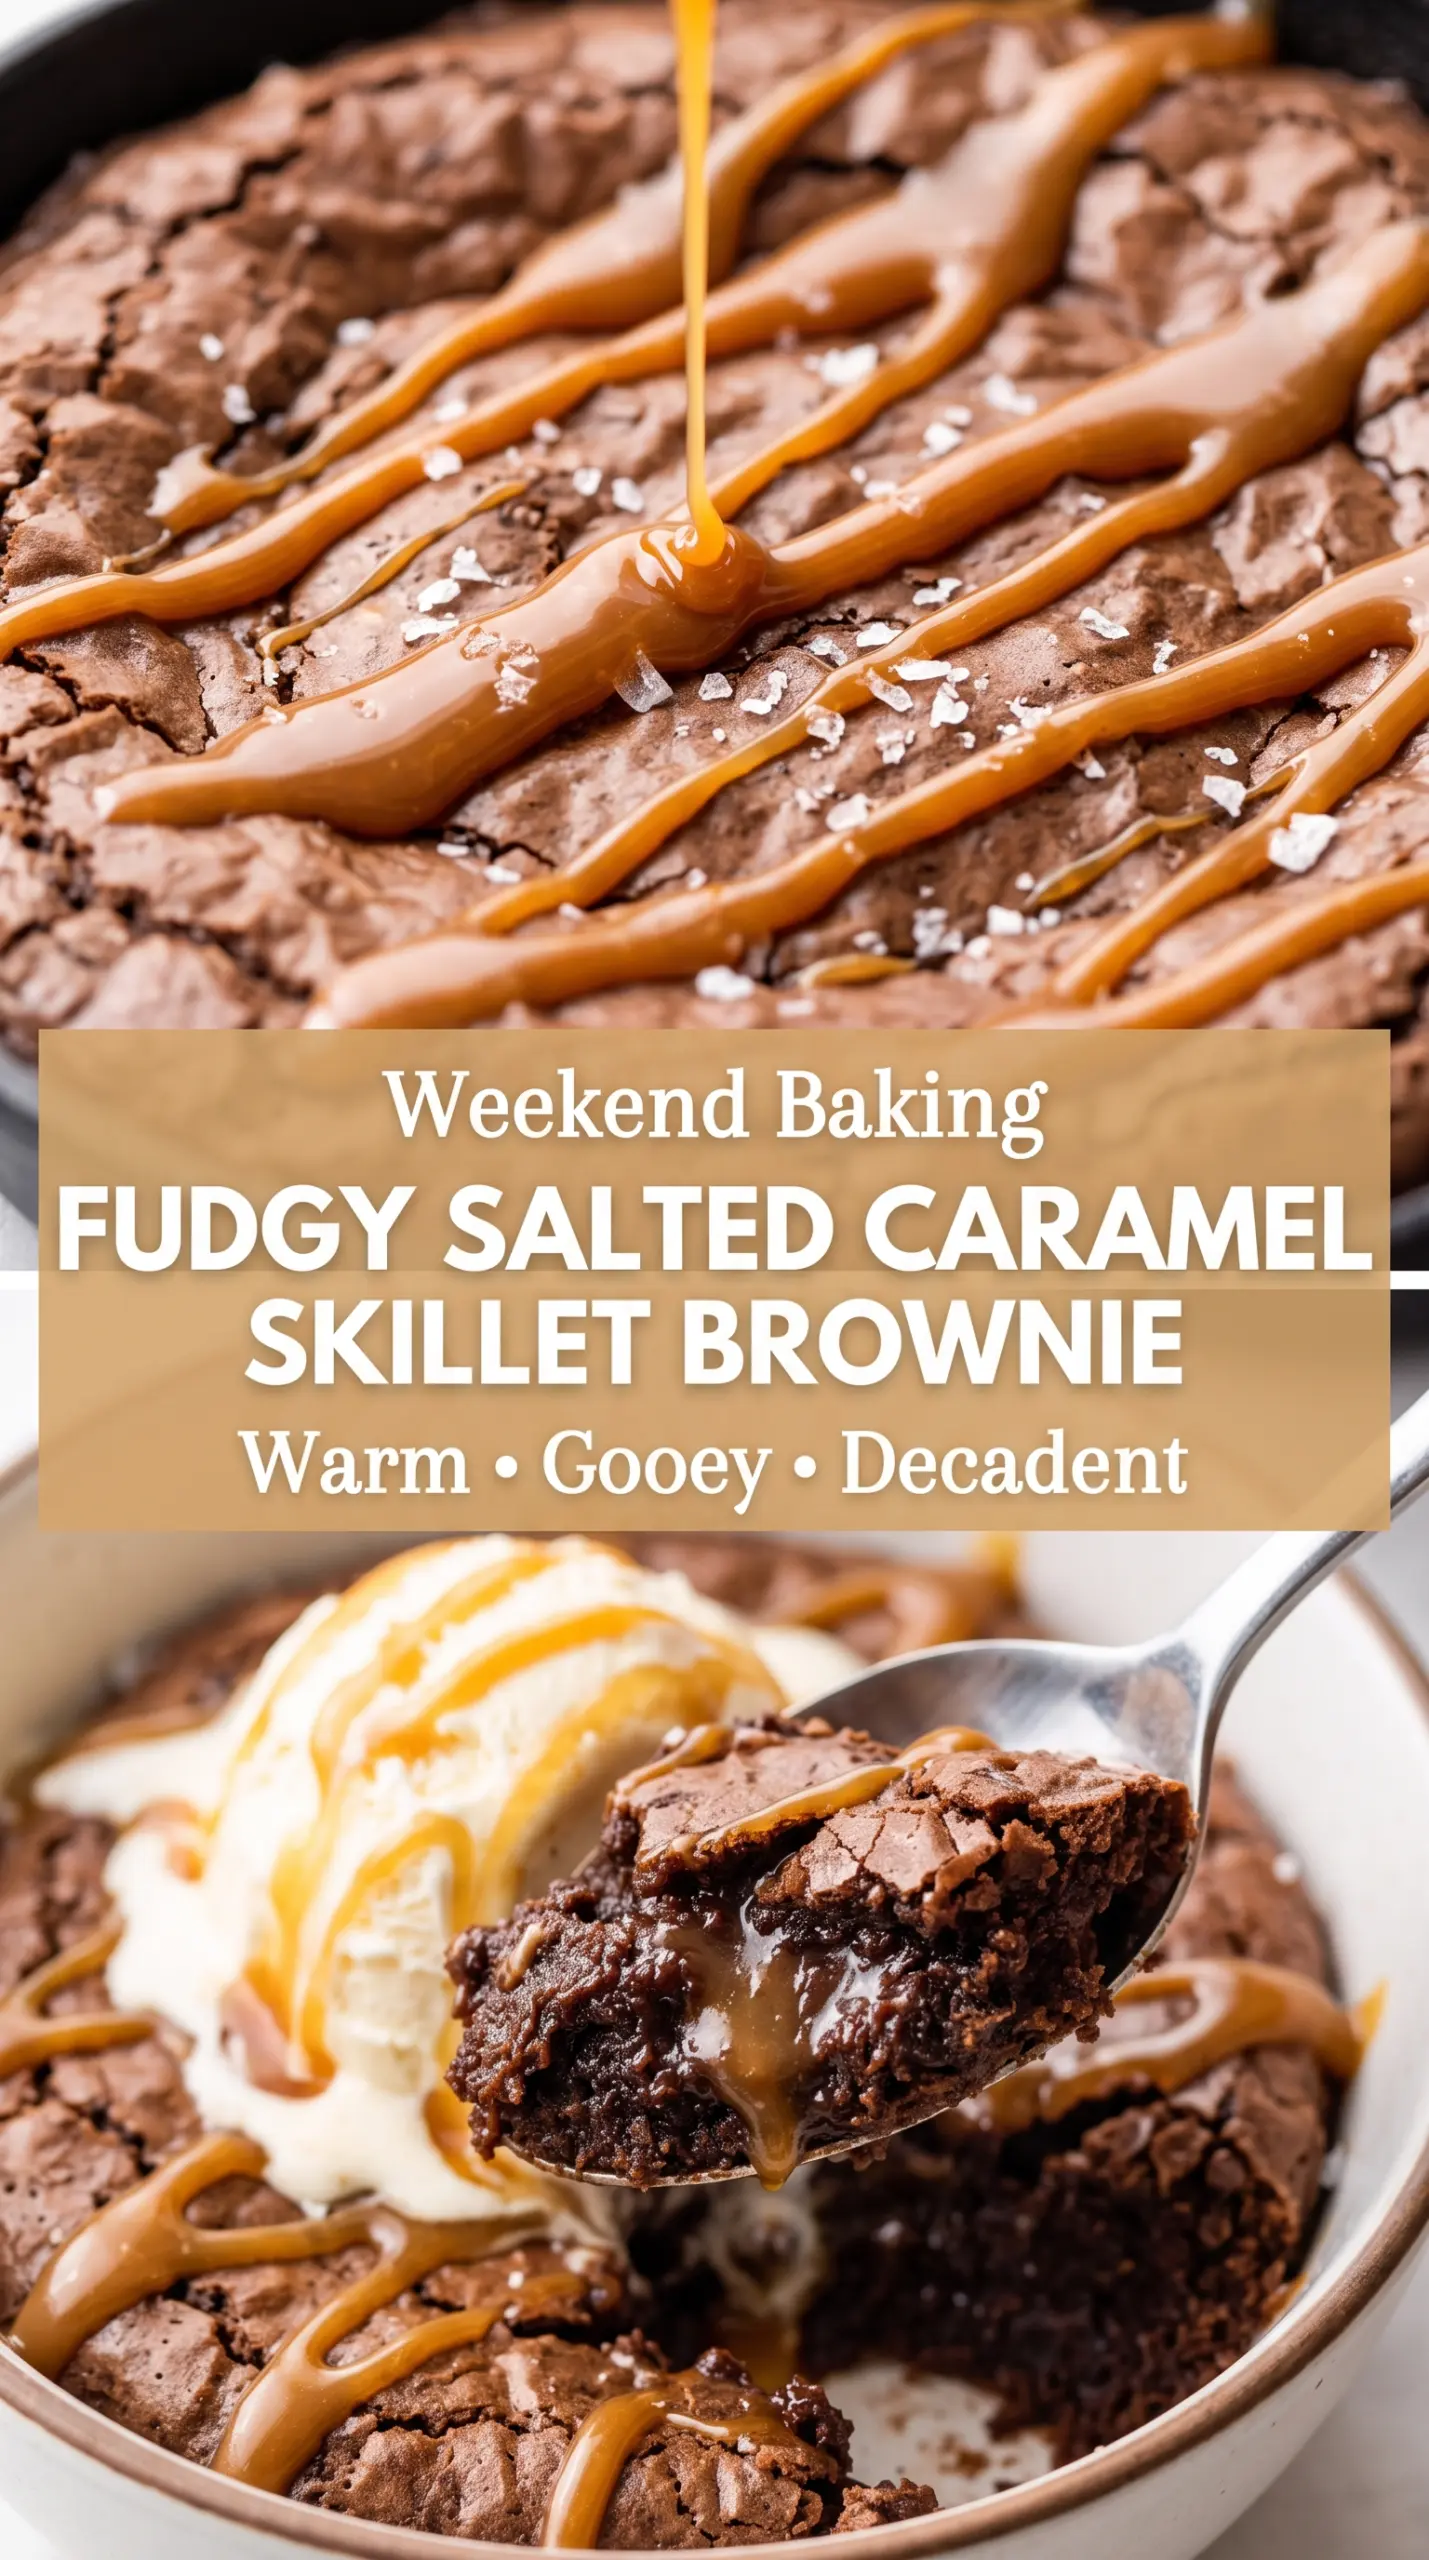
The Reason This Brownie Stays Fudgy Instead of Turning Cakey
A skillet brownie can go wrong in two ways: it can bake up dry around the edges, or it can turn into a dense, underbaked middle with no structure. This one dodges both by leaning on melted chocolate, enough sugar for that shiny top, and just enough flour to hold the batter together without making it fluffy. The eggs do more than bind here; they help create that glossy crust when they’re whisked into the warm chocolate mixture with the sugar.
The other thing that matters is the pan. Cast iron holds heat in a way that helps the edges set fast, which is how you get that contrast between the crackly rim and the fudgy center. If you use a thinner baking dish, the brownie will still work, but the edges won’t get quite the same chew and the bake time may run a little shorter. Pull it when the center still looks slightly soft, because it keeps cooking from residual heat as it cools.
- Semi-sweet chocolate — This gives the brownie its deep, balanced chocolate base. Use a bar if you can, since it melts smoother than many chips, but chips are fine in a pinch if that’s what you have.
- Brown sugar and granulated sugar — The blend matters. Granulated sugar helps with the crackly top, while brown sugar brings moisture and a faint caramel note that plays nicely with the salted caramel sauce.
- Cocoa powder — This adds a darker chocolate edge without making the batter heavier. Natural unsweetened cocoa is perfect here; Dutch-process will work too and gives a slightly smoother, darker finish.
- Thick salted caramel sauce — Use a sauce that holds its shape for a second when spooned, not a thin pourable syrup. Thin caramel tends to sink and disappear, while thick caramel stays in ribbons and pockets.
- Flaky sea salt — This isn’t just garnish. It sharpens the caramel and keeps each bite from tasting flat, especially once the brownie cools a little.
Building the Batter and Swirling the Caramel Without Losing the Texture
Melt the Chocolate Until It’s Smooth, Not Hot
Combine the butter and chopped chocolate over low heat or in short microwave bursts, stirring until the mixture is glossy and fully smooth. If it gets too hot, the eggs can start to cook when you add them, which leaves you with grainy bits instead of a silky base. Let it cool for a minute or two if it feels steamy before moving on.
Whisk for Shine, Not Volume
Beat the sugars, eggs, and vanilla into the melted chocolate until the batter looks glossy and slightly thickened. You’re not trying to whip air into it like cake batter; too much mixing here can make the top less crackly and the crumb more cakey. The batter should look cohesive and a little shiny when it’s ready for the flour.
Fold the Dry Ingredients Just Until They Disappear
Add the flour, cocoa powder, and salt, then fold only until no dry streaks remain. Overmixing is the fastest way to lose that dense, fudgy texture. Stir in the chocolate chips at the end so they stay intact and give you those little molten pockets through the brownie.
Layer the Caramel So It Stays Put
Spread half the batter in the skillet, dollop on half the caramel, then swirl lightly with a knife. Add the rest of the batter and repeat with the remaining caramel. Keep the swirls shallow; if you drag the knife too deeply, the caramel will blend into the batter instead of showing up as distinct ribbons.
Stop the Bake When the Center Still Has a Little Give
Bake until the edges are set and the center looks slightly soft in the middle, with a toothpick coming out with moist crumbs instead of wet batter. That’s the sweet spot for a fudgy brownie. If you wait for a clean toothpick, you’ve gone too far and the brownie will firm up as it cools.
Swap the Skillet for a Square Pan
An 8×8-inch metal baking pan works if you don’t have a cast-iron skillet. The brownie will bake a little more evenly from edge to center, so you lose some of the dramatic crust on the sides, but the fudgy middle stays intact. Start checking a few minutes early because a square pan usually bakes faster than cast iron.
Make It Dairy-Free
Use a dairy-free butter substitute and dairy-free chocolate, then top with a dairy-free caramel sauce. The texture stays close to the original because the brownie relies more on chocolate, eggs, and sugar than on a large amount of dairy. Just check that your caramel sauce is thick enough to swirl rather than run straight through the batter.
Use Chocolate Chips Only
If you don’t have chopped chocolate, use more semi-sweet chocolate chips for the melted base. Chips contain stabilizers, so they can melt a little less smoothly, but low heat and patient stirring will get them there. The brownie will still bake up rich, though the chocolate flavor will be slightly sweeter.
Storage and Reheating
- Refrigerator: Store covered for up to 4 days. The brownie firms up in the fridge, and the caramel gets a little chewier.
- Freezer: It freezes well. Wrap slices tightly and freeze for up to 2 months, then thaw in the fridge or at room temperature.
- Reheating: Warm individual slices in the microwave for 15 to 20 seconds, just until the center softens. Overheating dries out the edges and makes the caramel leak out instead of staying luscious.
Answers to the Questions Worth Asking
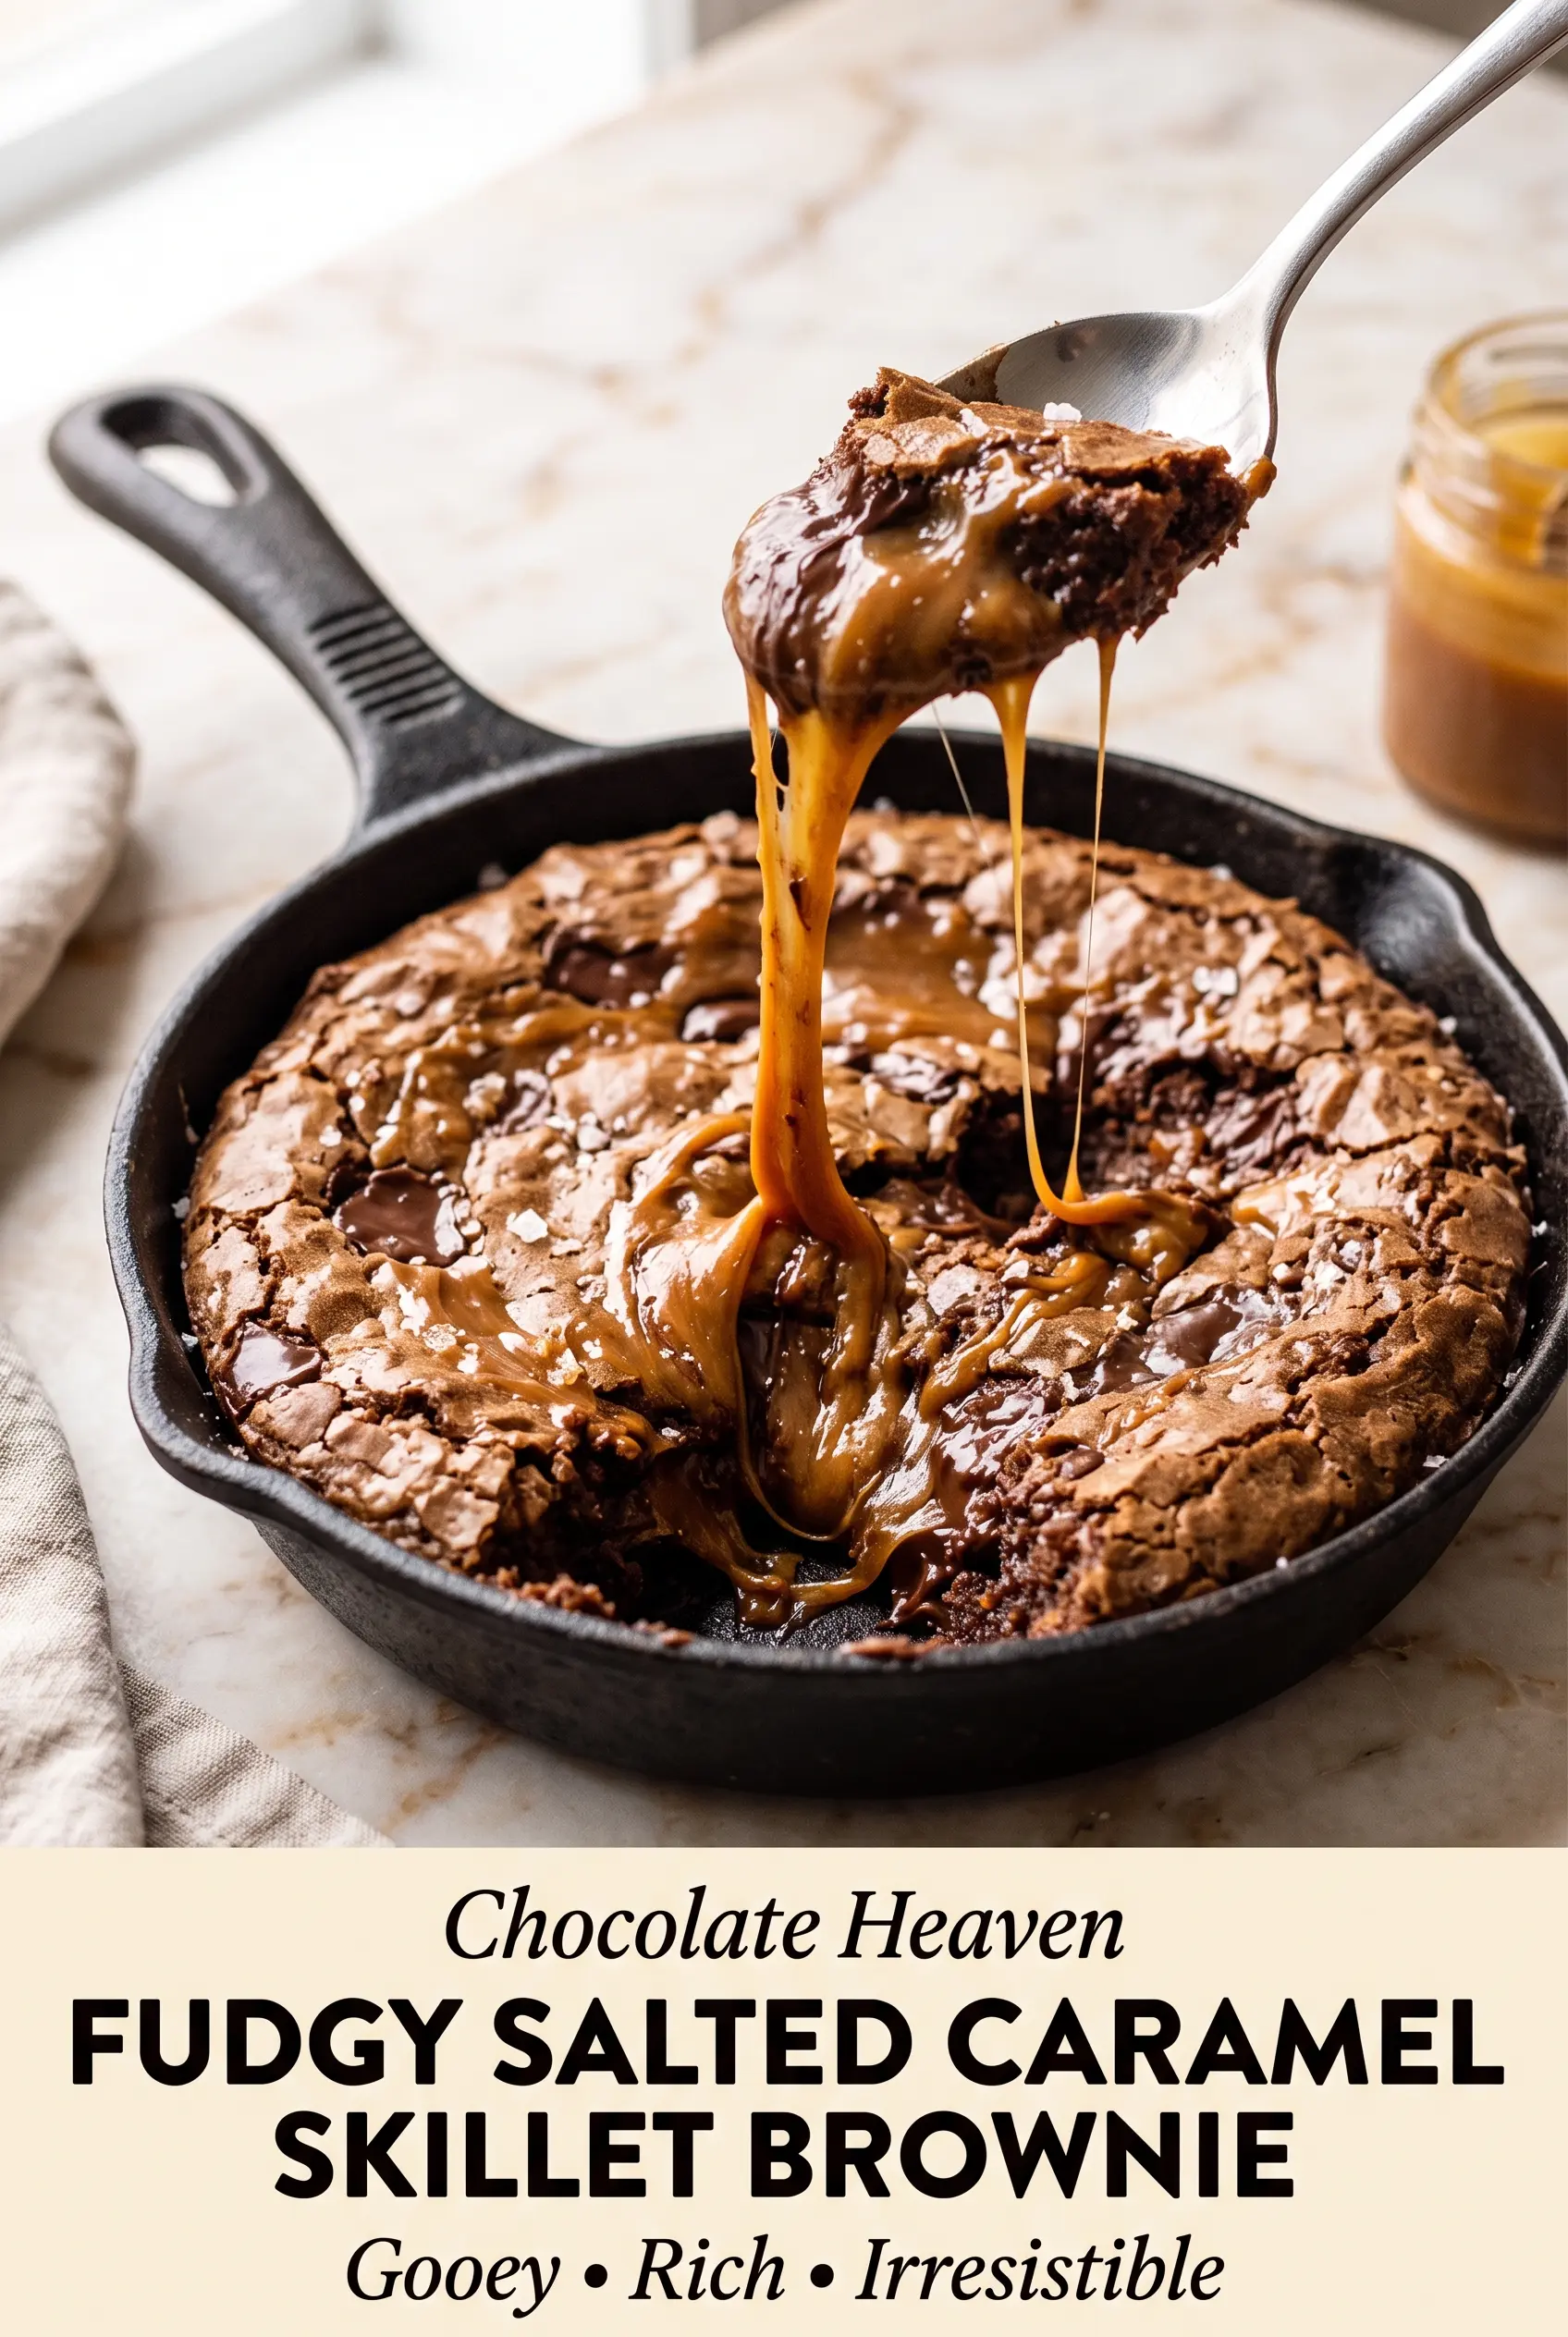
Fudgy Salted Caramel Skillet Brownie
Ingredients
Equipment
Method
- Preheat the oven to 350°F, then lightly grease a 10-inch cast-iron skillet.
- Melt the butter and chopped chocolate together over low heat or in 20-second microwave intervals, stirring until smooth.
- Whisk the granulated sugar, brown sugar, eggs, and vanilla extract into the chocolate mixture until glossy.
- Fold in the all-purpose flour, cocoa powder, and salt until just combined, then stir in the semi-sweet chocolate chips.
- Spread half of the batter into the prepared skillet.
- Dollop half of the salted caramel over the batter, then gently swirl with a knife.
- Add the remaining brownie batter, then spoon the remaining caramel on top.
- Swirl lightly to create caramel ribbons, then bake for 28–34 minutes until the edges are set and the center remains slightly soft.
- Sprinkle the flaky sea salt over the warm brownie immediately after baking, then cool for 15–20 minutes before serving.
- Serve warm directly from the skillet with vanilla ice cream and an extra drizzle of salted caramel, if desired.
