
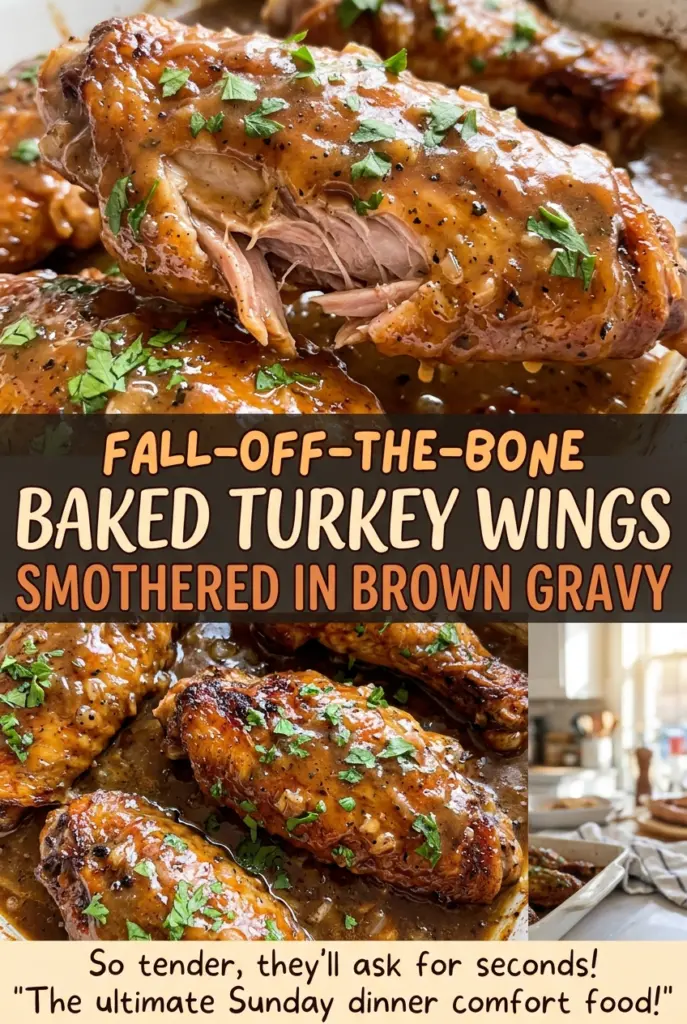
Fall-Off-the-Bone Baked Turkey Wings Smothered in Brown Gravy
The first time I rushed turkey wings, the outside browned beautifully but the meat still clung stubbornly to the bones. A lower oven and a tightly covered dish fixed that.…
Tip: save now, cook later.The first time I rushed turkey wings, the outside browned beautifully but the meat still clung stubbornly to the bones. A lower oven and a tightly covered dish fixed that. These baked turkey wings spend enough time in the oven to turn tender, while the brown gravy keeps the meat moist and gives the pan its rich, savory flavor.
I brown the wings in a skillet before they go into the baking dish, then use that same skillet to build the gravy with onion, celery, flour, and chicken broth. Scraping up the browned bits as the broth goes in gives the gravy more depth without adding extra ingredients. Once everything is covered, the oven does the slow work, and the finished wings are soft enough to pull apart easily.
Kitchen Note
Brown the wings in batches instead of crowding the skillet. When the pan is packed, the wings steam against one another and won’t develop the same deep color.
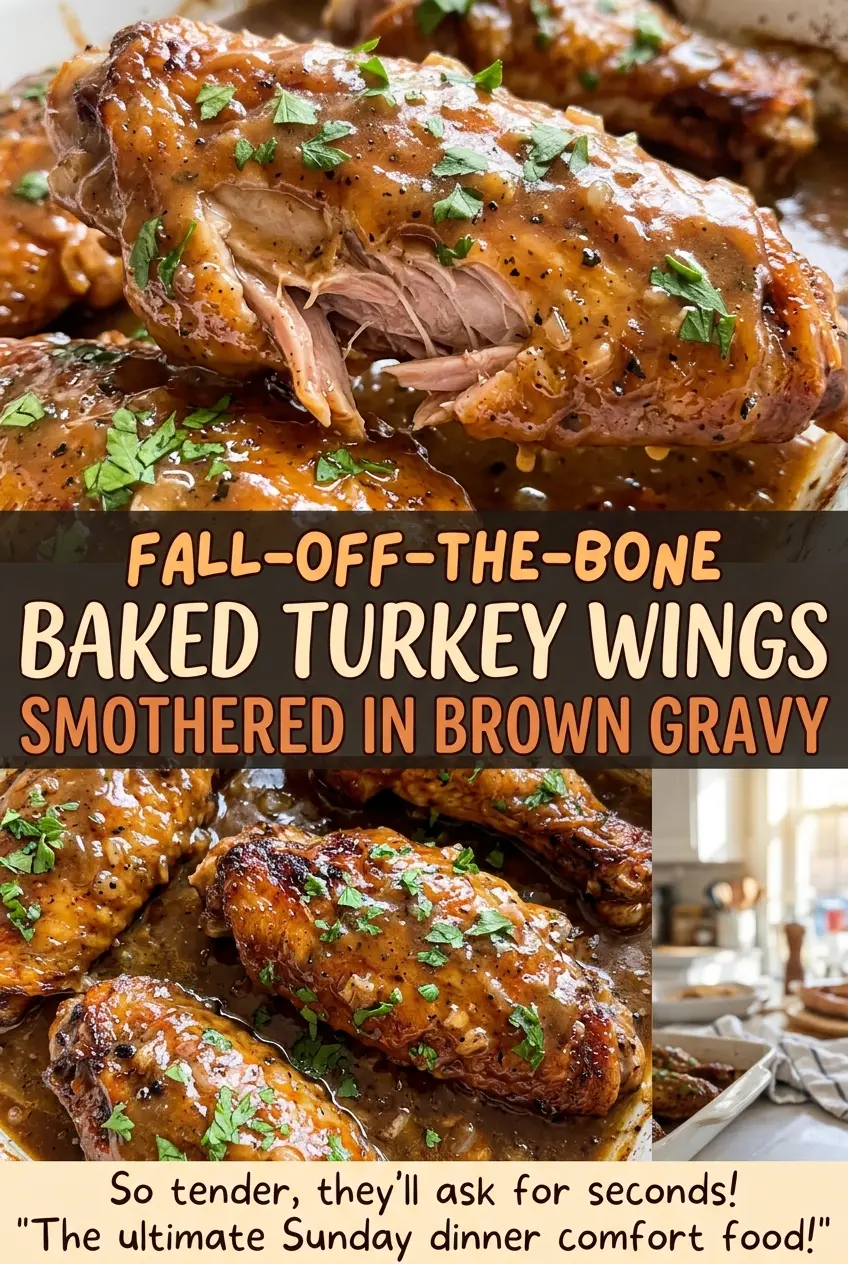
Save these fall-off-the-bone turkey wings for a slow, cozy dinner: the brown gravy cooks right over the wings and turns tender meat into a fork-soft meal.
Why Turkey Wings Need a Long, Covered Bake
Turkey wings have plenty of connective tissue, so a quick roast can leave the meat chewy even when the skin looks browned. This dish takes the opposite approach: the wings brown first for color, then finish slowly in a covered baking dish with gravy. That covered environment holds in moisture while the meat has time to become tender.
The foil needs to fit snugly around the dish. If it’s loose, steam escapes and the gravy reduces more than you want before the wings are ready to pull from the bones. Keep the oven at 325°F and let the wings cook until both cues line up: a thermometer inserted into the thickest meat, away from the bone, reads at least 165°F, and the meat pulls easily from the bones. The temperature confirms safe cooking; the easy pull tells you the texture has reached that fall-apart stage. A few extra minutes of resting after baking lets the dish settle before serving.
How the Onion, Celery, and Flour Build a Better Brown Gravy
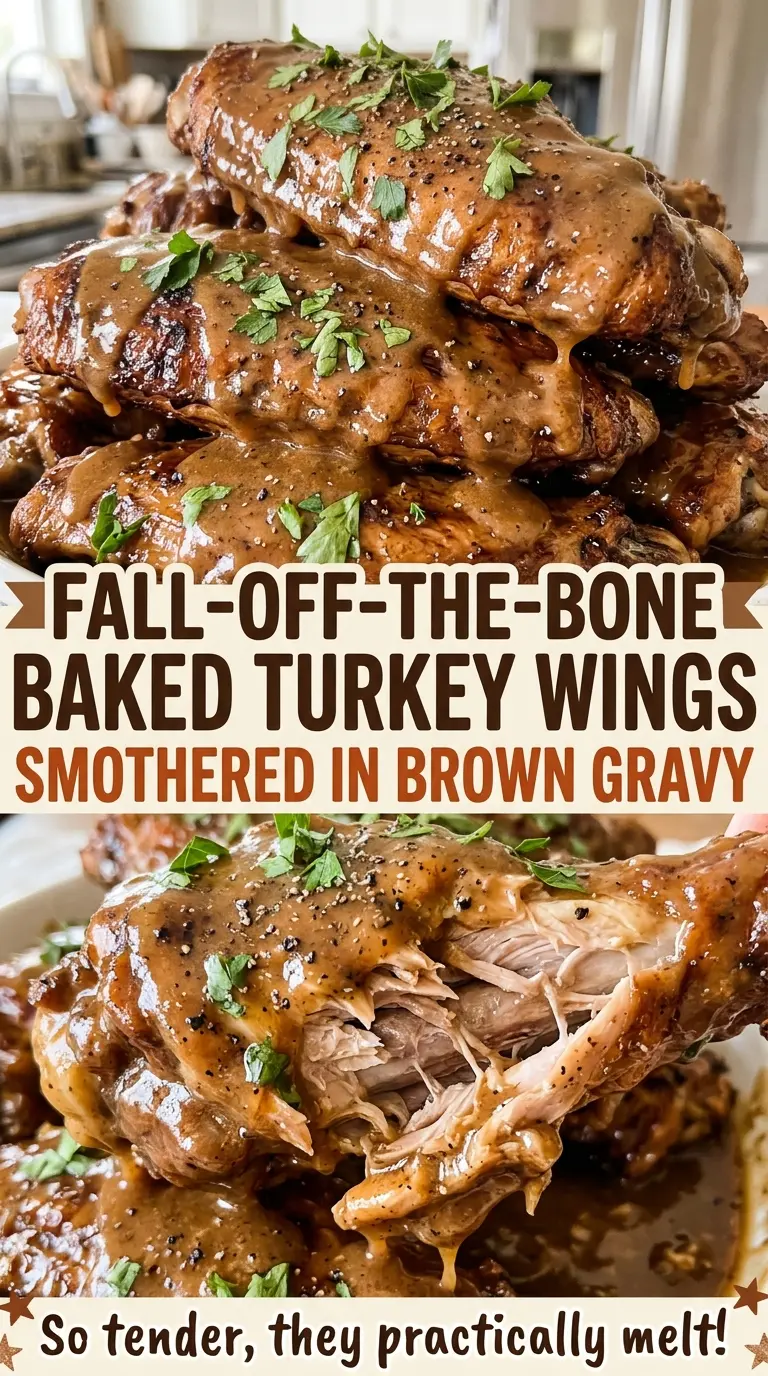
- Turkey wings — Ask for them separated at the joints, as they’re easier to arrange in a single layer and serve as individual pieces. The browned surfaces also give the gravy more savory depth as everything bakes together.
- Onion and celery — These soften in the skillet and give the gravy its aromatic base. Dice them fairly evenly so they cook at the same pace; there’s no need to fuss over tiny pieces because they’ll continue to soften in the oven.
- All-purpose flour — Flour thickens the broth into gravy and helps it cling to the wings. Cooking it briefly with the softened vegetables takes away the raw-flour taste before the liquid goes in.
- Low-sodium chicken broth — Low-sodium broth lets the wing seasoning and gravy taste balanced rather than overly salty after a long bake. It’s also the ingredient that loosens the flour mixture into a smooth sauce.
- Garlic powder and paprika — They season the wings before browning, so the flavor starts on the meat rather than relying on the gravy alone. Smoked paprika works in place of regular paprika when you want a deeper, woodsy note.
- Vegetable oil — A neutral oil suits the hot skillet and helps the wings brown without competing with the gravy. Keep the amount measured; the wings will render some fat as they cook.
From Skillet to Tender Wings: The Stages That Matter
Season and Arrange the Wings
Heat the oven to 325°F and arrange the separated wings in a single layer in a 9×13-inch baking dish. Season them evenly with kosher salt, black pepper, garlic powder, and paprika so the pieces are seasoned on all sides. If a few pieces overlap, rearrange them before baking; an even layer gives the gravy room to surround the wings.
Brown the Wings for a Savory Base
Heat vegetable oil in a 12-inch skillet over medium-high heat, then brown the wings in batches for about 4 minutes per side. Look for a deep golden-brown surface rather than a pale, wet look. Turn them carefully so the seasoning stays on the meat, then transfer each batch back to the baking dish. Browning adds color and flavor, but the wings won’t be cooked through at this point.
Cook the Vegetables and Thicken the Gravy
Add the diced onion and celery to the skillet and cook over medium heat, stirring, until softened, about 5 minutes. Stir in the flour and cook for 2 minutes, letting it coat the vegetables before adding liquid. Gradually whisk in the chicken broth so the flour mixture loosens smoothly instead of forming stubborn lumps. Simmer for 3 to 5 minutes, until the gravy thickens, then pour it over the wings.
Cover and Bake Until the Meat Pulls Easily
Cover the baking dish tightly with foil before it goes into the oven; a secure seal keeps the gravy from drying out during the long bake. Bake for 2 1/2 to 3 hours, until the thickest meat away from the bone reaches at least 165°F and pulls easily from the bones. If the meat still grips the bone, keep baking until it loosens rather than relying on the clock alone. Rest the wings for 10 minutes before serving.
Easy Changes for a Different Brown Gravy
Make the gravy gluten-free
Replace the all-purpose flour with the same amount of a cup-for-cup gluten-free flour blend that’s intended for thickening. Cook it with the softened vegetables, then whisk in the broth gradually; different blends can thicken at slightly different rates, so use the gravy’s consistency as your cue. The result keeps the same savory base, though the texture may be a little less silky.
Use smoked paprika for a deeper note
Swap smoked paprika for the regular paprika in the wing seasoning without changing the method. It brings a gentle smoky edge to the browned wings and darkens their color. Keep the other seasonings as they are so the smoky flavor doesn’t take over the gravy.
Try low-sodium turkey broth
Use low-sodium turkey broth in place of the chicken broth, keeping the same volume. It gives the sauce a fuller turkey flavor and works with the same flour-thickened method. Choose low-sodium broth so the seasoning stays manageable as the gravy cooks down.
Storage and Reheating
- Refrigerator: Store the cooled wings and gravy in an airtight container for 3 to 4 days. The gravy will thicken as it chills.
- Freezer: Freeze the wings with the gravy in a freezer-safe airtight container for up to 2 to 3 months. Thaw overnight in the refrigerator for the most even reheating.
- Reheating: Warm the wings gently, covered, in a 325°F oven with the gravy until heated through to 165°F. Add a splash of broth if the chilled gravy is too thick, and avoid reheating uncovered, which can dry the meat before the center is hot.
Questions That Come Up With Baked Turkey Wings
Fall-Off-the-Bone Baked Turkey Wings Smothered in Brown Gravy
Ingredients
Equipment
Method
- Heat the oven to 325°F.
- Arrange the turkey wings in a single layer in a 9x13-inch baking dish.
- Season the wings evenly with the kosher salt, black pepper, garlic powder, and paprika.
- Heat the vegetable oil in a 12-inch skillet over medium-high heat.
- Brown the wings in batches, about 4 minutes per side.
- Transfer the browned wings back to the baking dish.
- Add the diced yellow onion and celery to the skillet and cook over medium heat, stirring, until softened, about 5 minutes.
- Stir in the all-purpose flour and cook for 2 minutes.
- Gradually whisk in the low-sodium chicken broth.
- Simmer until the gravy thickens, 3 to 5 minutes.
- Pour the gravy over the wings.
- Cover the dish tightly with foil.
- Bake for 2 1/2 to 3 hours, until a thermometer in the thickest meat, away from the bone, reads at least 165°F and the meat pulls easily from the bones.
- Rest for 10 minutes before serving.
