

Christmas Rice Krispie Treats
When the marshmallows melt into the butter, the mixture should turn glossy and smooth, not browned or stiff. That’s the moment to take the pot off the heat. It gives…
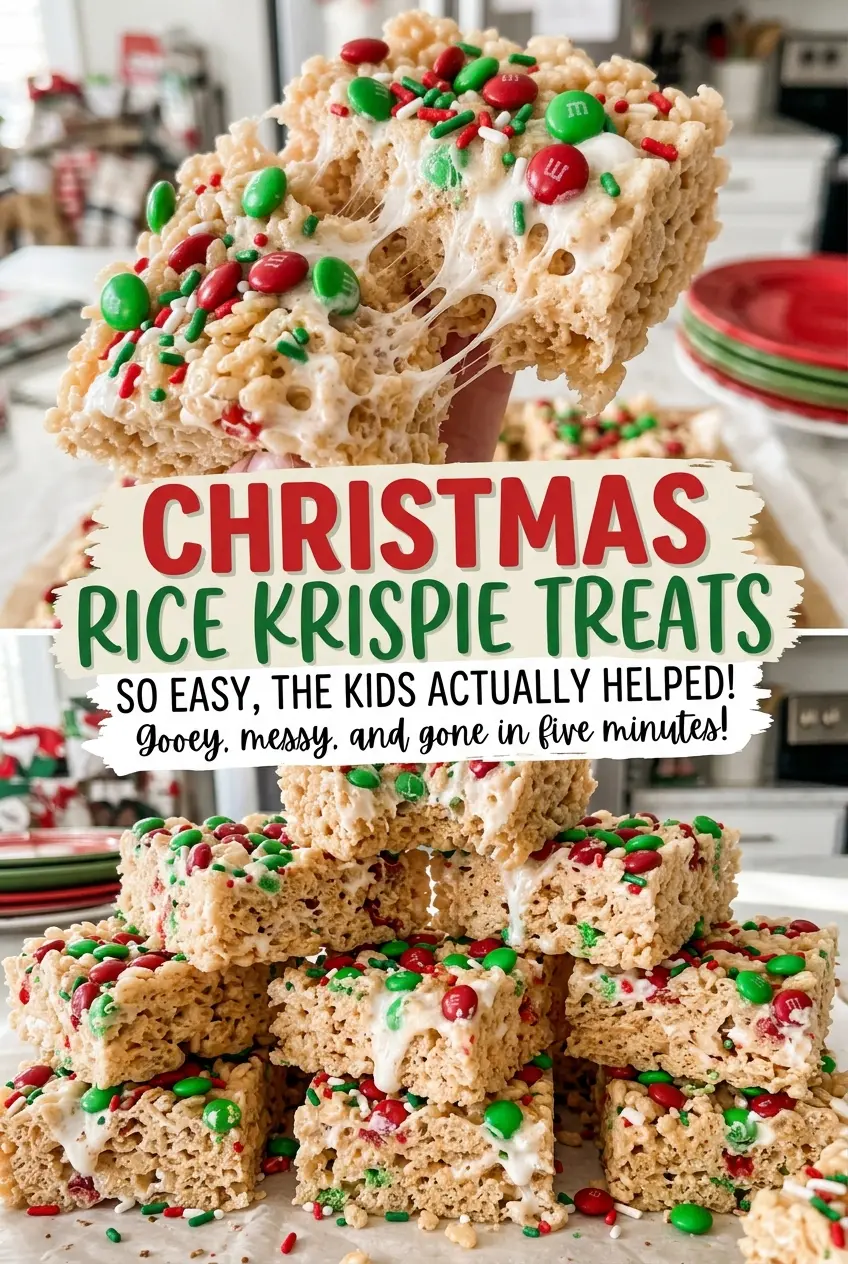
Tip: save now, cook later.When the marshmallows melt into the butter, the mixture should turn glossy and smooth, not browned or stiff. That’s the moment to take the pot off the heat. It gives these Christmas Rice Krispie Treats their soft, chewy bite, while the red and green candies make every square look ready for a holiday dessert tray.
I like this recipe because it keeps the familiar cereal-and-marshmallow base simple and lets the decorations do the festive work. The candies are folded in gently so they stay whole, and the sprinkles go on top where their color shows. Once the mixture is pressed into the pan, it needs a little time at room temperature to set into neat squares with crisp edges and a tender middle.
Kitchen Note
Press the sprinkles into the top while the mixture is still warm. A light touch is enough to help them stick without burying their color in the cereal.
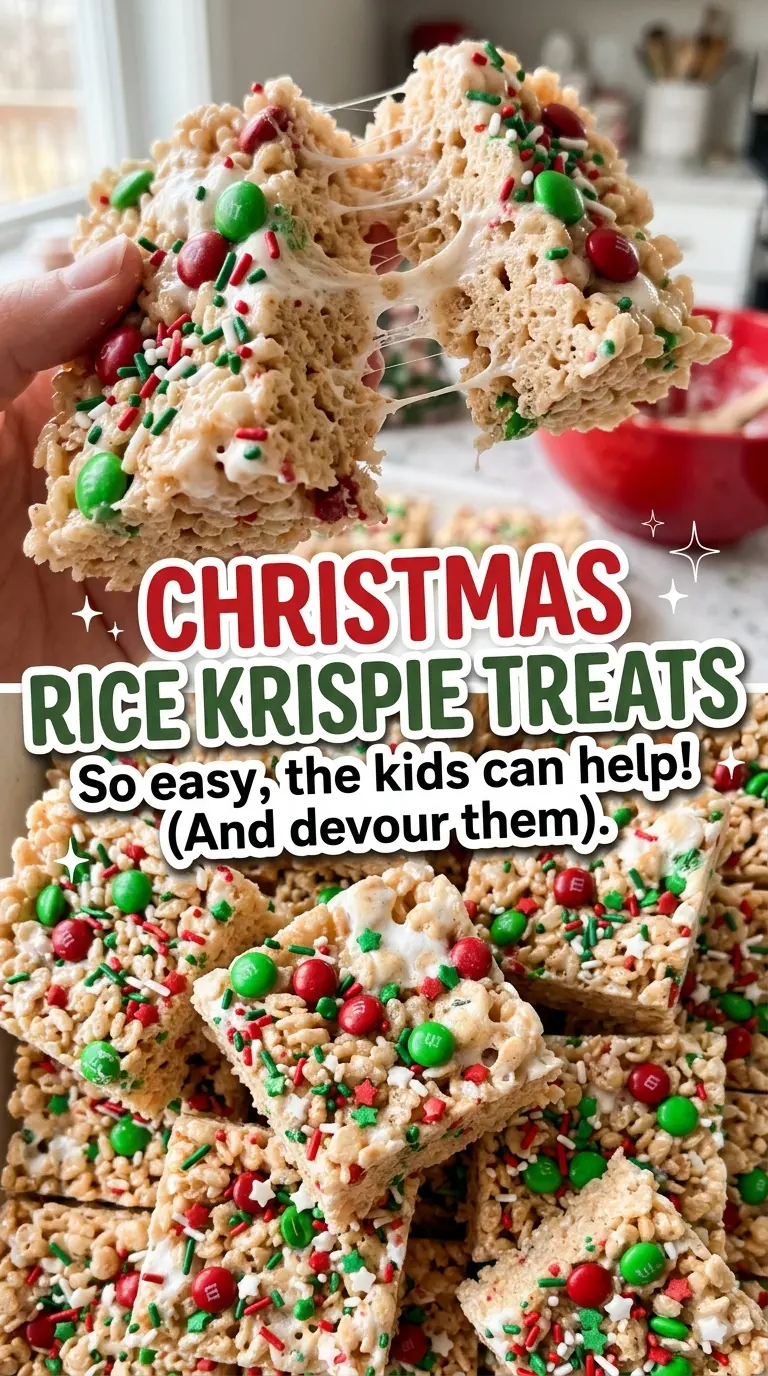
Save these Christmas Rice Krispie Treats for a holiday tray: chewy cereal squares topped with red and green candy and bright sprinkles.
Why These Treats Turn Tough When the Marshmallow Base Gets Too Hot
Rice cereal treats don’t need a boiling syrup or a long cook. The marshmallows just need to melt smoothly into the butter, and low heat gives you room to stir without scorching the mixture. If the pot gets too hot, the marshmallow base can become stiff before it has a chance to coat the cereal evenly; once that happens, pressing the mixture into the pan takes more effort and the finished squares can feel dense.
Watch the texture rather than waiting for a dramatic change in color. Keep the butter over low heat, then stir the marshmallows and salt until no lumps remain and the mixture looks glossy. Take the pot off the burner before adding the vanilla. The residual warmth is enough to keep the base workable as you stir in the cereal, and a smooth, loose coating helps the cereal pieces hold together without becoming compressed.
That gentle approach matters again when the mixture goes into the dish. Press it into an even layer, but don’t pack it down hard. A firmly compacted layer may look tidy in the pan, but it loses the light, airy texture that makes a cereal treat pleasant to bite.
What the Marshmallows, Cereal, and Candy Each Bring
- Mini marshmallows — Their small size helps them melt evenly into the butter, so you get a smooth coating without having to wait for large pieces to break down. Use a fresh package; marshmallows that have dried out can be harder to melt smoothly. Larger marshmallows can work, but cut them into smaller pieces first.
- Crisp rice cereal — The airy, crisp pieces give the treats their familiar crunch and keep the marshmallow layer from eating like a solid candy bar. A standard crisp rice cereal is fine; freshness matters more than choosing a premium brand. Use a cereal that’s still crisp rather than one that has gone stale in an open bag.
- Unsalted butter — Butter rounds out the sweetness and helps the marshmallows melt into a stirrable base. Regular unsalted butter works well here; there’s no need for a specialty butter. If you only have salted butter, omit the kosher salt so the finished treats don’t taste too salty.
- Vanilla extract — Vanilla adds a warm background note that makes the marshmallow taste less one-dimensional. Pure vanilla is nice, but a standard vanilla extract is perfectly suitable because it’s blended into the melted base.
- Candy-coated chocolates and holiday sprinkles — The candies bring color and a little extra crunch, while the sprinkles make the tops look festive. Candy-coated pieces hold their shape better than soft chocolate chips in the warm mixture. Choose sprinkles that are small enough to press gently into the surface.
How to Melt, Coat, and Set the Squares Without Crushing Them
Butter the Dish Before You Start
Grease a 9×13-inch baking dish with butter so the treats release cleanly after they set. Have a spatula ready for pressing, and butter its surface too; the sticky mixture is much easier to handle when it doesn’t cling to the tool. Setting up first means you can transfer the cereal mixture while it’s still warm and pliable.
Melt the Butter and Marshmallows Slowly
Melt the butter in a large pot over low heat, which takes about 2 minutes. Add the mini marshmallows and kosher salt, then stir for 3 to 5 minutes until the mixture is smooth. Keep the heat low and scrape around the pot as you stir; if you see browned spots or the mixture tightens before it’s smooth, lower the heat. Remove the pot from the burner and stir in the vanilla.
Coat the Cereal and Fold in the Candies
Add the crisp rice cereal and stir until every piece is coated with the marshmallow mixture. Work steadily, but don’t mash the cereal as you stir, or the finished texture will be less crisp. Gently fold in the red and green candy-coated chocolates so they stay distributed through the mixture instead of collecting in one spot. The mixture will be sticky, but it should still move well enough to transfer.
Press an Even Layer and Let It Set
Scrape the mixture into the buttered dish and use the buttered spatula to press it into an even layer. Keep the pressure gentle; the goal is to bring the pieces together, not squeeze out all the air. Scatter the holiday sprinkles over the top and press them in lightly. Leave the dish at room temperature for about 1 hour, then cut the set slab into 16 squares.
Three Easy Ways to Change the Look or Make a Different Batch
Switch Up the Holiday Colors
Use candy-coated chocolates and sprinkles in another color combination while keeping the same amounts. The cereal treats stay just as crisp and chewy, but the colors can match a different party or celebration. Keep the candies candy-coated so they hold their shape when folded into the warm mixture.
Make a Dairy-Free Batch
Replace the butter with the same amount of plant-based baking sticks, and use vegan mini marshmallows and dairy-free candy-coated chocolates. The treats will still set, though the buttery taste and texture may differ slightly from a batch made with dairy butter. Choose a baking stick rather than a soft tub spread, which can make the mixture greasy.
Cut Them into Small Party Bites
For a dessert tray where people are sampling several sweets, cut the set slab into smaller pieces instead of 16 squares. The smaller bites are easier to pick up and give you more portions from the same pan. Use a sharp knife and wipe away sticky bits between cuts for tidy edges.
Storage and Reheating
- Room temperature: Keep the squares in an airtight container for up to 3 days. They’ll gradually lose some crispness as they sit.
- Freezer: Freeze well-wrapped individual squares in an airtight freezer container for up to 6 weeks. Thaw them at room temperature while still wrapped to limit condensation on the treats.
- Reheating: These are best served at room temperature and don’t need reheating. Microwaving can soften the cereal and make the marshmallow coating sticky.
Questions That Come Up While Making Christmas Rice Krispie Treats
Christmas Rice Krispie Treats
Ingredients
Equipment
Method
- Butter a 9x13-inch baking dish.
- In a large pot, melt the butter over low heat, about 2 minutes.
- Add the marshmallows and salt and stir for 3 to 5 minutes until smooth.
- Remove the pot from the heat and stir in the vanilla.
- Add the cereal and stir until evenly coated.
- Gently fold in the candies.
- Transfer the mixture to the prepared dish and gently press it into an even layer with a buttered spatula.
- Scatter the sprinkles over the top and press them in lightly.
- Let the treats set at room temperature for about 1 hour.
- Cut into 16 squares.
