
Chicken Zucchini Poppers
Chicken zucchini poppers stay tender in a way plain ground chicken rarely does. The zucchini brings moisture without making the mixture heavy, and the Parmesan gives the little patties a…
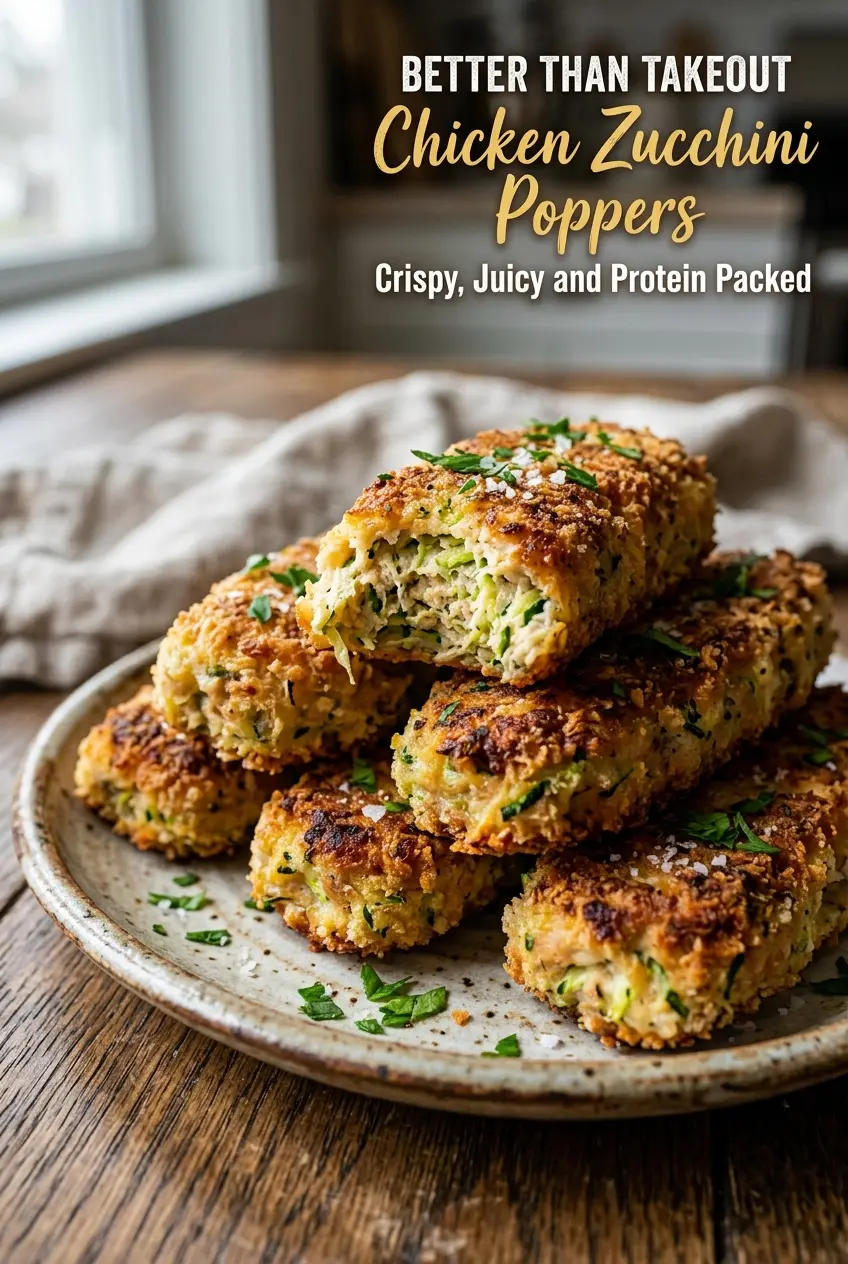
Tip: save now, cook later.Chicken zucchini poppers stay tender in a way plain ground chicken rarely does. The zucchini brings moisture without making the mixture heavy, and the Parmesan gives the little patties a salty edge that keeps them from tasting flat. When they come out of the oven, the outside is lightly browned and the inside is juicy, not dry or crumbly.
The part that makes this recipe work is squeezing the zucchini until it’s actually dry. If you leave extra water in there, the mixture turns loose and the poppers steam instead of browning. Breadcrumbs and egg hold everything together, while garlic, Italian seasoning, and parsley give the chicken enough backbone to taste seasoned all the way through.
Below, I’ll walk through the key mistake people make with zucchini, how to shape the mixture so it bakes evenly, and a few ways to adapt these for meal prep, gluten-free eating, or a different dip on the side.
I was worried the zucchini would make these soggy, but squeezing it dry fixed that. They baked up golden on the edges and stayed juicy inside, and my kids ate them plain before I even got the dip out.
These chicken zucchini poppers are the kind you’ll want to keep on repeat for easy lunches, snacky dinners, and meal prep that actually stays juicy.
The Zucchini Trick That Keeps These Poppers from Going Mushy
Zucchini is the ingredient that can make or break this whole recipe. It adds moisture and tenderness, but it also brings a lot of hidden water with it. If you skip the squeeze step, the mixture turns slack, the poppers spread too much on the pan, and the bottoms never get that light browning you want.
The other thing people miss is that ground chicken needs enough structure around it. Parmesan, breadcrumbs, and egg aren’t there just for filler. They create a mixture that holds a clean shape and bakes up with a tender bite instead of a dense, rubbery one. The texture should feel cohesive but still scoopable.
What Each Ingredient Is Doing in the Bowl

The zucchini matters most when it’s grated on the fine side of a box grater and squeezed until no more water drips out. A clean kitchen towel works better than paper towels here because it gives you enough grip to wring the shreds tightly. The drier the zucchini, the better the browning.
Parmesan adds saltiness and helps the edges firm up. Use the real grated stuff if you can, because it melts and binds better than the shelf-stable powdery kind. Breadcrumbs can be regular or panko, but panko gives a lighter texture and regular breadcrumbs give a slightly tighter, softer popper.
Ground chicken is the base, and it’s lean enough that you need the zucchini and Parmesan to keep it from eating dry. Garlic, Italian seasoning, onion powder, and parsley are the flavor builders. If you don’t have fresh parsley, dried works in a pinch, but use less since dried herbs are more concentrated.
Shaping and Baking Them So They Cook Evenly
Mixing Without Overworking
Combine everything in one bowl and mix just until the ingredients look evenly distributed. If you keep stirring past that point, the chicken tightens up and the poppers bake up tougher. The mixture should hold together when you scoop it, but it doesn’t need to be packed like meatballs.
Forming the Poppers
Scoop about 2 tablespoons for each popper and shape them into small patties or balls with damp hands. Keeping them uniform matters because the smaller ones cook faster and the larger ones can dry out before the centers are done. If the mixture feels sticky, chill it for 10 minutes; that makes shaping much easier.
Baking to the Right Finish
Place the poppers on parchment and brush or spray the tops with olive oil. That little bit of fat helps them brown instead of drying out in the oven. Bake until the edges are golden and the centers reach 165°F, then pull them out right away so they stay juicy.
Make Them Gluten-Free
Swap the breadcrumbs for gluten-free breadcrumbs or almond flour. Gluten-free breadcrumbs keep the closest texture to the original, while almond flour makes them a little softer and more tender. If you use almond flour, start with a little less and add only enough to hold the mixture together.
Make Them Dairy-Free
Leave out the Parmesan and add 2 to 3 tablespoons of nutritional yeast for a savory edge. The poppers will be a little less salty and less crisp on the outside, so a light brush of olive oil becomes more important. This swap keeps them family-friendly without losing the herby chicken flavor.
Use Turkey Instead of Chicken
Ground turkey works the same way and gives you a slightly leaner, milder popper. If your turkey is extra lean, the zucchini and Parmesan matter even more because they keep the texture from turning dry. The bake time usually stays the same, but start checking at the early end if the poppers are smaller.
Storage and Reheating
- Refrigerator: Store in an airtight container for up to 4 days. They stay moist, but the crust softens a bit in the fridge.
- Freezer: Freeze baked poppers on a tray, then move them to a freezer bag for up to 2 months. Freezing them in a single layer keeps them from sticking together.
- Reheating: Warm in a 350°F oven or air fryer until heated through. The biggest mistake is microwaving them too long, which makes the chicken rubbery and the zucchini watery.
Questions I Get Asked About This Recipe
Chicken Zucchini Poppers
Ingredients
Equipment
Method
- Preheat the oven to 400°F (200°C) and line a sheet pan with parchment paper.
- Grate the zucchini and squeeze out excess moisture using a clean towel.
- In a large bowl, combine ground chicken, zucchini, Parmesan, breadcrumbs, egg, garlic, Italian seasoning, onion powder, salt, black pepper, and parsley.
- Mix until fully combined.
- Scoop about 2 tablespoons of mixture and shape into small patties or balls.
- Arrange the poppers on the prepared sheet pan.
- Lightly brush or spray the poppers with olive oil.
- Bake for 18–22 minutes at 400°F (200°C) until golden and cooked through.
- Serve warm with ranch, garlic yogurt sauce, or your favorite dipping sauce.
