
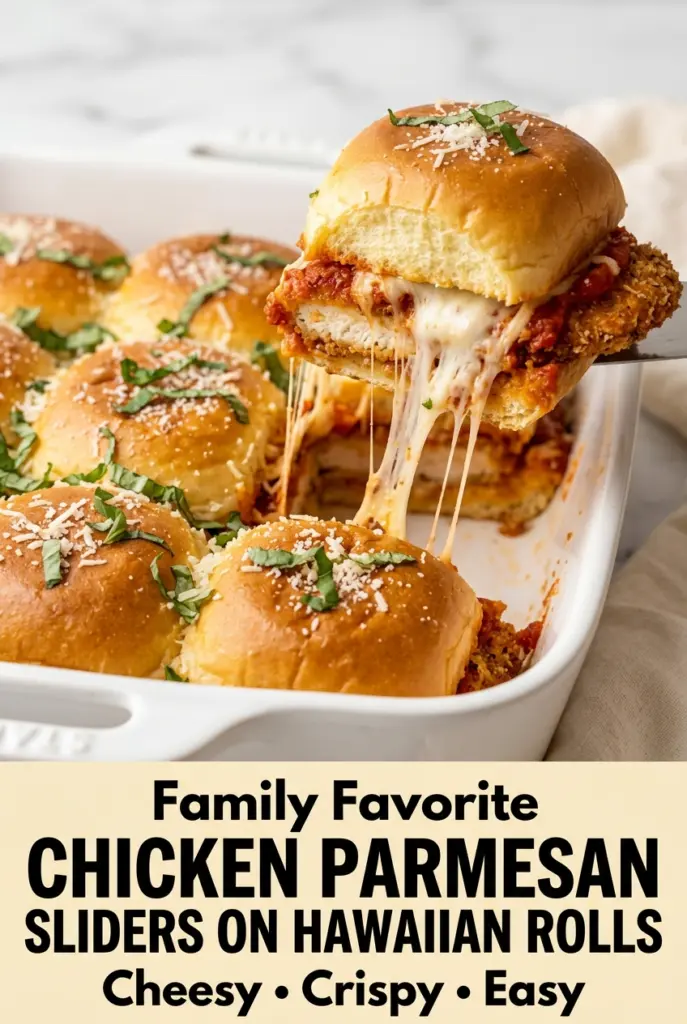
Chicken Parmesan Sliders on Hawaiian Rolls
Chicken Parmesan sliders on Hawaiian rolls hit that sweet spot between comfort food and party food: crisp chicken, tangy marinara, and a blanket of melted cheese tucked into soft rolls…
Tip: save now, cook later.Chicken Parmesan sliders on Hawaiian rolls hit that sweet spot between comfort food and party food: crisp chicken, tangy marinara, and a blanket of melted cheese tucked into soft rolls that toast up on top and stay plush underneath. The first bite gives you crunch, sauce, and buttery garlic in one hit, which is exactly why these disappear fast off a platter and still work just as well for a weeknight dinner.
The trick is keeping the filling balanced so the rolls don’t turn soggy before the cheese melts. A light layer of sauce on the bottom, then the chicken, then the rest of the marinara keeps everything juicy without flooding the bread. Baking covered first gives the cheese time to melt through, and the final uncovered minutes are what set the tops into that deep golden, buttery finish.
Below, I’ll walk you through the small details that matter here: how to keep the bottoms from getting mushy, what kind of chicken gives you the best texture, and how to adapt these sliders if you need a shortcut or a make-ahead plan.
The rolls stayed soft on the bottom and the tops baked up buttery and crisp. My kids picked up the sliders with no mess, and the marinara didn’t make them soggy at all.
These Chicken Parmesan Sliders on Hawaiian Rolls are the kind of baked sliders that stay saucy without going soggy.
The Layer Order That Keeps the Rolls Soft Instead of Soggy
With sliders like these, the biggest mistake is treating the marinara like a sandwich spread. Too much sauce on the bread soaks straight through before the cheese has a chance to set, and you end up with a bottom layer that tears when you try to serve it. A thin base layer under the chicken is enough to season the rolls and keep the filling from drying out.
The second thing that matters is where the cheese goes. Mozzarella belongs around the chicken so it melts into the filling, while the Parmesan on top gives the butter mixture something salty and nutty to cling to. That top layer of seasoned butter is what turns the rolls from soft to bakery-style browned at the edges.
What Each Ingredient Is Actually Doing in This Dish
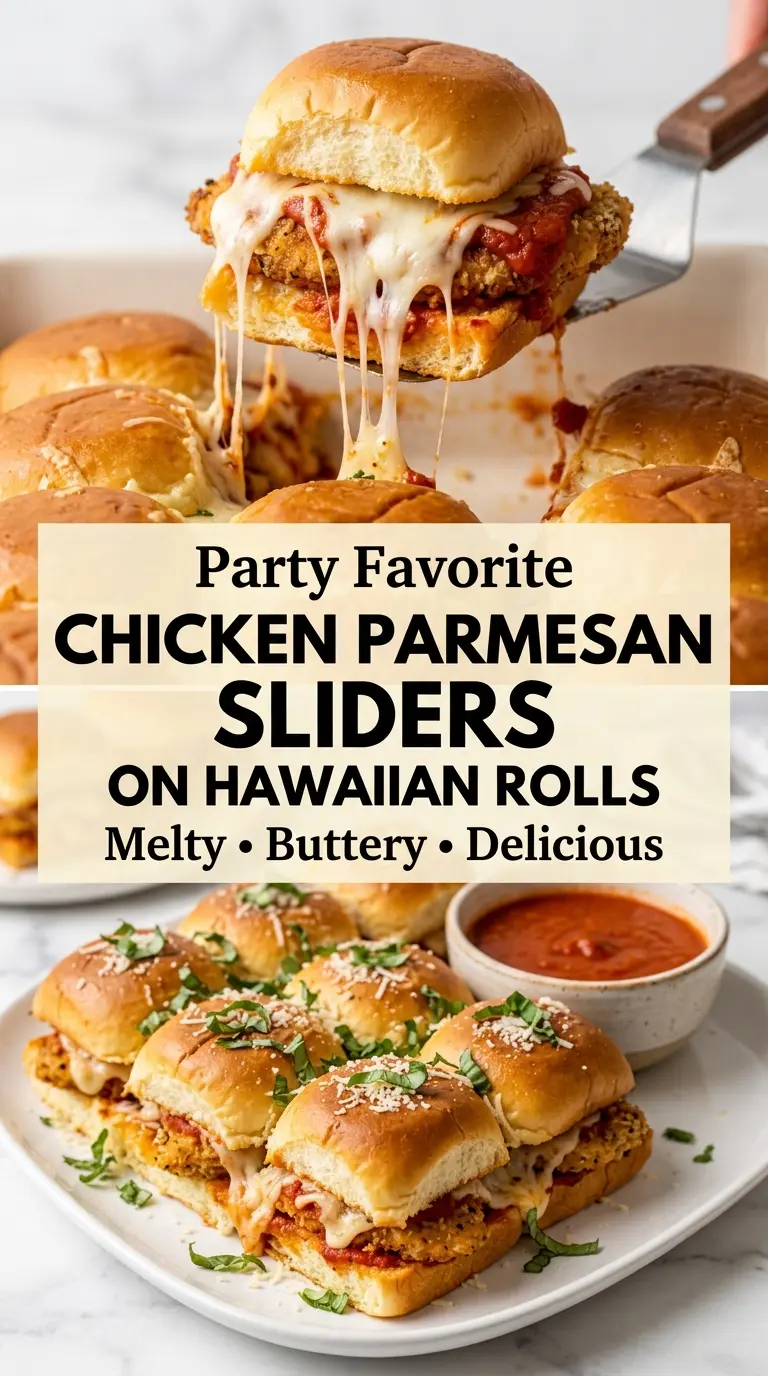
- Hawaiian sweet rolls — These bring the soft, slightly sweet base that makes the sliders taste like more than just chicken and cheese. Regular dinner rolls work in a pinch, but you lose that contrast between sweet bread and savory filling that makes the recipe stand out.
- Crispy chicken — The crunch matters here. If you use plain baked chicken, the sliders still work, but they lose the texture that keeps each bite interesting. Leftover breaded cutlets or frozen crispy chicken tenders both work well; just chop them after reheating so they stay bite-sized.
- Marinara sauce — Use a sauce you’d happily eat with pasta. Thin, watery sauce will leak into the rolls, while a thicker sauce clings to the chicken and stays where you want it. If your jarred sauce looks loose, simmer it for a few minutes before assembling.
- Mozzarella and Parmesan — Mozzarella gives the stretch, and Parmesan sharpens the whole thing. Freshly grated Parmesan melts and browns better than the powdered stuff, especially in the butter topping.
- Butter, garlic, and Italian seasoning — This is the part that makes the tops worth eating. The butter carries the garlic and herbs across the rolls and keeps the surface from drying out as it bakes.
Building the Sliders So the Cheese Melts Before the Bread Overbakes
Assemble the Base in the Pan
Keep the rolls connected when you slice them so the bottom half stays in one piece. Spread only enough sauce to coat the bread, then layer the chopped chicken evenly so every slider gets some crunch. If one section is overloaded and another is bare, the pan bakes unevenly and the filling slides around when you cut it.
Stack the Cheese Where It Can Do Its Job
Scatter the mozzarella over the chicken, then add the Parmesan and basil before placing the top buns on. That order lets the cheese melt down into the chicken instead of sitting in one thick slab that slips out when you pull a slider apart. The basil goes in the middle so it stays fragrant instead of scorching on top.
Brush and Bake in Two Phases
Mix the butter with garlic, Italian seasoning, garlic powder, and the remaining Parmesan, then brush it on generously. Cover the pan loosely with foil for the first part of baking so the cheese gets fully melted before the tops brown. Uncovering at the end is what gives you the deep golden finish; if you leave the foil on too long, the tops stay pale and soft.
Let Them Sit Before You Pull Them Apart
Five minutes of rest matters here. It gives the cheese a chance to settle so the sliders cut cleanly instead of oozing apart on the first pass of a knife. Use a sharp knife or spatula to separate them along the roll seams while they’re still warm.
Three Ways to Adjust These Sliders Without Losing What Makes Them Good
Gluten-Free Version
Use gluten-free slider buns or small dinner rolls and check that your chicken coating and marinara are gluten-free too. The texture will be a little more fragile, so keep the sauce layer light and let the sliders rest before moving them.
Dairy-Free Swap
Use dairy-free mozzarella-style shreds and skip the Parmesan, then brush the tops with olive oil instead of butter. You’ll lose a little of the rich, salty finish, but the garlic and herbs still carry the flavor, and the sliders bake up nicely.
Extra-Crispy Shortcut
Use frozen breaded chicken tenders and bake them until crisp before chopping. This keeps the texture close to classic chicken parm without needing to fry anything, and it’s the fastest path when you need dinner to come together with almost no prep.
Storage and Reheating
- Refrigerator: Store leftovers in an airtight container for up to 3 days. The rolls soften a bit more as they sit, but the flavor holds up well.
- Freezer: These freeze best before baking. Assemble, wrap tightly, and freeze for up to 1 month; bake from thawed for the cleanest texture.
- Reheating: Warm leftovers covered in a 325°F oven until the cheese is hot and the center steams through. The microwave makes the bread rubbery and can turn the filling unevenly hot, so oven reheating gives you the best texture.
Questions I Get Asked About This Recipe
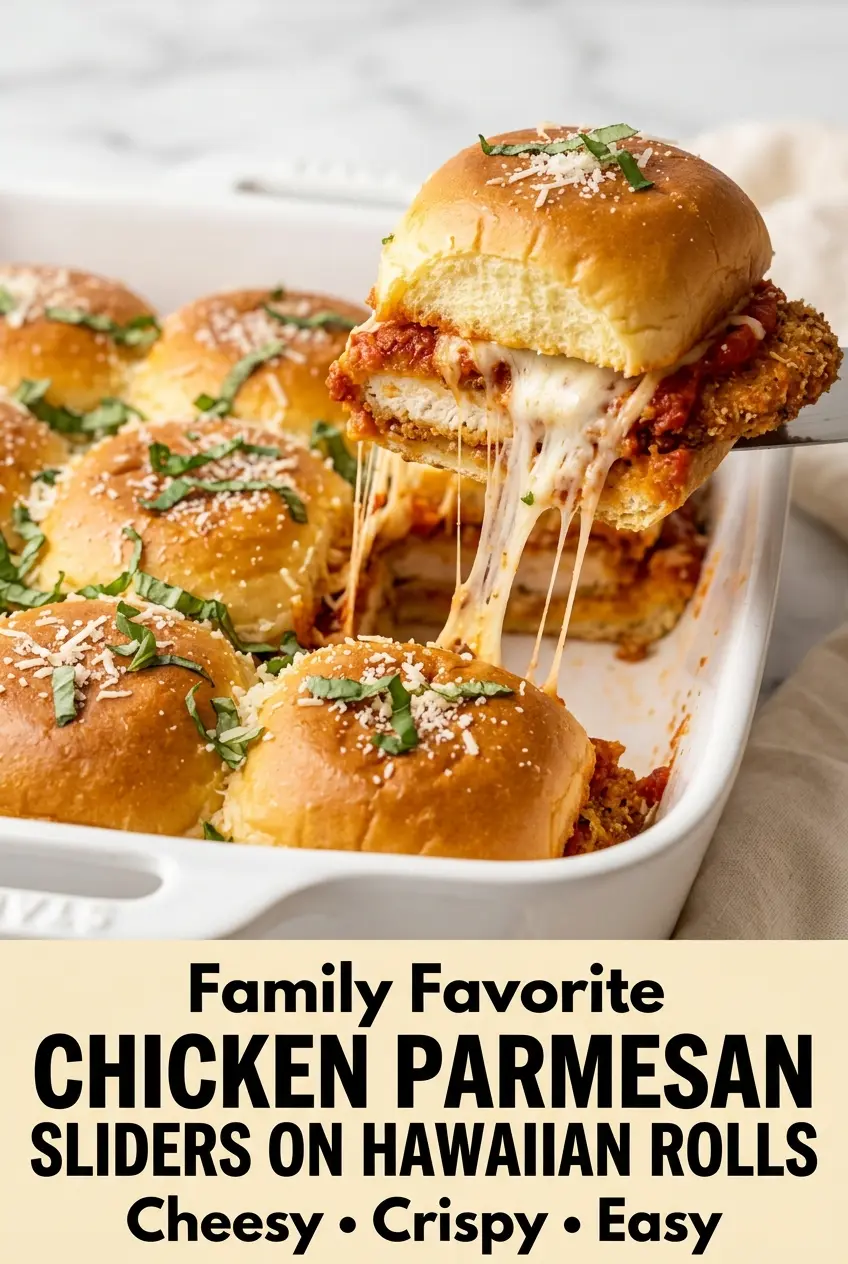
Chicken Parmesan Sliders on Hawaiian Rolls
Ingredients
Equipment
Method
- Preheat the oven to 350°F and lightly coat a 9×13-inch baking dish with cooking spray.
- Slice the Hawaiian rolls in half horizontally, keeping the rolls connected, then place the bottom half in the prepared baking dish.
- Spread ½ cup of marinara sauce over the bottom rolls.
- Arrange the chopped crispy chicken evenly over the sauce, then spoon the remaining marinara sauce over the chicken.
- Sprinkle shredded mozzarella, half of the Parmesan, and the chopped basil evenly over the chicken.
- Place the top half of the rolls over the filling.
- Stir together melted butter, minced garlic, Italian seasoning, garlic powder, and the remaining Parmesan cheese.
- Brush generously over the tops of the rolls.
- Cover loosely with aluminum foil and bake for 15 minutes at 350°F, until the filling is hot and the rolls begin to set.
- Remove the foil and bake for 8–10 minutes more at 350°F, until the tops are golden brown and the cheese is melted and bubbling.
- Sprinkle with chopped fresh parsley.
- Let the sliders rest for 5 minutes, then separate and serve warm.
