
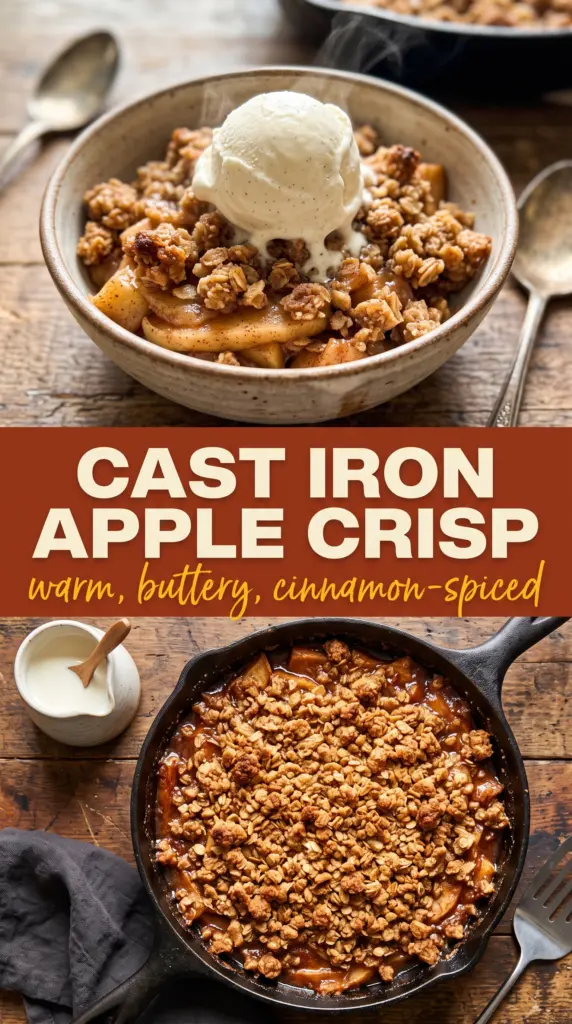
Cast Iron Apple Crisp
Warm cinnamon apples and a crunchy oat topping make this cast iron apple crisp the kind of dessert people remember long after the pan comes back empty. The apples stay…
Tip: save now, cook later.Warm cinnamon apples and a crunchy oat topping make this cast iron apple crisp the kind of dessert people remember long after the pan comes back empty. The apples stay tender without turning mushy, the topping bakes up buttery and crisp, and serving it straight from the skillet gives the edges a little extra caramelized bite that a casserole dish just can’t match.
The trick is keeping the apples lightly coated with flour so the juices turn glossy instead of runny, then using cold butter in the topping so it bakes into crumbs instead of a paste. Granny Smith brings tartness and structure, while Honeycrisp leans sweeter and softer, so either one works depending on how sharp you want the filling to taste. The cast iron helps the filling bubble evenly and keeps the crisp hot at the table.
Below you’ll find the small details that matter most: how to tell when the topping has baked through, how to keep the apples from collapsing, and a few smart swaps if you need to work with what you already have in the kitchen.
The topping stayed crisp even after we went back for seconds, and the apples thickened up instead of pooling at the bottom. I used Honeycrisp and it was the perfect balance of sweet and tart.
Save this cast iron apple crisp for the dessert nights when you want bubbling apples, a crunchy oat topping, and one skillet to do the whole job.
The Reason the Apples Stay Tender Instead of Soupy
The filling in an apple crisp only works when the fruit softens before the topping burns. Cast iron helps with that because it holds steady heat, but the real safeguard is coating the apples with just enough flour to catch the juices as they release. Without that flour, the fruit throws off liquid and the bottom turns thin and watery instead of jammy.
The other mistake is cutting the apples too thin. Thin slices collapse before the topping is done, which leaves you with applesauce under crumbs. Aim for slices that still hold their shape after baking, and don’t crowd them so tightly that steam gets trapped and keeps the filling from thickening.
- Granny Smith or Honeycrisp apples — Granny Smith stays tart and firm, which gives the crisp structure. Honeycrisp softens a little faster and tastes sweeter. A mix of both gives the best balance if you have them.
- Brown sugar — This brings deeper caramel notes than white sugar alone. The small amount in the filling also helps the juices turn glossy instead of sharp.
- Lemon juice — It keeps the apple flavor bright and stops the filling from tasting flat. Fresh is best here; bottled works in a pinch.
- Cold butter — Cold butter is what makes the topping crumbly. If it softens before it goes into the oven, the topping bakes up dense instead of crisp.
- Old-fashioned oats — Quick oats turn pasty. Old-fashioned oats hold their shape and give you those nubby, toasted crumbs on top.
Building the Crisp Topping So It Bakes, Not Melts
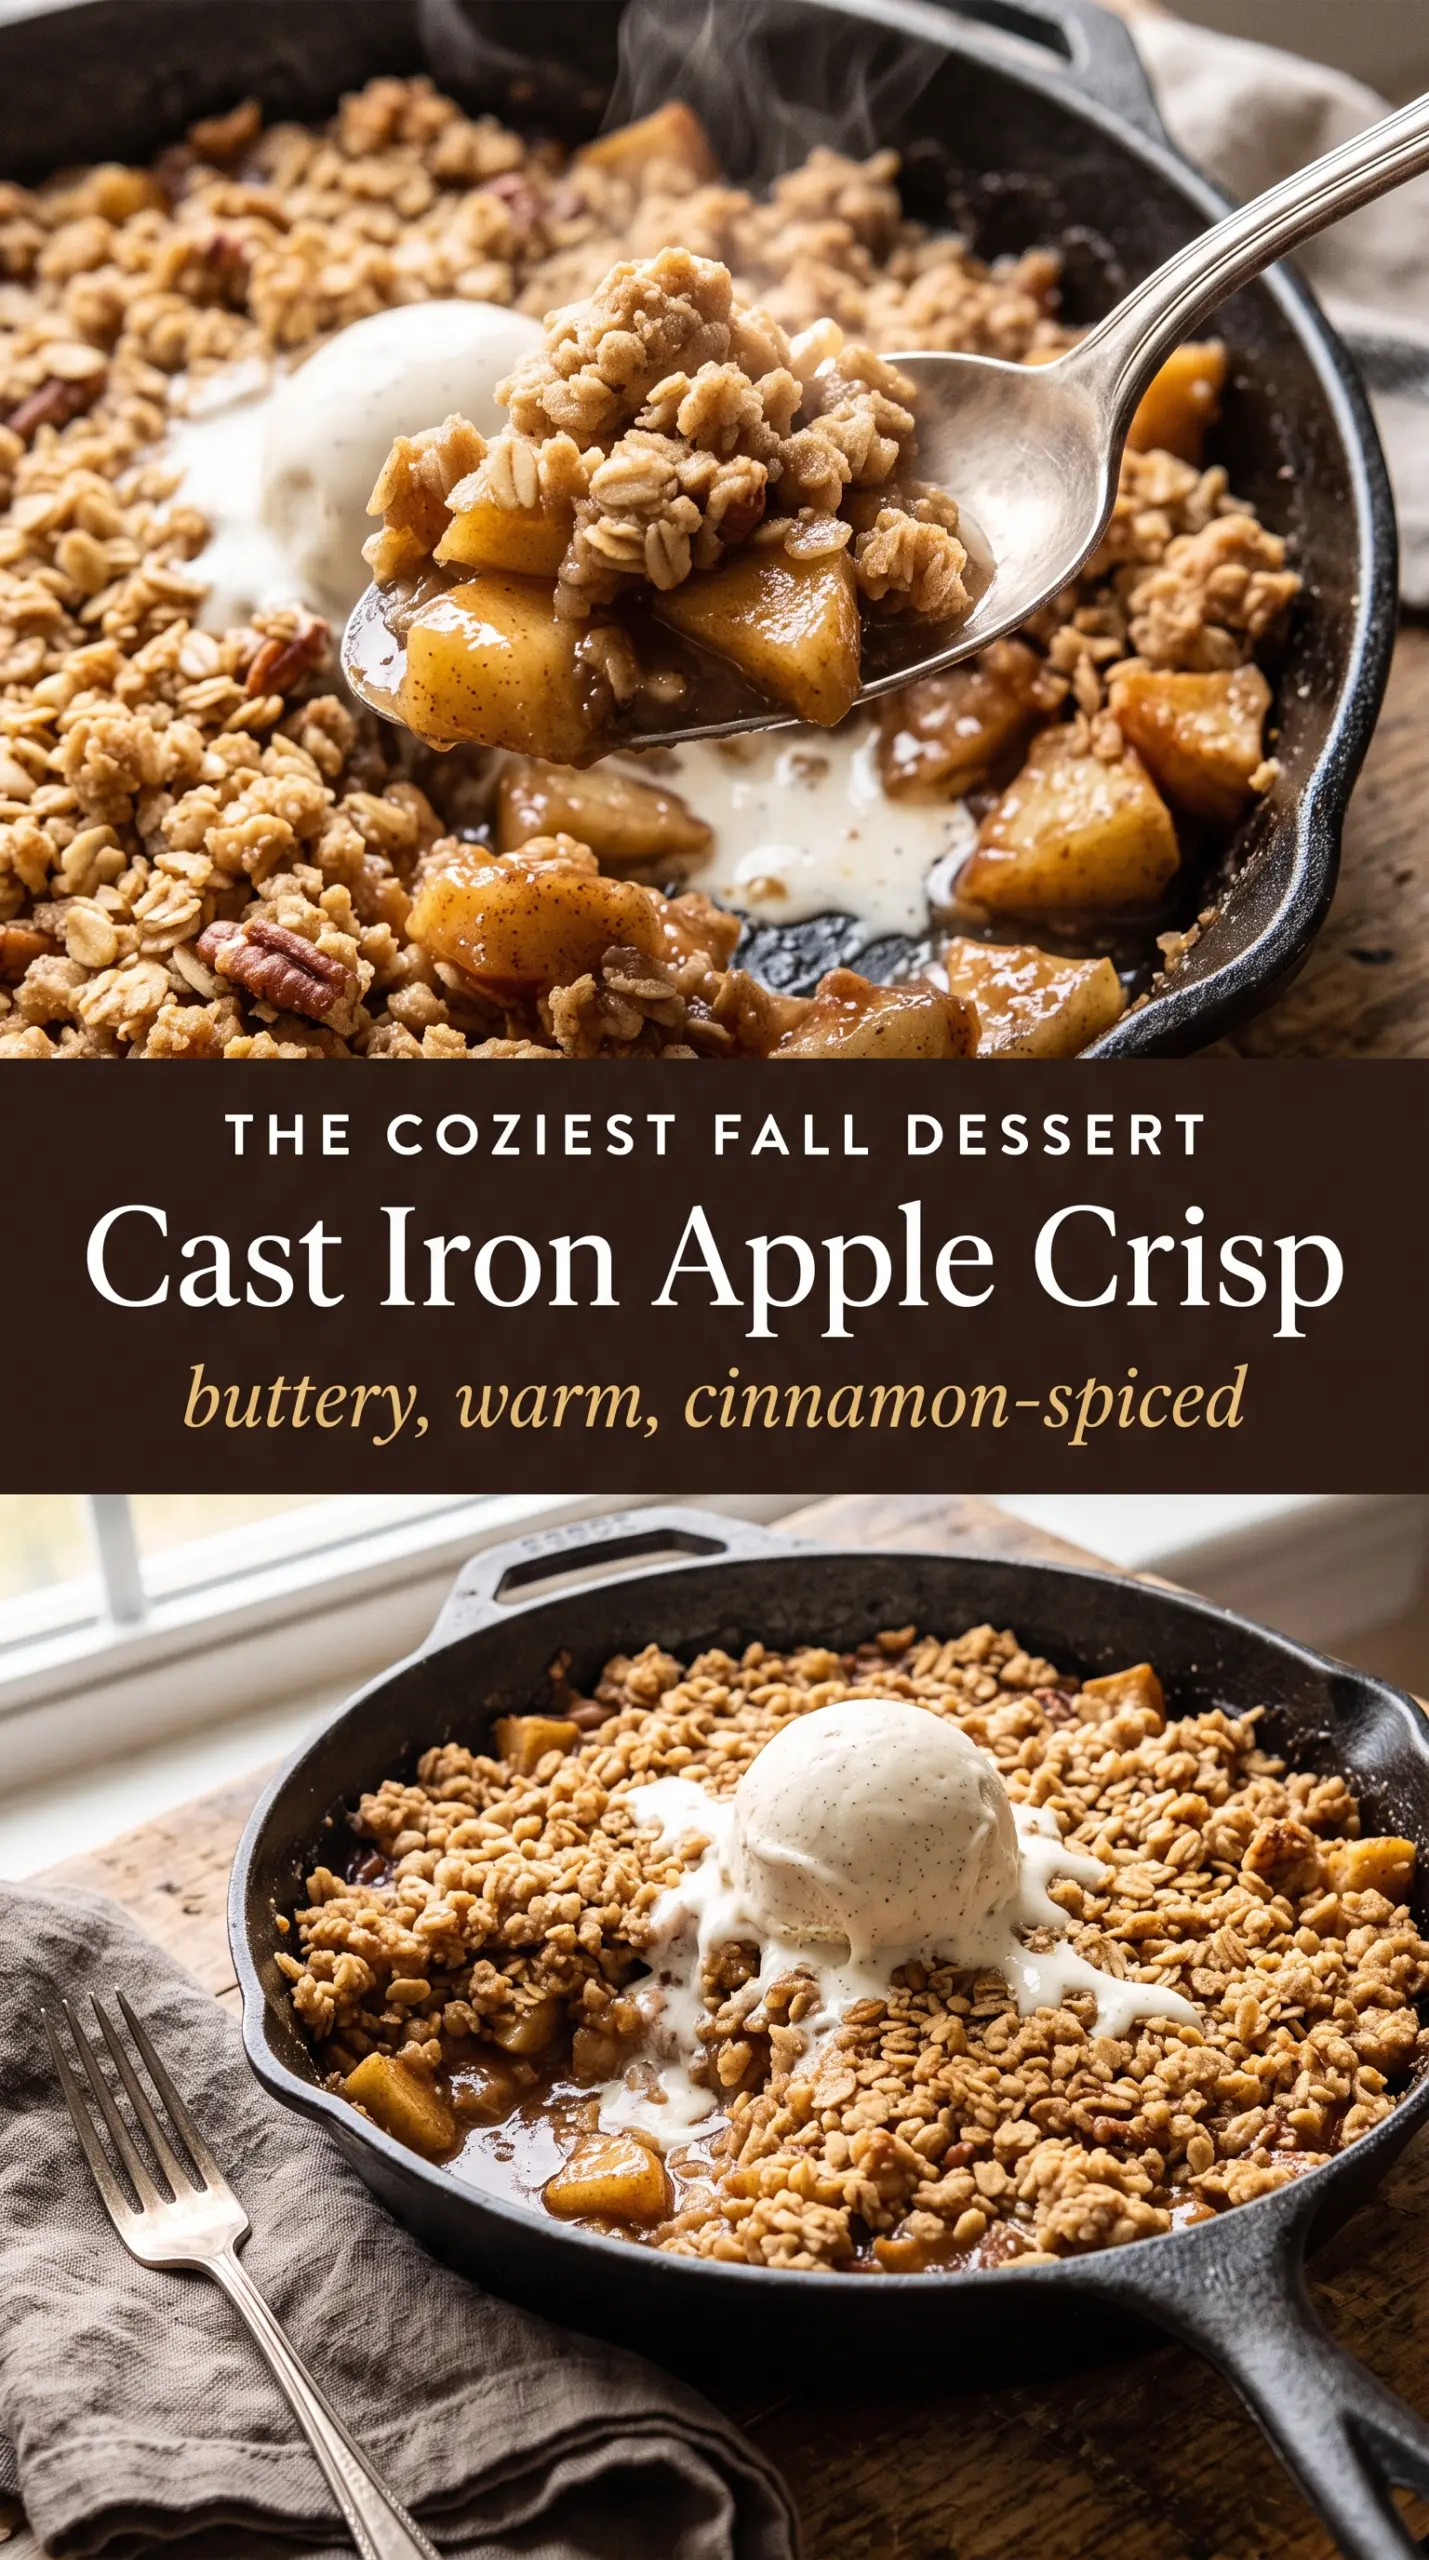
The topping starts in a bowl, but it finishes in the oven. Stir the dry ingredients first so the cinnamon and salt are evenly distributed, then cut in the cold butter until the mixture looks like uneven wet sand with some pea-sized clumps. Those clumps are what give you texture after baking, so don’t overwork it into a fine meal.
Spread the crumble all the way to the edges of the skillet. Bare spots on top let the apples dry out in those areas, while a full blanket of topping traps just enough steam to finish the fruit underneath. If the butter starts to soften while you’re working, chill the bowl for a few minutes before baking.
Coating the Apples Evenly
Toss the sliced apples with the sugars, lemon juice, spices, and flour until every slice looks lightly glossy. You want the flour distributed on the fruit, not sitting in piles at the bottom of the bowl, because the flour has to thicken the juices as they bake. If you see dry flour in the skillet after spreading the filling, the toss wasn’t thorough enough.
Mixing the Crumb by Hand
Use your fingertips or a fork to press the butter into the dry ingredients just until the mixture starts clumping. Stop as soon as the butter pieces are the size of small peas. If it looks like cookie dough, you’ve gone too far and the topping will bake up heavy instead of crisp.
Baking Until the Edges Bubble
Bake until the topping is deeply golden and the filling is bubbling around the edges of the skillet. That bubbling matters more than the clock, because it tells you the flour in the filling has thickened properly. Pull it too early and the juices stay loose; leave it in until the top is dark and the apples are soft when pierced through the topping.
Make It Gluten-Free Without Losing the Crumble
Swap the all-purpose flour in both the filling and topping for a good 1:1 gluten-free baking blend. The texture stays close to the original, though the topping may brown a little faster, so start checking a few minutes early. Use certified gluten-free oats if that matters for your kitchen.
How to Make It Less Sweet
Cut the granulated sugar in the filling by 1 to 2 tablespoons and lean on Granny Smith apples for more tartness. You still get a proper syrup in the pan because the flour does the thickening, but the finished crisp tastes sharper and more fruit-forward.
A Dairy-Free Version That Still Cracks on Top
Replace the butter with a solid plant-based butter block, not a tub spread. Tub margarine has too much water and can make the topping soft. The flavor changes a little, but the structure stays crisp if the substitute starts cold.
Storage and Reheating
- Refrigerator: Keep covered for up to 4 days. The topping softens as it sits, but the flavor holds up well.
- Freezer: Freeze baked portions tightly wrapped for up to 2 months. The topping won’t stay as crisp after thawing, but it still reheats well.
- Reheating: Warm in a 325°F oven until the filling is hot and the topping re-crispens, about 15 to 20 minutes for a small portion. The microwave softens the crumble and turns the apples slack, so use it only if texture doesn’t matter.
Questions I Get Asked About This Recipe
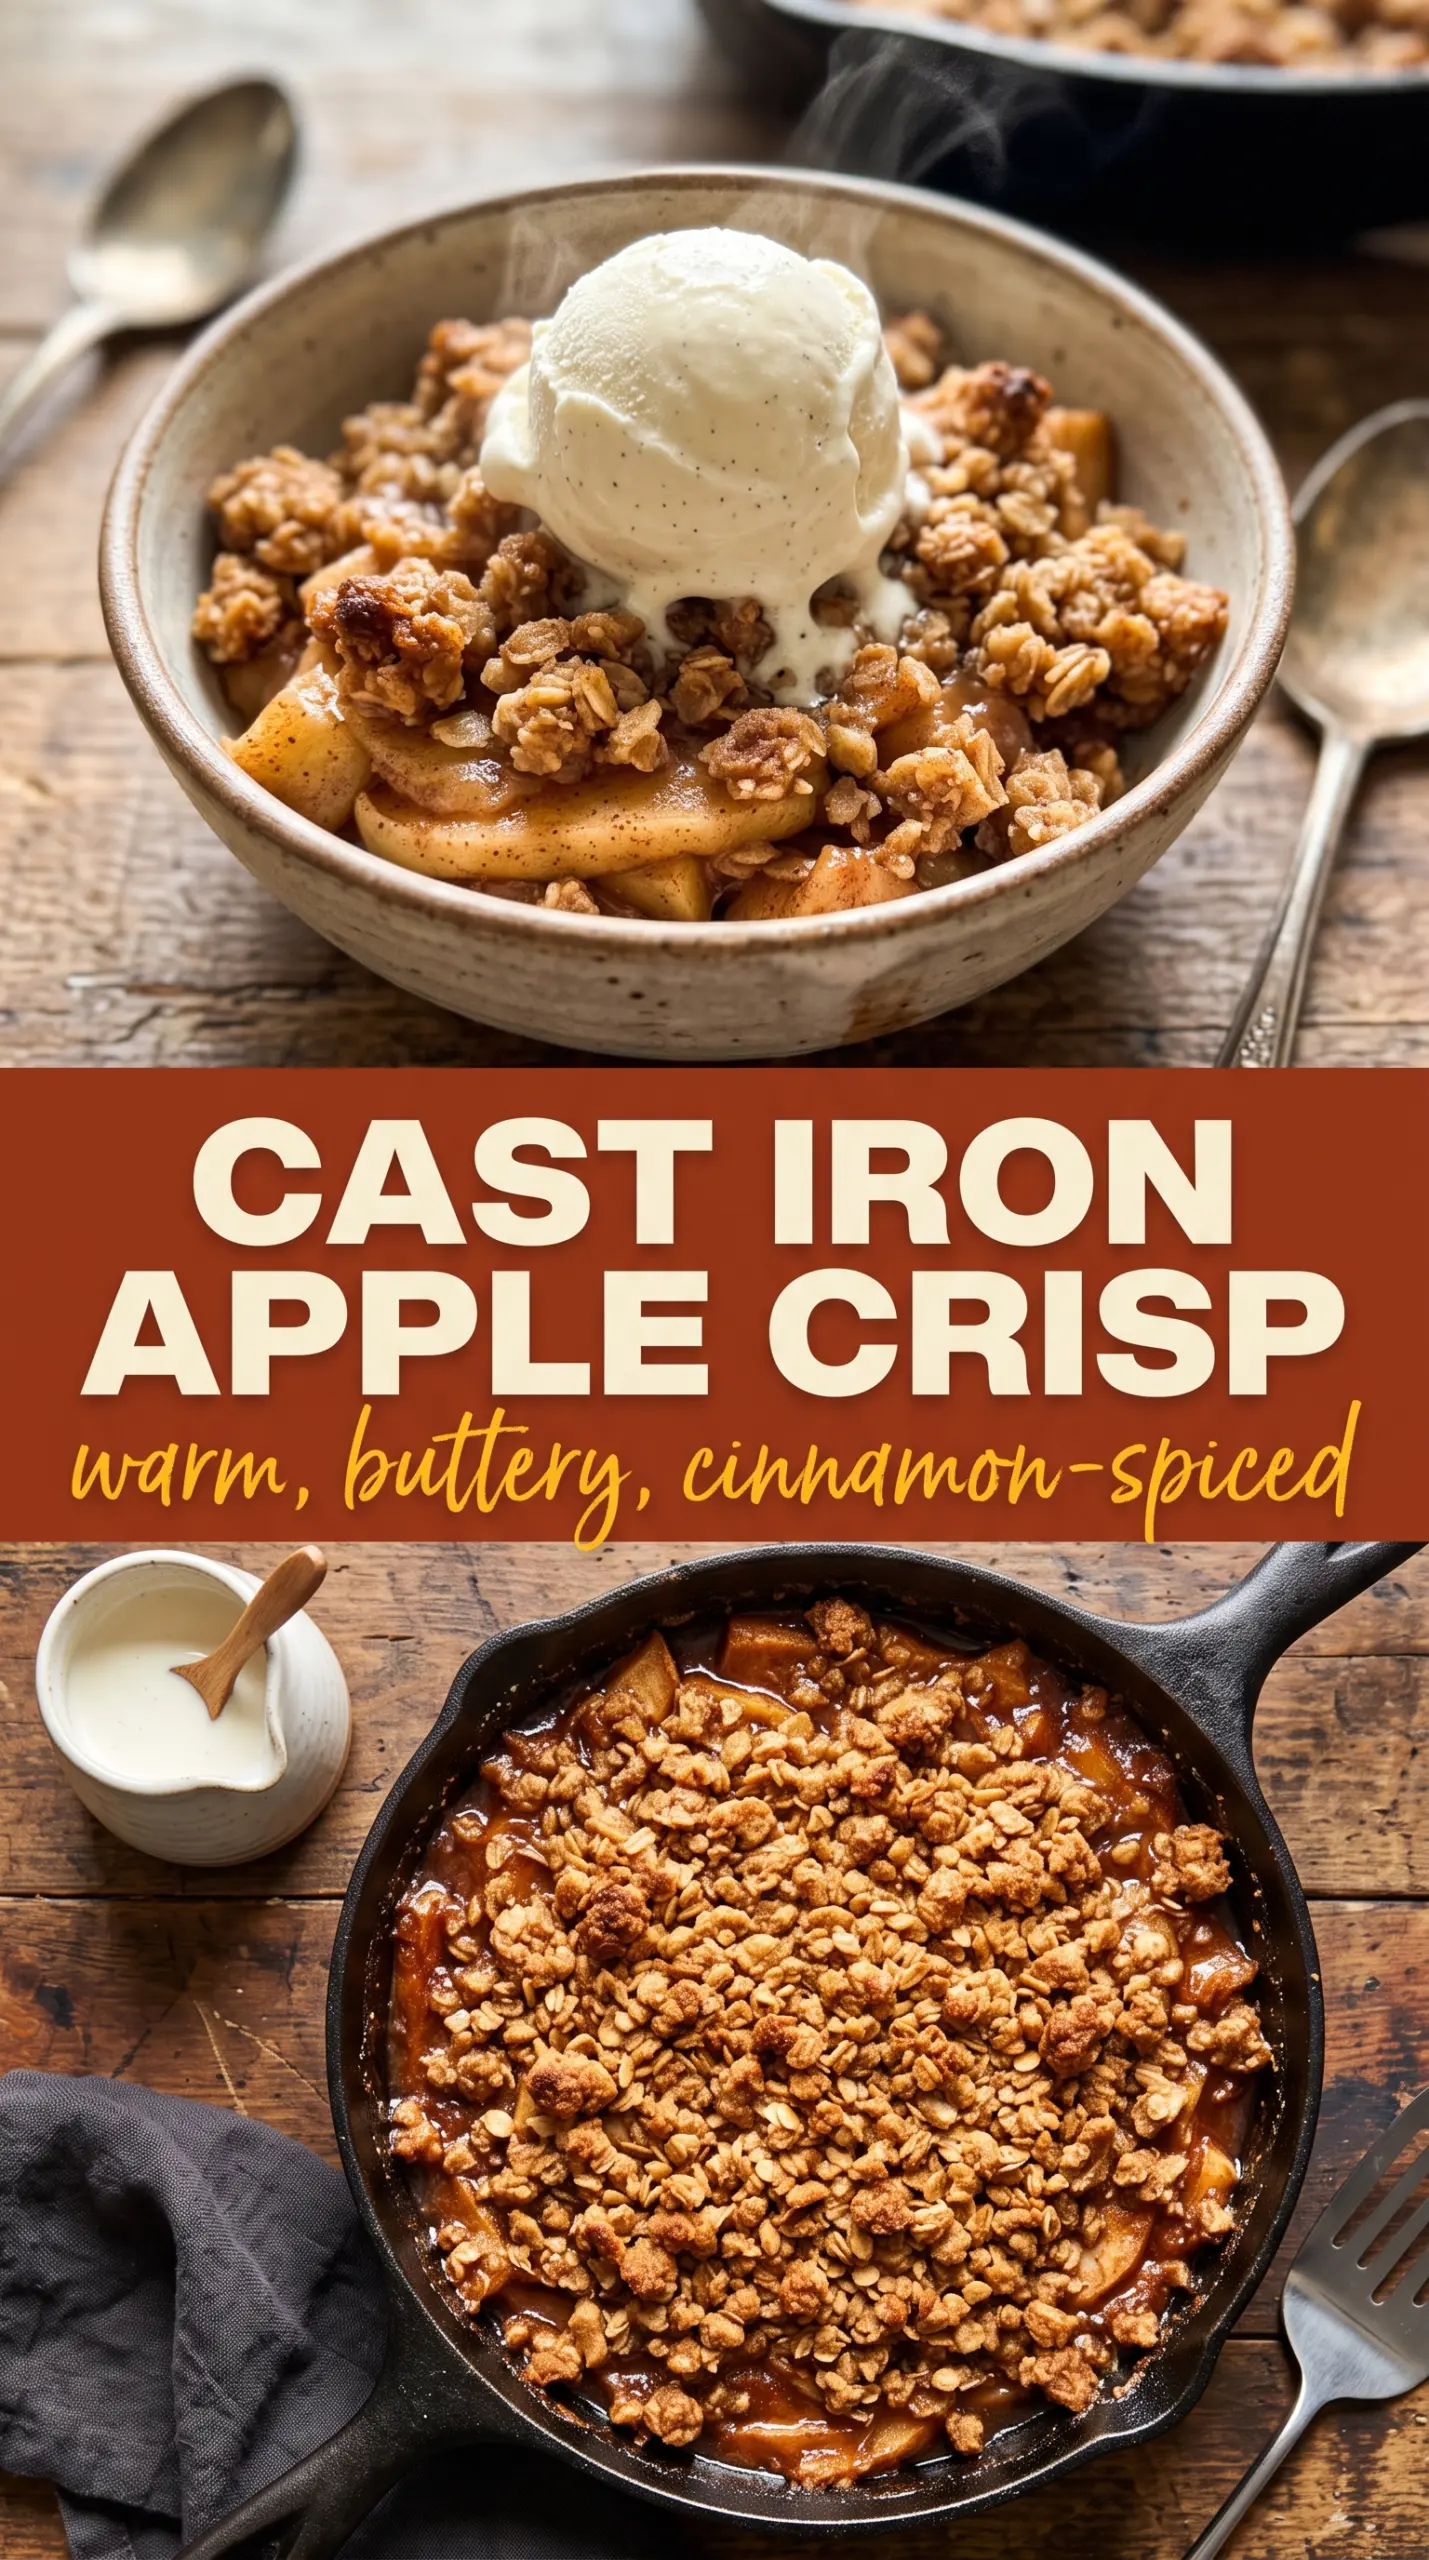
Cast Iron Apple Crisp
Ingredients
Equipment
Method
- Preheat the oven to 350°F (175°C). Toss the sliced apples with granulated sugar, brown sugar, lemon juice, ground cinnamon, ground nutmeg, and all-purpose flour until evenly coated, then spread them evenly in a 10-inch cast iron skillet.
- In a bowl, mix old-fashioned oats, all-purpose flour, brown sugar, ground cinnamon, and salt. Cut in the cold cubed butter with a fork or your fingers until the mixture turns crumbly with no large wet clumps.
- Sprinkle the oat crumble evenly over the apples, covering completely. Bake for 40–45 minutes, until the topping is deep golden brown and the filling is bubbling at the edges.
- Let the crisp cool for 10 minutes. Serve warm so the apples stay bubbling and the topping holds its crunch, optionally with vanilla ice cream melting on top.
