Burnt Honey Medovik
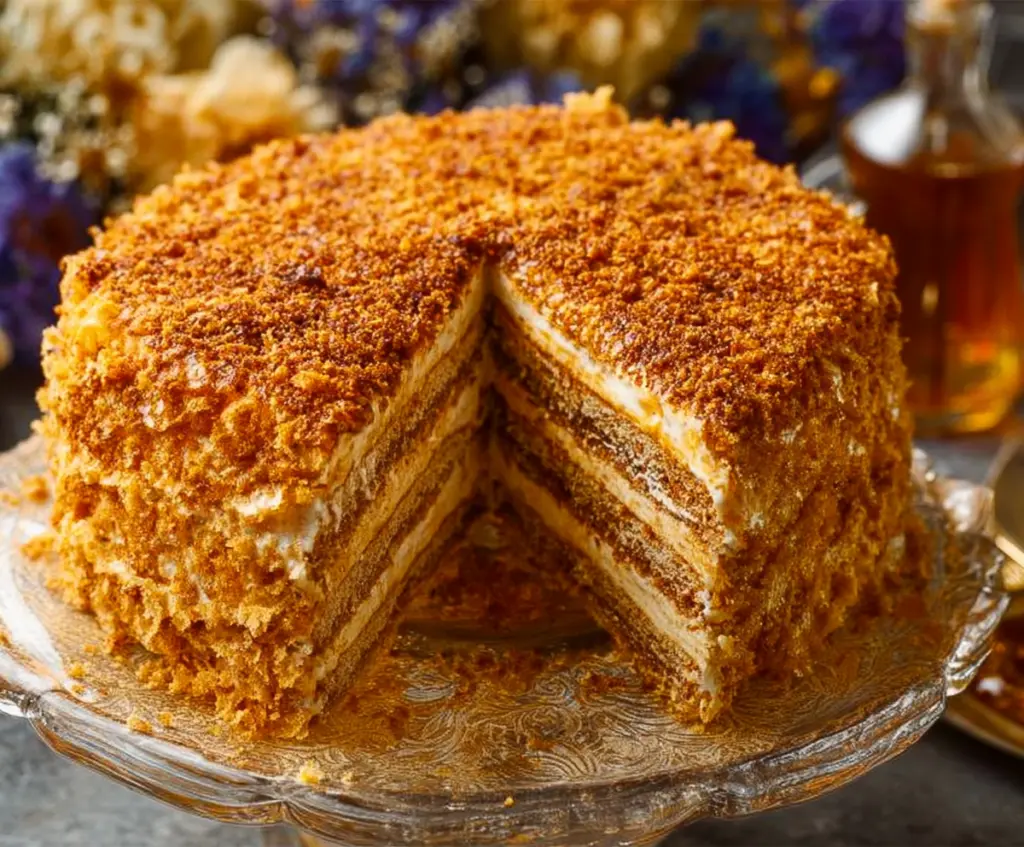
Burnt Honey Medovik is a twist on the classic Russian honey cake, filled with layers of soft, delicate cake and smooth, creamy frosting. What makes this version special is the…
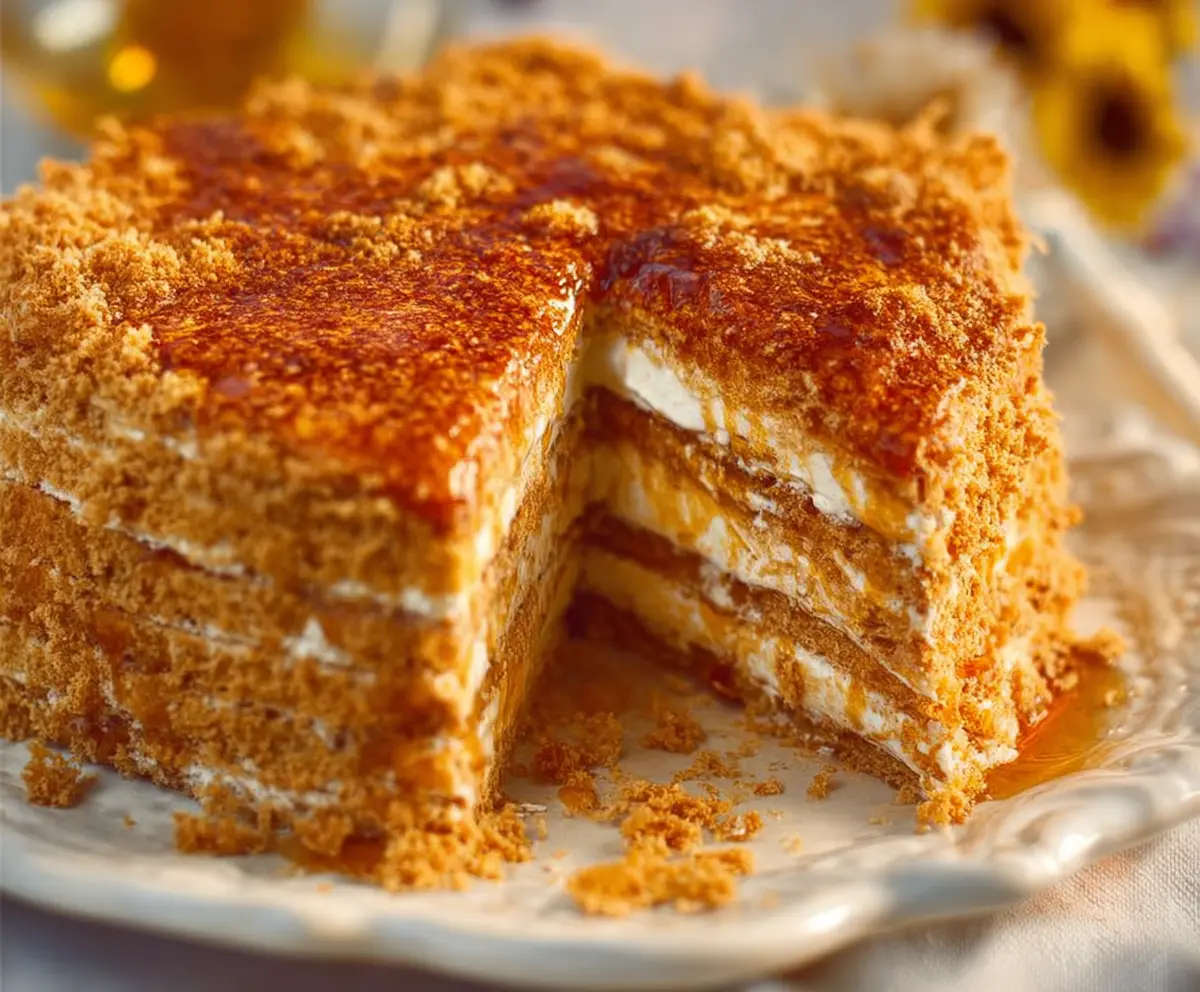
Tip: save now, cook later.Burnt Honey Medovik is a twist on the classic Russian honey cake, filled with layers of soft, delicate cake and smooth, creamy frosting. What makes this version special is the burnt honey flavor, which adds a deeper, richer note that you don’t usually find. The texture is a perfect mix of tender cake layers and luscious, slightly tangy cream, making every bite a little celebration.
I love how the burnt honey brings out a complex sweetness that keeps things interesting without being too sweet. Making the honey slightly caramelized is a neat little trick that changes the whole vibe of this cake for the better. Plus, the longer the cake rests after assembling, the more the flavors come together, so it’s a great treat to prepare ahead of time.
When I serve Burnt Honey Medovik, I usually cut it into small slices because it feels so rich and satisfying. It’s a lovely dessert to share with friends or family over tea or coffee. There’s something really cozy about this cake—it always reminds me of those warm afternoons spent chatting and tasting a new recipe together. If you’re a fan of honey and cream with a bit of a twist, this cake won’t disappoint!
Key Ingredients & Substitutions
Honey: Dark honey works best here for a richer, deeper flavor. If you don’t have dark honey, a good-quality wildflower or buckwheat honey make good substitutes. Avoid mild honeys like clover as they won’t develop that burnt flavor quite as well.
Sour Cream: This gives the cream filling its signature tang and richness. If you want a lighter option, mix sour cream with some heavy cream or Greek yogurt. Just keep in mind that the texture and taste will be slightly different.
Sweetened Condensed Milk: This adds sweetness and thickness to the frosting. If you’re looking for a less sweet option, you could reduce the amount slightly or substitute with thickened cream and a little powdered sugar, but the classic taste changes a bit.
Baking Soda: It reacts with the honey mixture to create a light texture in the layers. Don’t skip this because it helps the cake layers stay soft despite being thin.
How Do You Get the Perfect Burnt Honey Flavor Without Overcooking?
Burnt honey flavor is all about caramelizing the honey just right. Here’s what helps me get it perfect every time:
- Use a heavy-bottomed pan to heat your honey, sugar, and butter evenly.
- Keep stirring constantly over medium heat to avoid hotspots that burn too fast.
- Watch for a deep amber color and a rich caramel smell but stop before it gets bitter or blackened.
- Remove from heat immediately once you reach this stage and let it cool slightly before adding eggs.
This careful control is what gives Burnt Honey Medovik its special, slightly smoky-sweet depth without bitterness.
Equipment You’ll Need
- Heavy-bottomed saucepan – perfect for evenly caramelizing the honey mixture without burning.
- Mixing bowls – to whisk together eggs, cream filling, and other ingredients smoothly.
- Rolling pin – helps you roll the thin cake layers evenly and to the right size.
- Parchment paper – essential for easy transfer and baking of the delicate cake layers.
- Baking sheets – a flat surface to bake each thin cake layer quickly and evenly.
- Wire rack – cool the layers properly so they don’t get soggy.
- Spatula or wooden spoon – for mixing and spreading the cream filling evenly on layers.
Flavor Variations & Add-Ins
- Replace sour cream with Greek yogurt for a tangier cream filling that adds extra protein.
- Add a pinch of cinnamon or cardamom to the dough for subtle warm spice notes that complement honey.
- Stir in finely chopped toasted walnuts or hazelnuts between layers for crunch and nutty flavor.
- Swap vanilla extract in the cream for lemon zest to introduce a bright, fresh contrast to the burnt honey.
Burnt Honey Medovik
Ingredients You’ll Need:
For the Cake Layers:
- 3/4 cup (240g) honey (preferably dark honey)
- 1/2 cup (100g) granulated sugar
- 4 tablespoons unsalted butter
- 2 large eggs
- 2 teaspoons baking soda
- 3 cups (375g) all-purpose flour, plus extra for rolling
For the Cream Filling:
- 2 cups (480ml) sour cream (or use a mix of sour cream and heavy cream)
- 1 cup (240g) sweetened condensed milk
- 1 teaspoon vanilla extract
For the Crumble Topping:
- Reserved crumbs from trimmed cake edges (from the rolled-out dough layers)
- Optional: extra finely crushed toasted nuts (like walnuts or hazelnuts)
How Much Time Will You Need?
Expect about 1 hour for preparation and baking, plus at least 6 hours (or overnight) for chilling to let the layers fully soften and flavors meld.
Step-by-Step Instructions:
1. Prepare the Burnt Honey Mixture:
In a heavy-bottomed saucepan over medium heat, stir honey, sugar, and butter continuously until the mixture becomes a deep amber color, smelling caramelized but not burnt (about 5-7 minutes). Remove from heat.
2. Incorporate Eggs and Baking Soda:
Lightly beat the eggs in a small bowl. Quickly whisk them into the warm honey mixture to prevent scrambling. Sprinkle baking soda on top and stir well—the mixture will foam and rise. Let cool slightly.
3. Make the Dough:
Slowly add flour into the honey mixture, stirring with a spatula until a soft dough forms. Once cool enough to handle, knead briefly on a floured surface until smooth. Divide the dough into 6-8 equal portions.
4. Bake the Layers:
Preheat oven to 350°F (175°C). On a floured surface, roll each dough piece into a thin (about 1/8 inch) 8-inch (20 cm) circle. Transfer each onto baking sheets lined with parchment paper. Bake 4-5 minutes until golden and set. Cool on wire racks.
5. Prepare the Cream Filling:
Mix sour cream, sweetened condensed milk, and vanilla extract gently until smooth and creamy.
6. Assemble the Cake:
Place one cake layer on a serving plate and spread cream filling evenly on top. Repeat layering all cake layers and cream, finishing with cream on the top and sides.
7. Make the Crumble Topping:
Bake leftover trimmed cake edges until crisp and crush finely. Press the crumbs onto the sides and top of the cake. Optionally add crushed toasted nuts for extra flavor and texture.
8. Chill the Cake:
Refrigerate the assembled cake for at least 6 hours or overnight to allow flavors to meld and layers to soften.
9. Serve:
Slice carefully and serve chilled or at room temperature with your favorite hot drink.
Can I Use Light Honey Instead of Dark Honey?
Yes, you can, but dark honey gives a richer, more caramelized flavor that’s key to this recipe’s signature taste. If you only have light honey, consider adding a bit of molasses to deepen the flavor.
How Long Should I Chill the Cake Before Serving?
For the best texture and flavor, refrigerate the cake for at least 6 hours or preferably overnight. This resting time lets the layers soften and the cream soak in perfectly.
Can I Make Burnt Honey Medovik Ahead of Time?
Absolutely! In fact, this cake tastes even better the next day. Prepare it a day in advance and keep it covered in the fridge until ready to serve.
How Should I Store Leftovers?
Store leftover cake in an airtight container in the refrigerator for up to 3 days. Let it come to room temperature before serving to enjoy the best flavor and texture.
