
Apple Hand Pies
Apple Hand Pies are little pockets of sweet, cinnamon-spiced apples wrapped in flaky, buttery pastry. These bite-sized treats have the perfect balance of soft fruit filling and crisp crust, making…
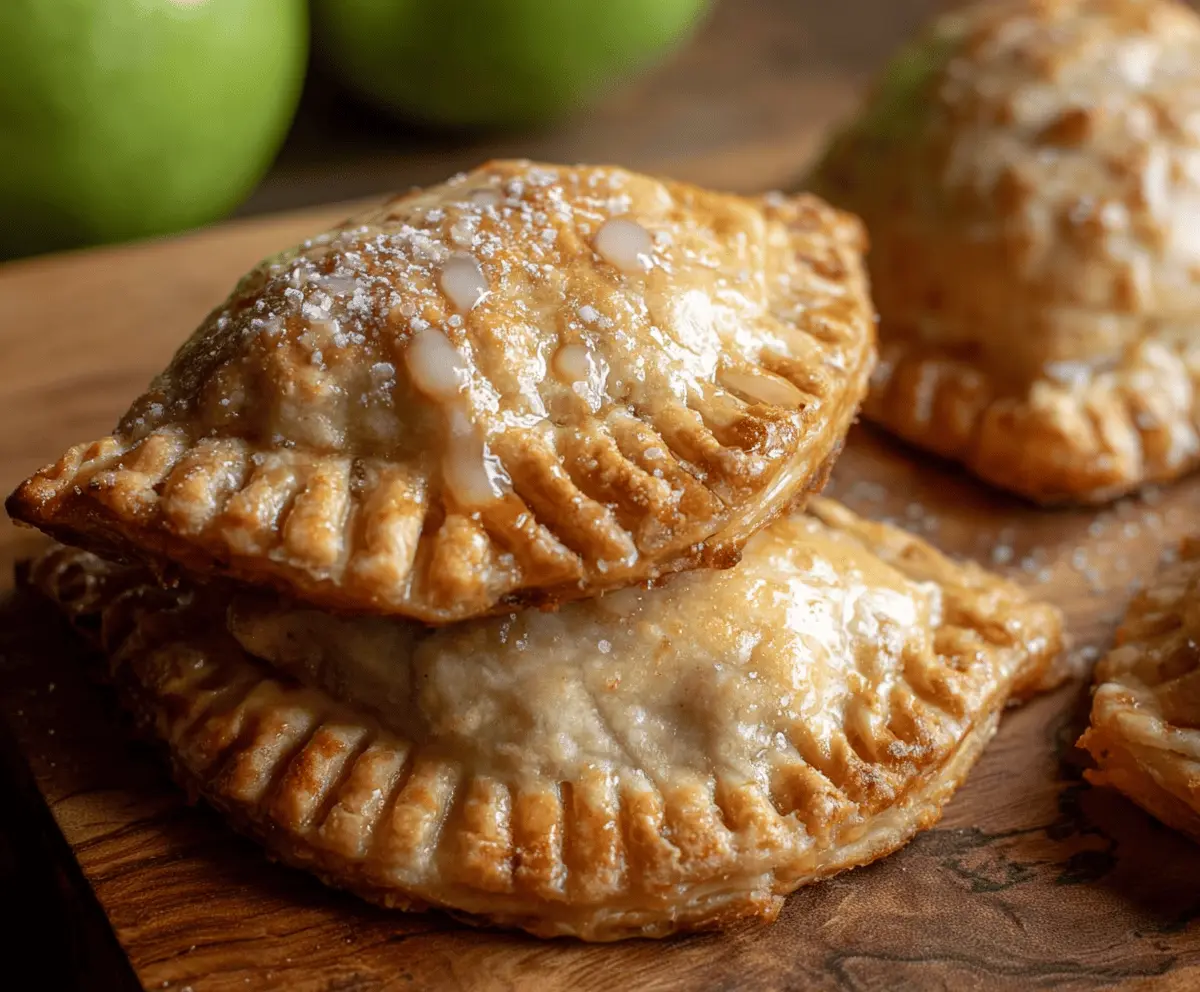
Tip: save now, cook later.Apple Hand Pies are little pockets of sweet, cinnamon-spiced apples wrapped in flaky, buttery pastry. These bite-sized treats have the perfect balance of soft fruit filling and crisp crust, making them a wonderful snack or dessert that you can hold right in your hand.
I love making these on a cozy afternoon because the warm smell of apples and cinnamon baking fills the whole kitchen. It’s one of those recipes that feels a bit special but is surprisingly easy to put together. Plus, they’re great to customize—you can add nuts, a pinch of nutmeg, or even a little drizzle of caramel if you’re feeling fancy.
These hand pies are perfect for sharing or packing in lunchboxes, and I often bring them along to picnics or holiday gatherings. They’re just the right size for a sweet treat without being too much. I always find that everyone gets excited when they see these little pockets of apple goodness ready to be enjoyed.
Key Ingredients & Substitutions
Granny Smith Apples: These apples are my top choice because they hold their shape well and offer a nice tartness to balance the sweet filling. If you want a sweeter pie, try Fuji or Honeycrisp apples instead.
Flavored Sugar Mix: Combining granulated and brown sugar adds depth and moisture. If you prefer less sweetness, reduce the sugars slightly or try coconut sugar as a natural alternative.
Puff Pastry: Puff pastry creates a flaky, buttery crust that’s hard to beat. For a quicker option, you can use refrigerated pie crust, but puff pastry gives that special crisp texture I love.
Egg Wash: A simple mix of egg and water gives the pies a golden shine and helps seal the edges. No egg? Brush with milk or melted butter for a lovely finish.
How Do You Get the Perfect Flaky Crust on Hand Pies?
The crust is key for these hand pies. Here’s how I make sure it’s flaky and golden every time:
- Thaw the puff pastry just enough so it’s workable but still cool—too soft and it gets sticky or tears easily.
- Roll it on a lightly floured surface to keep it smooth and prevent sticking.
- Use a fork to press along the edges after folding to seal in the filling and help the crust hold its shape.
- Brush with egg wash before baking. This helps it brown nicely and adds a subtle shine.
- Don’t skip brushing the tops with sugar—that little sprinkle adds a sweet crunch and lovely sparkle.
Finally, bake until the pies are puffed and golden. Let them cool a little before enjoying so the filling sets up and you don’t burn your fingers!
Equipment You’ll Need
- Rolling pin – helps you gently roll out the puff pastry without tearing it.
- Round cookie cutter or glass – perfect for cutting out even circles for hand pies.
- Baking sheet – a sturdy, rimmed pan keeps the pies contained while baking.
- Parchment paper – prevents sticking and makes cleanup easy.
- Pastry brush – great for brushing on egg wash to get that golden crust.
- Mixing bowl – to toss and combine the apple filling ingredients evenly.
Flavor Variations & Add-Ins
- Swap apples for pears or peaches in season for a sweet twist with a similar texture.
- Add chopped walnuts or pecans for a crunchy contrast inside your filling.
- Mix a pinch of ground ginger or cardamom with the cinnamon to add a warm, spicy note.
- Drizzle caramel sauce inside before folding for an extra gooey, rich treat.
How to Make Apple Hand Pies
Ingredients You’ll Need:
- 2 large Granny Smith apples (peeled, cored, and diced)
- 1/4 cup granulated sugar, plus extra for sprinkling
- 1/4 cup brown sugar, packed
- 1 tsp ground cinnamon
- 1/4 tsp ground nutmeg
- 1 tsp lemon juice
- 1 tbsp all-purpose flour
- 1 package (2 sheets) frozen puff pastry, thawed
- 1 egg (for egg wash)
- 1 tbsp water
Time You’ll Need:
This recipe takes about 15 minutes to prepare, plus 20-25 minutes to bake. You’ll spend a little time mixing the filling, assembling the hand pies, then just pop them in the oven for a warm, flaky treat.
Step-by-Step Instructions:
1. Prep Your Oven and Pan:
Set your oven to 375°F (190°C). Line a baking sheet with parchment paper to stop the pies from sticking.
2. Make the Apple Filling:
In a bowl, mix the diced apples with both sugars, cinnamon, nutmeg, lemon juice, and flour. Stir everything so the apples are evenly coated. Set aside to let the flavors mix.
3. Cut the Pastry Circles:
Lightly flour your workspace. Roll out the thawed puff pastry sheets until smooth, then cut out circles using a round cutter (about 4 inches across).
4. Fill and Seal the Pies:
Put a tablespoon of the apple filling in the center of each circle. Brush the edges with the egg wash (egg mixed with water). Fold the pastry over to make a half-moon shape and press the edges to seal. Use a fork to crimp the edges and keep the filling inside.
5. Bake and Finish:
Place the hand pies on the baking sheet. Brush the tops with more egg wash and sprinkle some granulated sugar for a shiny, sweet finish. Bake for 20-25 minutes, until golden and puffed.
6. Cool and Enjoy:
Let the pies cool for a moment so the filling sets. Serve warm or at room temperature — they’re delicious either way!
Can I Use Frozen Apples Instead of Fresh?
Yes, you can! Just make sure to thaw and drain the frozen apples well to remove excess moisture before mixing them with the other filling ingredients. Otherwise, your hand pies might turn out soggy.
How Do I Store Leftover Hand Pies?
Store leftover hand pies in an airtight container at room temperature for up to 2 days. To keep them longer, refrigerate for up to 5 days and reheat gently in the oven to restore crispness.
Can I Make These Ahead of Time?
Absolutely! Assemble the hand pies, then freeze them in a single layer on a baking sheet. Once frozen, transfer to a freezer bag. Bake from frozen, adding a few extra minutes to the baking time.
What Can I Substitute for Puff Pastry?
If you don’t have puff pastry, refrigerated pie crust works well, though it won’t be as flaky. You could also try homemade pie dough if you prefer a more tender, buttery crust.
